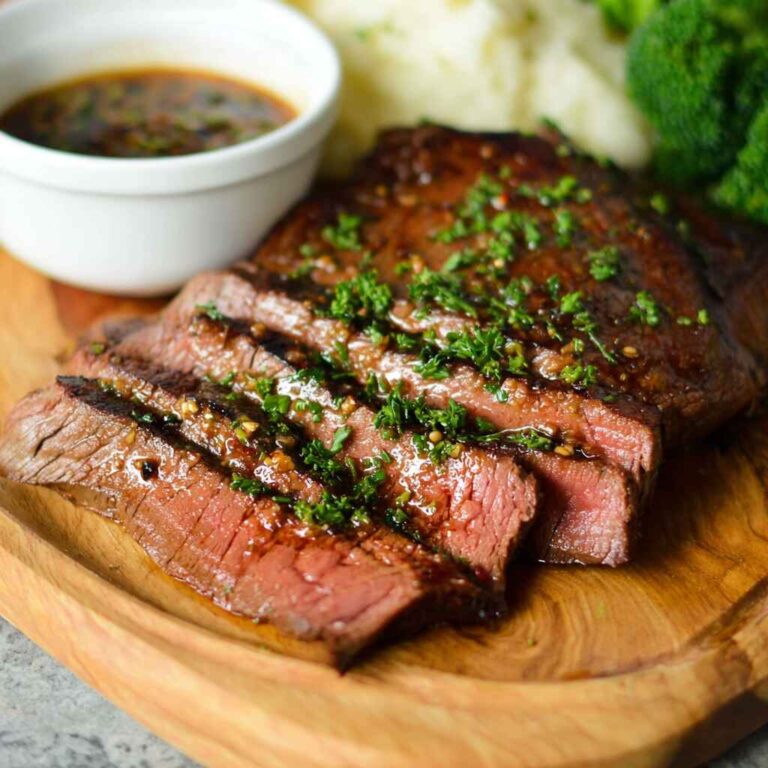
When it comes to quick, nutritious meals that tantalize the taste buds, this Beef Yakiniku recipe stands out. Juicy slices of beef coated in a savory yakiniku sauce come together with vibrant vegetables and fluffy steamed rice, creating a dish that’s not only delicious but also perfect for busy families and meal prep enthusiasts. Each bite is a burst of flavor and texture – savory, tender beef, crisp veggies, and the comforting taste of rice, all harmonizing in a way that makes dinnertime a joy. This heart-healthy, macro-friendly meal is exactly what you need for a focused, healthy lifestyle while keeping those nutrition goals on track.
Imagine coming home after a lengthy day and being able to whip up a satisfying meal in no time. Families are often juggling work, school, and activities, making the search for easy yet nutritious recipes a common challenge. Finding balance in your meal prep can feel overwhelming, but with this Beef Yakiniku, you’ll discover a dish that’s delicious enough to please everyone at the table while being easy to prepare. This recipe is diabetes-friendly and low-carb, making it suitable for a variety of dietary needs.
Why You’ll Love Beef Yakiniku (Creamy, Easy, and Cozy)
Beef Yakiniku is a high-protein powerhouse that dazzles with flavor while accommodating your busy lifestyle. Perfect for families or meal-prep planning, this dish is not only easy to make but also satisfying and nutrition-packed.
This dish lures you in with its rich umami flavor, easy steps, and healthy ingredients. You’ll find that the beef offers a satisfying bite alongside colorful veggies, and each bowl can be customized based on your family’s preferences. Best of all, this meal can be prepped ahead of time, saving you precious moments during a busy week. The combination of the savory yakiniku sauce elevates the flavor profile, ensuring you won’t settle for anything less than amazing.
- Quick to prepare: Perfect for busy weeknights.
- Flavor-packed: Savory, umami-rich beef and crisp vegetables.
- Meal-prep friendly: Cook in batches and enjoy throughout the week.
- Heart-healthy: Low in carbohydrates but high in protein.
- Pantry-friendly: Uses common ingredients that you might already have.
- Adaptable: Customize with your favorite vegetables.
- Kid-approved: A dish that even the picky eaters will love.
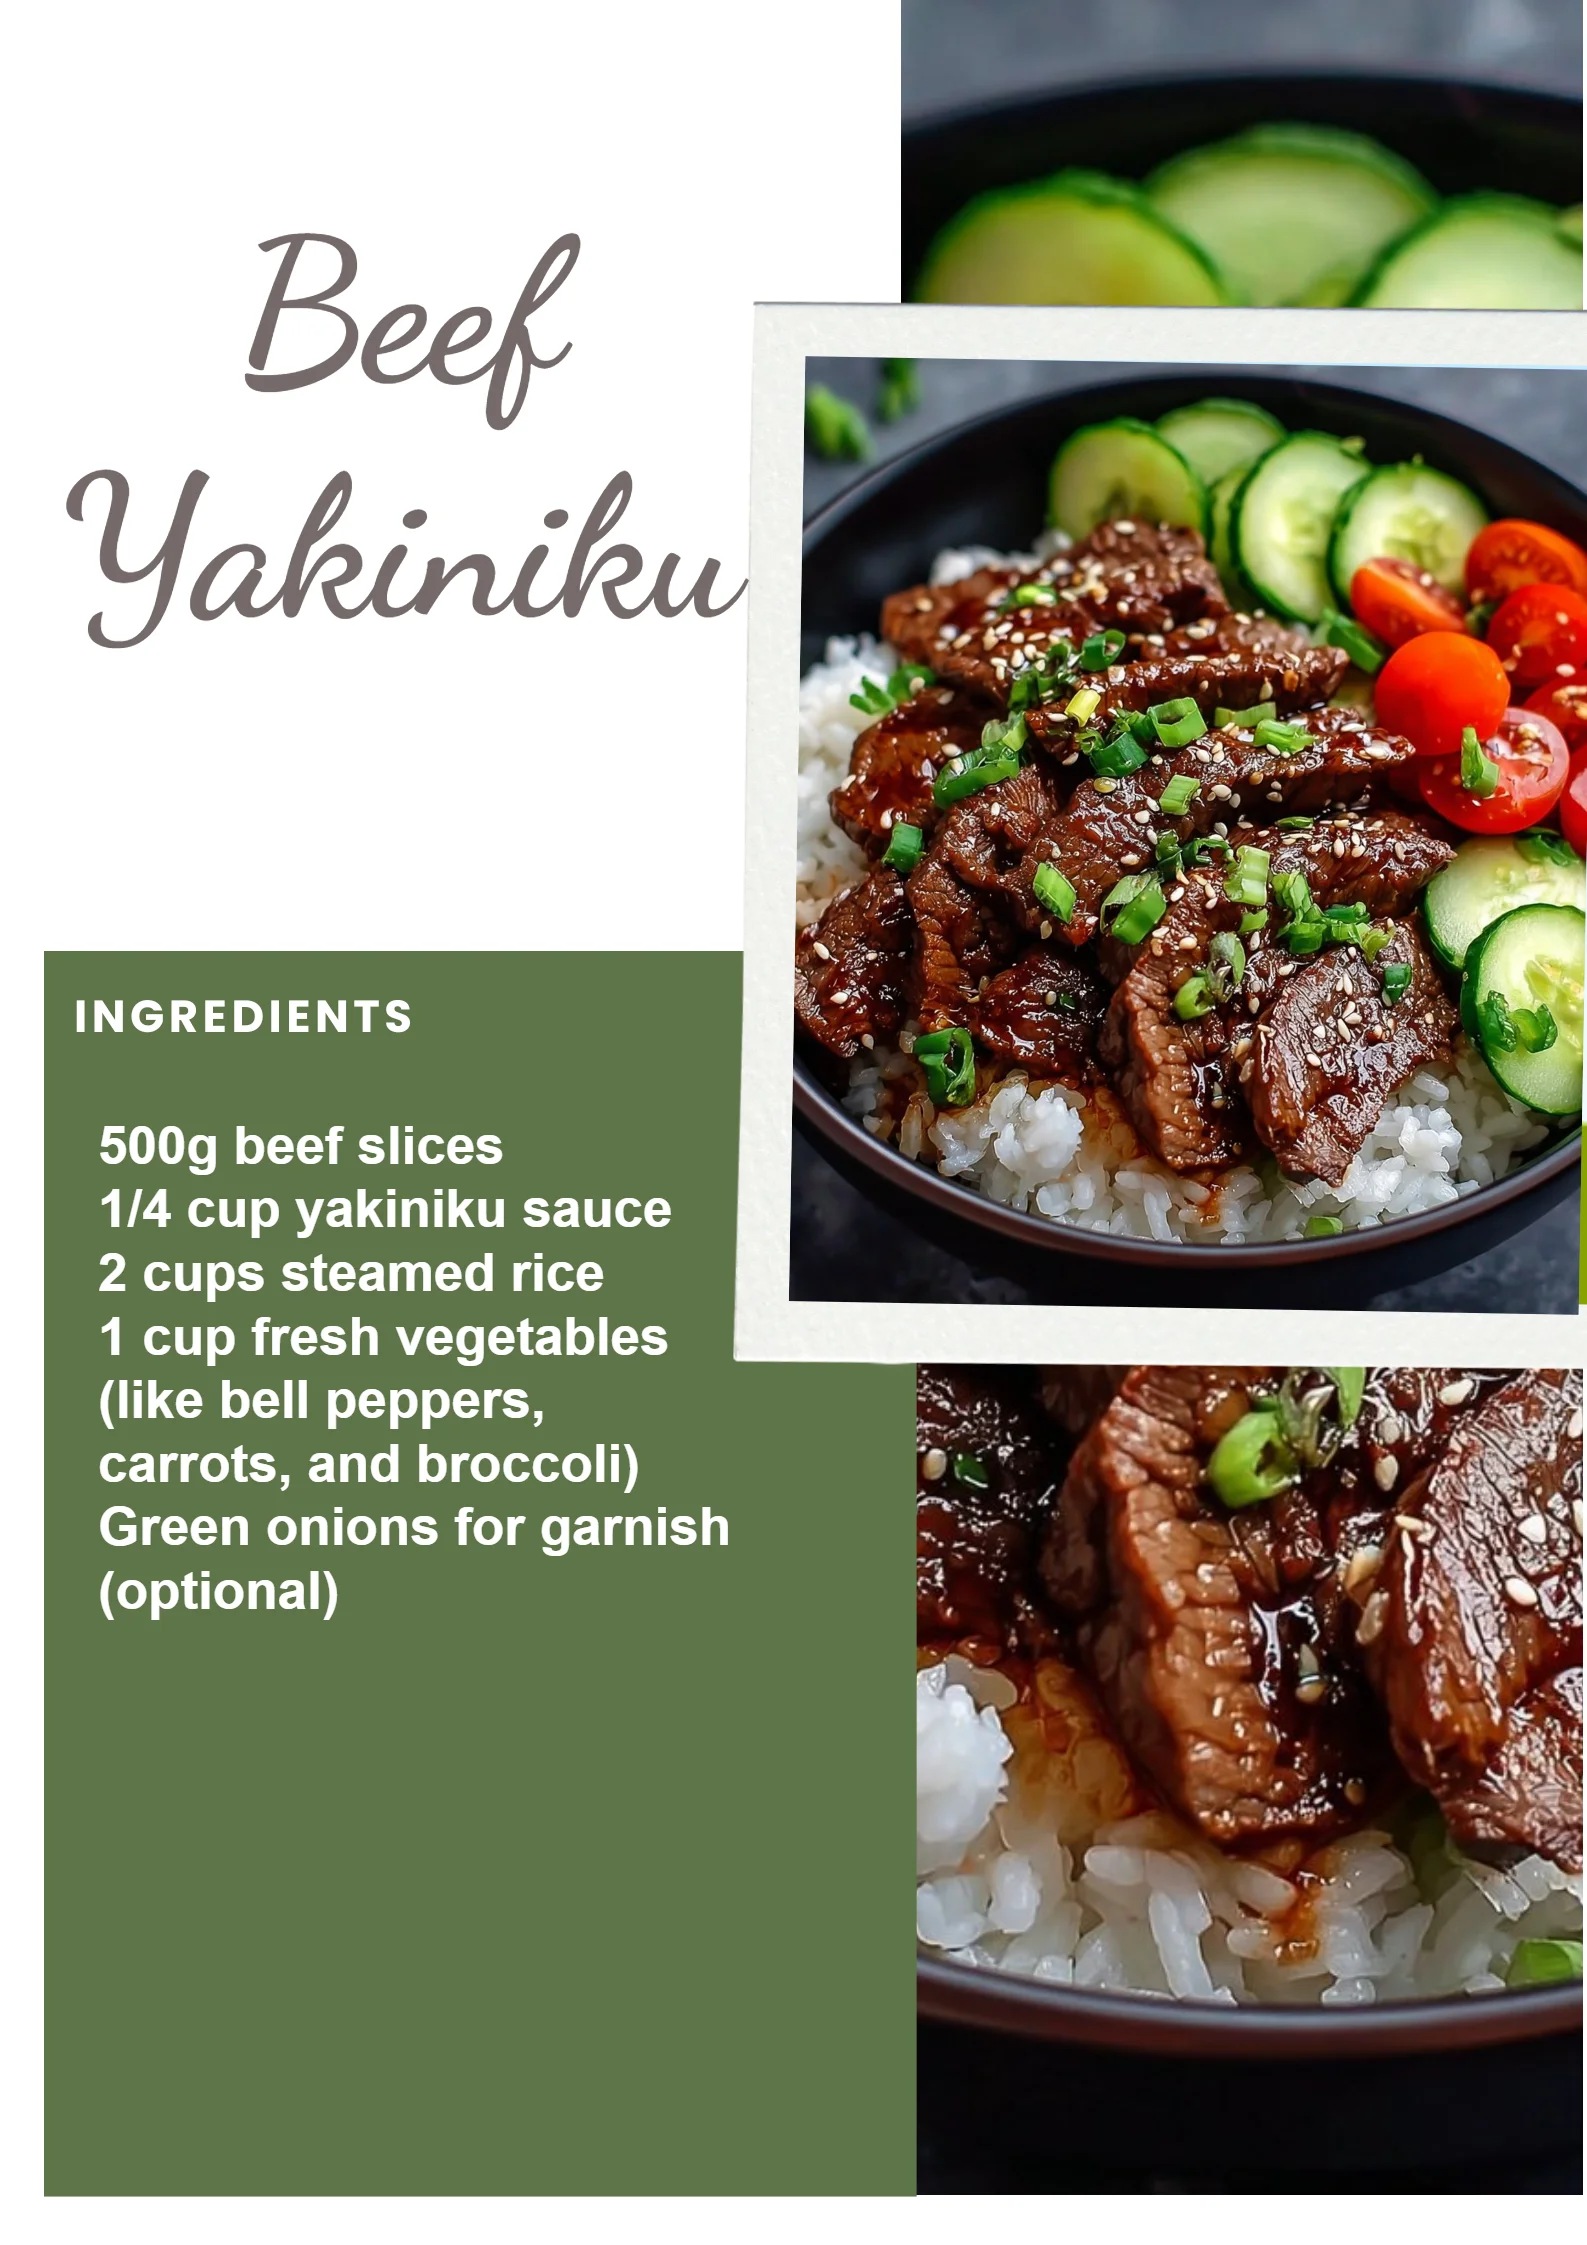
Ingredients for Beef Yakiniku
- Beef slices – tender, juicy, and full of flavor.
- Yakiniku sauce – adds a delightful umami flavor to the dish.
- Steamed rice – the perfect base for soaking up those savory juices.
- Fresh vegetables (like bell peppers, carrots, and broccoli) – provide crunch and nutritional benefits.
- Green onions – a flavorful garnish that elevates the dish.
Ready to cook? See the recipe card for exact measurements below.
How to Make Beef Yakiniku
Phase 1 – Prep
- Gather all your ingredients: beef slices, yakiniku sauce, steamed rice, and fresh vegetables.
- Wash and chop the fresh vegetables into bite-sized pieces, ensuring even cooking.
- Set up your workspace for easy access and quick assembly.
Phase 2 – Cook/Assemble
- Heat a skillet over medium-high heat (about 375°F or 190°C).
- Add the beef slices in a single layer; cook for about 2-3 minutes until browned.
- Pour the yakiniku sauce over the beef, stirring to coat evenly. Cook for another 2-3 minutes.
- Add the fresh vegetables and sauté until crisp-tender, about 3-4 minutes.
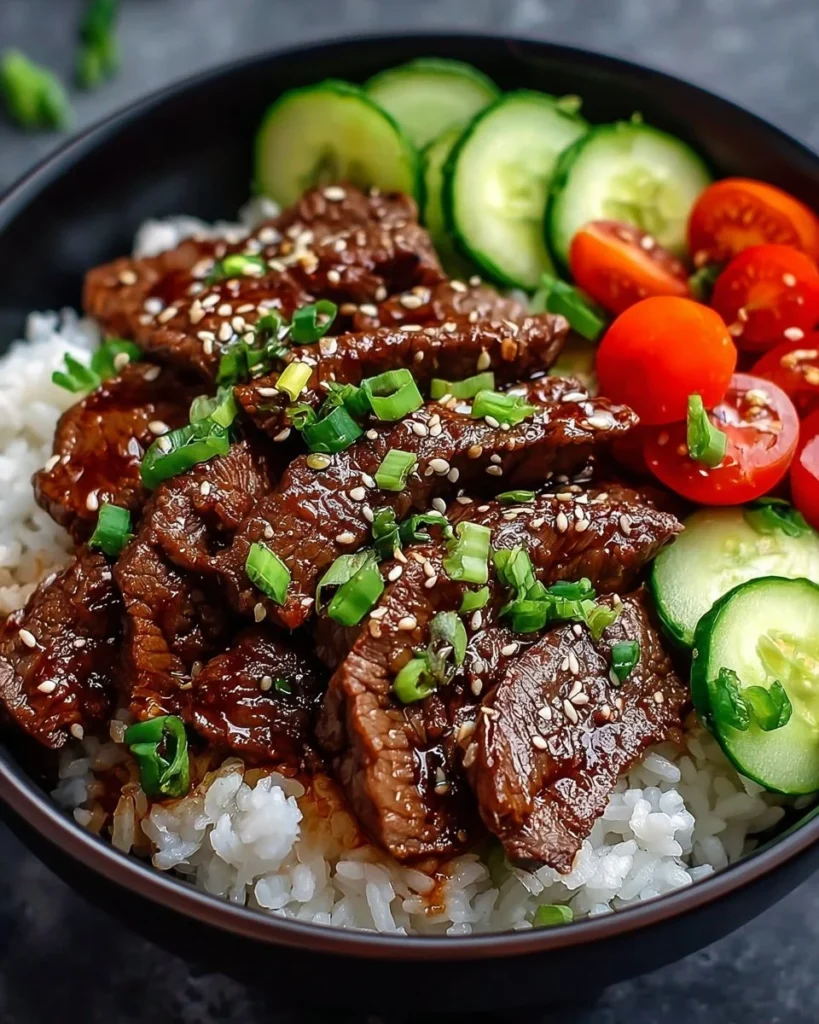
Phase 3 – Serve
- Prepare bowls with steamed rice as the base.
- Top each bowl with a generous portion of beef and vegetable mixture.
- Garnish with sliced green onions for an added burst of flavor.
- Serve warm and enjoy the comforting flavors of your home-cooked meal!
Pro Tips for the Best Results
- Use thinly sliced beef for quicker cooking and tender bites.
- Marinate beef in the yakiniku sauce for 15–30 minutes for extra flavor.
- Swap out vegetables based on seasonal availability to keep it fresh.
- Pre-cook the rice in bulk for easy meal prep during the week.
- Save leftover yakiniku sauce for dipping or future meals.
Common Mistakes to Avoid
One common mistake when making Beef Yakiniku is overcrowding the pan. When too many beef slices are added at once, they will steam instead of sear, resulting in a less desirable texture. To avoid this, work in batches and ensure there’s ample space between the pieces.
Another error is not allowing the beef to rest after cooking. This can lead to tougher, drier meat because the juices haven’t had a chance to redistribute. Always let cooked beef sit for a couple of minutes before serving to maximize tenderness.
Lastly, skipping the step of properly chopping the vegetables can affect the overall eating experience. Large chunks of vegetables may be undercooked, while others might turn mushy. Aim for uniform, bite-sized pieces to ensure perfect cooking and an appealing presentation.
Recipe Variations
- Gluten-free: Swap traditional yakiniku sauce for a gluten-free variant.
- Dairy-free: This recipe is already dairy-free; enjoy it as is!
- Spicy: Add red pepper flakes or drizzle sriracha for heat.
- Herbal: Toss in fresh basil or cilantro just before serving for added freshness.
- Cooking method: Try using an air fryer or Instant Pot for a different texture.
How to Serve Beef Yakiniku
- Best Pairings: Serve with a side of miso soup or pickled vegetables.
- Toppings: Sesame seeds or shredded nori make excellent additions.
- Garnishes: Fresh herbs like cilantro or mint can elevate the dish.
Make Ahead & Storage
Can I Meal Prep This?
Yes! Beef Yakiniku is incredibly meal prep-friendly. Cook a double batch to enjoy it throughout the week.
Storing Leftovers
Store leftovers in an airtight container in the refrigerator for up to 3 days. Reheat gently to retain texture.
Freezing
You can freeze cooked Beef Yakiniku for up to 3 months. Note that steaming the vegetables before freezing can help maintain their texture.
Reheating
Reheat in the oven at 350°F (175°C) for about 10-15 minutes, or microwave on medium power for 2-3 minutes until warmed through.

FAQs
Can I use other meats in place of beef?
You can certainly substitute chicken or turkey, although the cooking time may vary. Choose thin cuts for a tender result.
What is the best type of rice to use for Beef Yakiniku?
Short-grain sushi rice or jasmine rice is ideal due to its sticky texture, which pairs well with the dish.
Can I make this recipe vegetarian?
Yes! Swap the beef with tofu or tempeh and use a vegetable-based sauce to maintain flavor.
Is Beef Yakiniku suitable for a ketogenic diet?
Absolutely, this recipe is low in carbs and high in protein, making it keto-friendly.
This Beef Yakiniku recipe not only brings a delightful flavor experience to your dinner table but also supports your family’s health-conscious lifestyle. Embrace this heart-healthy, high-protein delight with the ease of meal prep. Don’t forget to share your thoughts and try our Healthy Brown Rice Salad for a refreshing side, or Low-Calorie Asian Noodle Soup for a flavorful follow-up. Happy cooking!
Beef Yakiniku
Ingredients
Method
- Gather all your ingredients: beef slices, yakiniku sauce, steamed rice, and fresh vegetables.
- Wash and chop the fresh vegetables into bite-sized pieces.
- Set up your workspace for easy access and quick assembly.
- Heat a skillet over medium-high heat (about 375°F or 190°C).
- Add the beef slices in a single layer; cook for about 2-3 minutes until browned.
- Pour the yakiniku sauce over the beef, stirring to coat evenly. Cook for another 2-3 minutes.
- Add the fresh vegetables and sauté until crisp-tender, about 3-4 minutes.
- Prepare bowls with steamed rice as the base.
- Top each bowl with a generous portion of beef and vegetable mixture.
- Garnish with sliced green onions.
- Serve warm and enjoy.