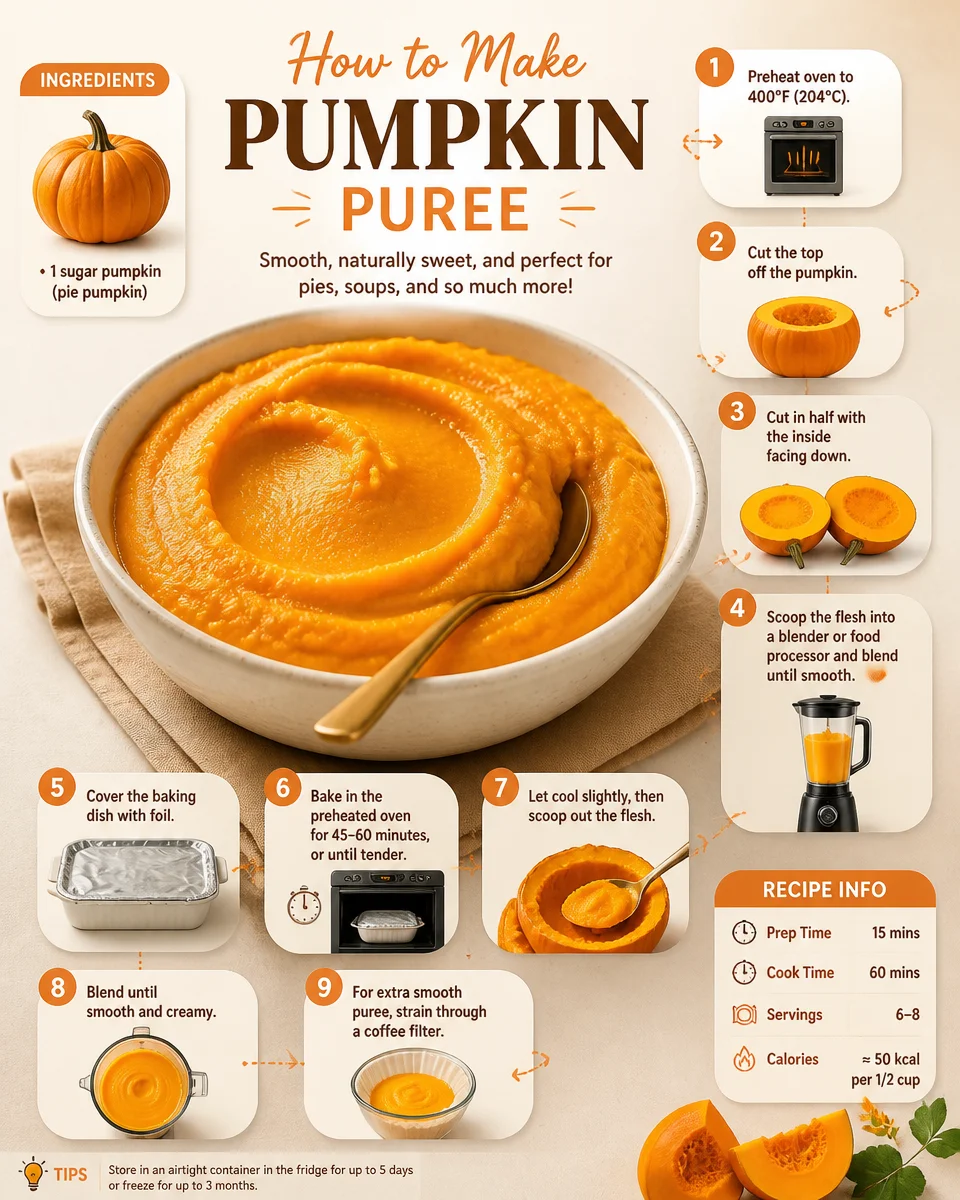
How to Make Pumpkin Puree
As the fall season rolls in, the comforting aroma of freshly baked pumpkin treats fills the air, igniting memories of cozy family gatherings and festive celebrations. Making pumpkin puree at home not only captures the essence of autumn but also offers you the chance to create a silky, rich texture perfect for your favorite recipes. Whether you’re whipping up a batch of pumpkin bread, enriching your smoothies, or creating a wholesome soup, homemade pumpkin puree is a game-changer that elevates your dishes to a whole new level. The process is incredibly simple, and with just a sugar pumpkin and a bit of time, you’ll find yourself with gorgeous, velvety puree that’s brimming with natural flavor. With the right pumpkin and proper technique, you’ll unlock the sweet, earthy essence of this seasonal star, bringing warmth and comfort to your kitchen.
Why You’ll Love This Recipe
One of the best parts of making your own pumpkin puree is the freshness and flavor it brings to your dishes. Store-bought options often contain preservatives and flavoring agents that can take away from the natural sweetness of the pumpkin. When you make it yourself, there’s a sense of accomplishment that comes with transforming a simple vegetable into a luscious puree that you can use in a variety of creative ways. Plus, it’s a wonderful year-round ingredient, enabling you to enjoy the taste of fall even in the spring and summer months. This puree is not just for pies; it can enhance soups, smoothies, sauces, and even dog treats! Enjoy the health benefits too—pumpkins are packed with vitamins A and C, fiber, and antioxidants, making this an easy way to incorporate more nutrition into your meals.
What Makes This Recipe Special
Creating homemade pumpkin puree is an act of culinary love that puts you back in touch with your food. You have complete control over the quality and freshness of the ingredients you use. The process can often be a delightful family activity where everyone pitches in, cutting pumpkins and getting their hands a little messy. This recipe embraces simplicity and emphasizes the joy of cooking from scratch without the need for fancy gadgets; all you need is your oven and a blender. Additionally, this method preserves the bright flavor and creamy texture that is characteristic of the best pumpkin dishes. Making your own puree not only enhances your cooking but allows you to share a delicious homemade ingredient that friends and family will appreciate in your holiday meals.
Ingredients
sugar pumpkin: A smaller, sweeter variety ideal for making rich and flavorful puree.
How to Make How to Make Pumpkin Puree
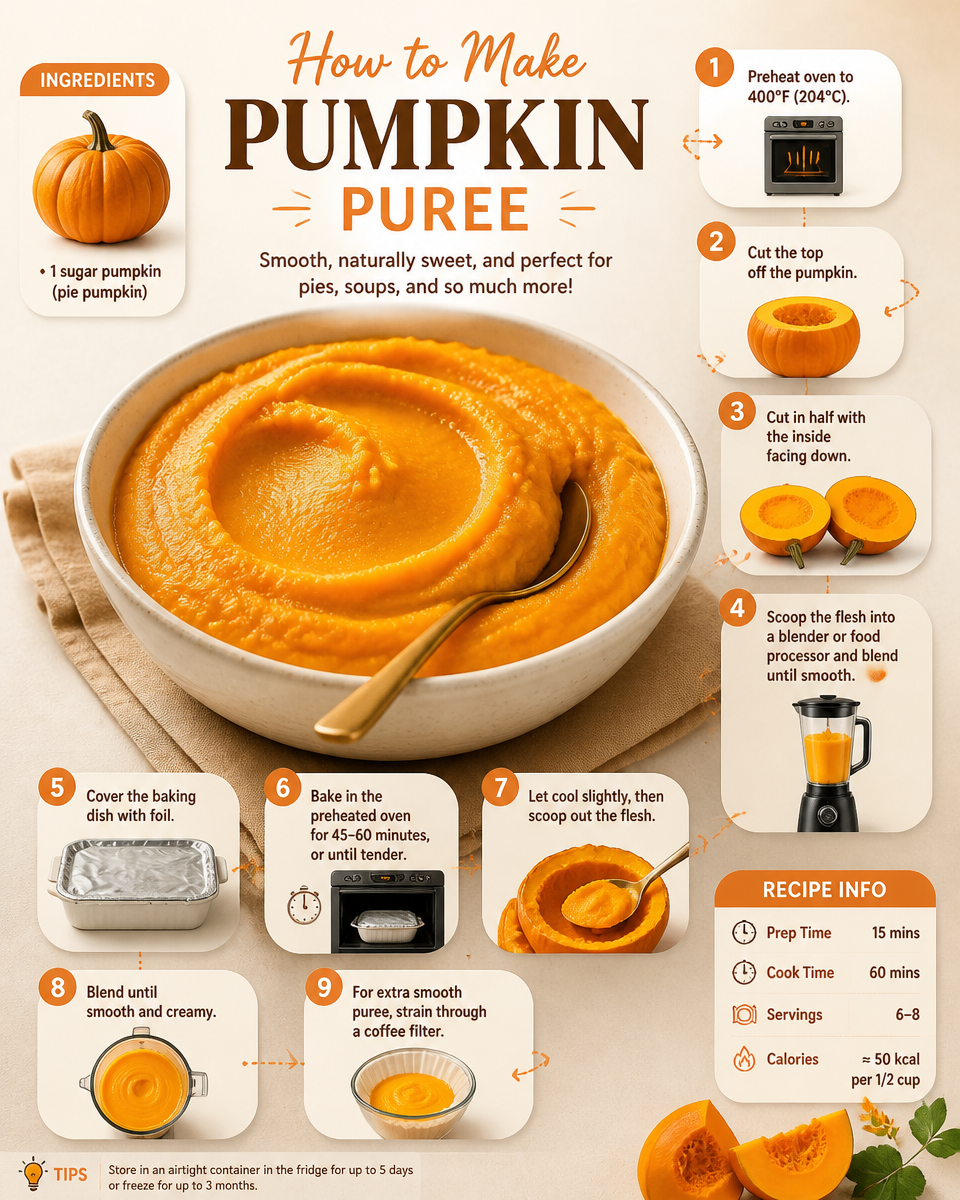
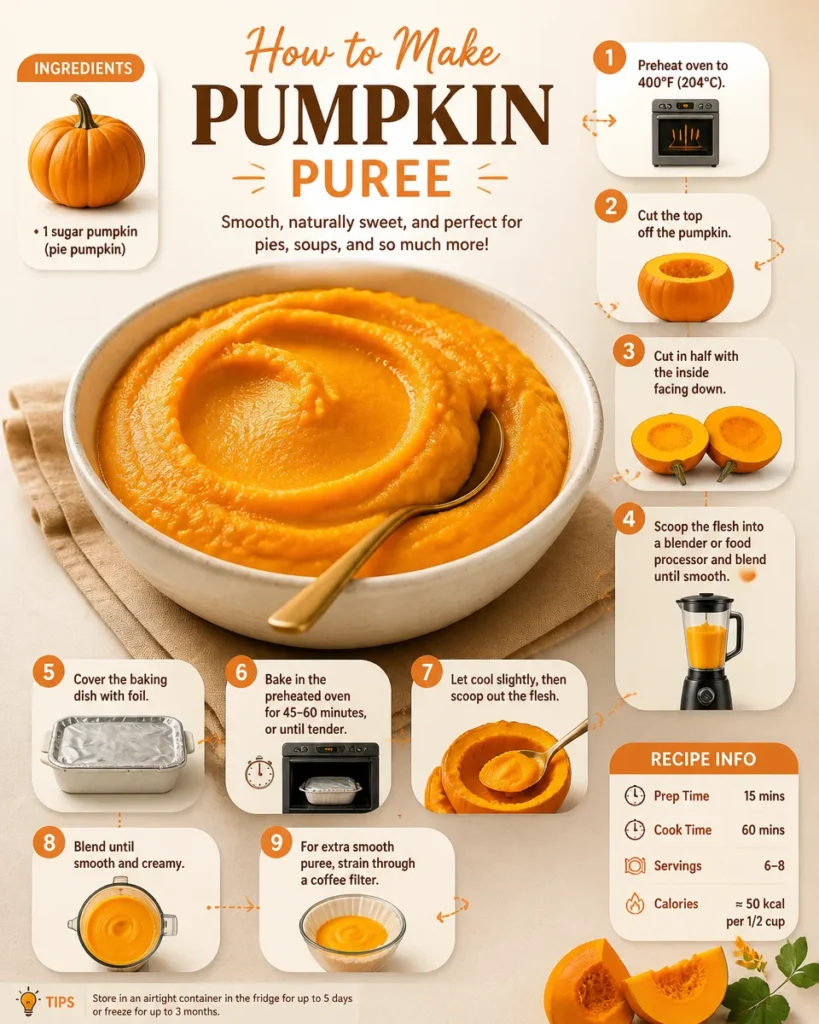
STEP 1. Preheat the oven. Set your oven to 400 degrees Fahrenheit (204 degrees Celsius) to ensure it’s hot enough to roast the pumpkin.
STEP 2. Cut the pumpkin top. Use a sharp knife to carefully slice off the top of the pumpkin for easy access to the insides.
STEP 3. Halve the pumpkin. Slice the pumpkin in half, creating two equal pieces, and scoop out the pulp and seeds—save the seeds for roasting if you desire a crunchy snack.
STEP 4. Prepare for baking. Place the two halves of the pumpkin on a baking sheet or in a shallow baking dish with the insides facing down to trap steam while cooking.
STEP 5. Cover and bake. Tightly cover the baking dish with foil to keep moisture in, which helps the pumpkin cook evenly.
STEP 6. Bake until tender. Bake in the preheated oven for about one hour, or until the pumpkin is tender and easily pierced with a fork.
STEP 7. Cool the pumpkin. Take the pumpkin out of the oven and let it cool completely before handling, which usually takes about 20-30 minutes.
STEP 8. Scoop the flesh. Once cooled, carefully scoop the soft pumpkin flesh into a blender or food processor, discarding the skin.
STEP 9. Blend into puree. Process the pumpkin flesh until smooth, achieving a creamy consistency free from lumps.
STEP 10. Drain excess water. Pour the puree into a coffee filter placed inside a fine mesh strainer over a bowl and let it drain for at least one hour to remove excess moisture.
STEP 11. Finish your puree. After draining, remove the puree from the filter, discarding any excess water left behind.
Pro Tips
To get the best results when making pumpkin puree, follow these expert tips. Firstly, choose a sugar pumpkin; these smaller pumpkins are sweeter and more flavorful than larger decorative varieties. To ensure a smooth puree, blend in small batches, allowing for better control over the texture. Always check for doneness by piercing the pumpkin with a fork; it should be soft all the way through. If you’re short on time, you can also cook your pumpkin in an Instant Pot or air fryer, drastically reducing the cooking time. Lastly, save your pumpkin seeds for roasting—season and bake until crispy for a nutritious snack or a salad topper.
Common Mistakes to Avoid
When making pumpkin puree, avoid these common pitfalls to get the best results. Firstly, ensure you don’t use jack-o’-lantern pumpkins, which are watery and lack flavor. It’s also important to cut and scoop the pumpkin properly; leaving too much flesh on the skin can result in wasted pumpkin. Don’t rush the cooling process; letting the pumpkin cool completely prevents burns and ensures a smooth puree. If your puree seems too watery, it’s likely not drained long enough after blending. Additionally, be cautious with blending; over-blending can introduce too much air, affecting the final texture. Lastly, avoid ingredients that can alter the flavor of your puree, such as salt or sugar, until you’re ready to incorporate it into your recipes.
Variations
• Use butternut squash for an alternative creamy texture.
• Add spices like cinnamon or nutmeg while blending for a flavored puree.
• Mix in maple syrup or honey for a sweeter option.
• Incorporate roasted garlic for a savory twist.
• For a chunkier texture, blend less or add in cooked lentils.
Serving Ideas
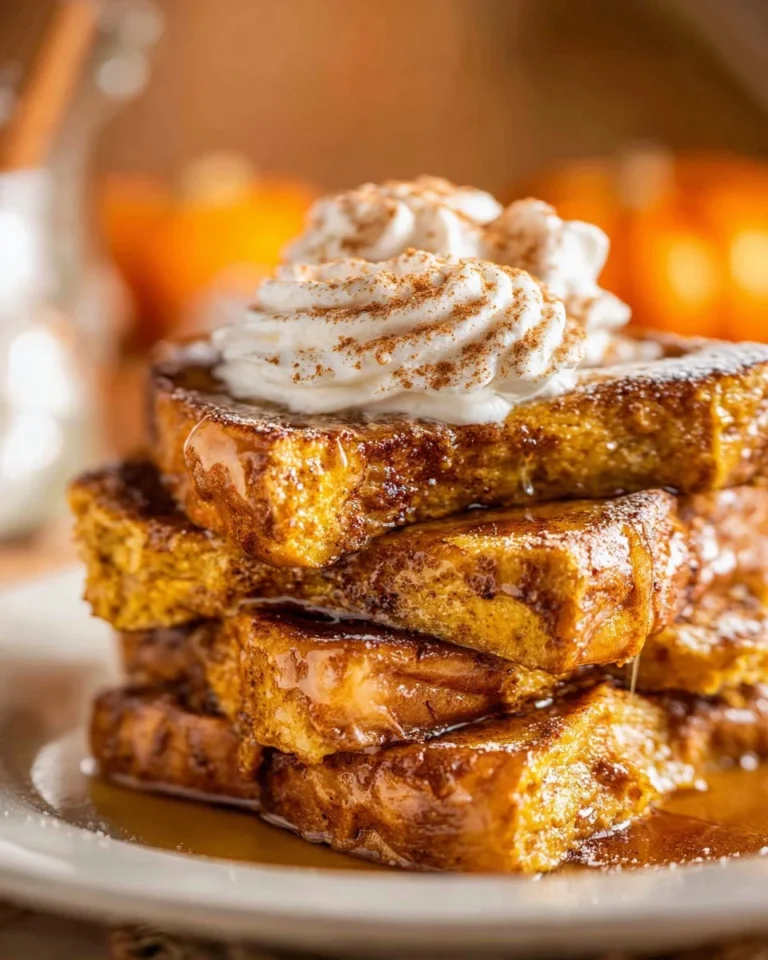
There are countless creative ways to use your homemade pumpkin puree. Stir a dollop into your morning oatmeal or yogurt for an easy, delicious breakfast boost. Use it as a key ingredient in savory soups like pumpkin bisque or a creamy pasta sauce. You can also bake it into a rich pumpkin bread or muffins, perfect for a quick snack or dessert. Mix it into smoothies for added nutrition and creaminess, or use it as a filling for homemade ravioli. As the holidays approach, it’s quintessential for pies and cheesecakes, making it an essential recipe to have in your culinary arsenal.
Meal Prep & Storage
To store your homemade pumpkin puree, keep it in an airtight container in the refrigerator, where it will last for about five to seven days. For longer storage, consider freezing the puree in freezer-safe bags or containers—just remember to label them with the date. Frozen pumpkin puree can maintain its quality for up to six months, making it convenient to use later for fall recipes. When ready to use, simply thaw it in the refrigerator overnight or microwave it in short, 30-second increments. Always stir well before using to ensure it returns to a smooth texture, as freezing may introduce some separation.
{image_template}
FAQs
Can I use any type of pumpkin for puree?
No, for the best flavor and texture, always use sugar pumpkins, also known as pie pumpkins. They are sweeter and less watery than larger decorative pumpkins.
How do I know my pumpkin is done baking?
Your pumpkin is done when it feels soft to the touch, and a fork easily pierces through the flesh without resistance.
How long does homemade pumpkin puree last?
In the refrigerator, homemade pumpkin puree can last for about five to seven days. For longer storage, it’s best to freeze it.
Can I make pumpkin puree in a microwave?
Yes, you can microwave the pumpkin. Cut it in half, remove the seeds, and place it in a microwave-safe dish with water covering the bottom. Microwave for about 10-15 minutes or until soft.
What’s the difference between pumpkin puree and pumpkin pie filling?
Pumpkin puree is simply blended pumpkin, while pumpkin pie filling contains added spices, sugar, and other ingredients specifically designed for baking pies.
Can I use cooked pumpkin instead of raw for puree?
Absolutely! Cooked pumpkin still makes excellent puree and can be easier to work with if you prefer this method.
Conclusion
Homemade pumpkin puree is not only simple to make, but it’s also a delightful way to celebrate the flavors of fall. With a handful of ingredients and straightforward steps, you can whip up a creamy, nutritious puree that will enhance your favorite dishes year-round. Embrace the joys of seasonal cooking and bring the freshness of homemade goodness into your kitchen today!
Pumpkin Puree
Ingredients
Method
- Preheat the oven to 400 degrees Fahrenheit (204 degrees Celsius).
- Using a sharp knife, carefully slice off the top of the pumpkin.
- Slice the pumpkin in half and scoop out the pulp and seeds, saving the seeds for roasting if desired.
- Place the two halves of the pumpkin on a baking sheet with the insides facing down.
- Tightly cover the baking dish with foil.
- Bake in the preheated oven for about one hour or until the pumpkin is tender.
- Let the pumpkin cool completely for about 20-30 minutes.
- Once cooled, scoop the soft pumpkin flesh into a blender, discarding the skin.
- Process the pumpkin until smooth.
- Pour the puree into a coffee filter placed inside a fine mesh strainer over a bowl and let it drain for at least one hour.
- After draining, remove the puree from the filter.