Apple pie bars bring all the comfort of a classic pie without the stress of rolling dough or waiting for perfection. If you’ve ever wanted the warm, cinnamon-scented joy of apple pie in an easy-to-share form, these bars are your answer. Picture crisp autumn afternoons, a kitchen filled with the fragrance of baked apples, and a dessert tray that disappears before you set it down. These apple pie bars fit weekday cravings and holiday gatherings alike. They are buttery, golden, and simply irresistible a dessert that feels nostalgic yet wonderfully practical for today’s busy kitchens.
When Pie Feels Impossible, Apple Pie Bars Save the Day
Every baker knows the sinking feeling: a pie crust that shrinks in the oven, a filling that spills over, or the pressure of bringing a whole pie intact to a gathering. I’ve been there standing in my kitchen, flour on my apron, watching my carefully crafted crust slump like a tired hat. It was a holiday morning, and I wanted nothing more than to share something comforting with my family. That’s when I turned to apple pie bars, a recipe that looked humble on paper but became a treasure in practice.
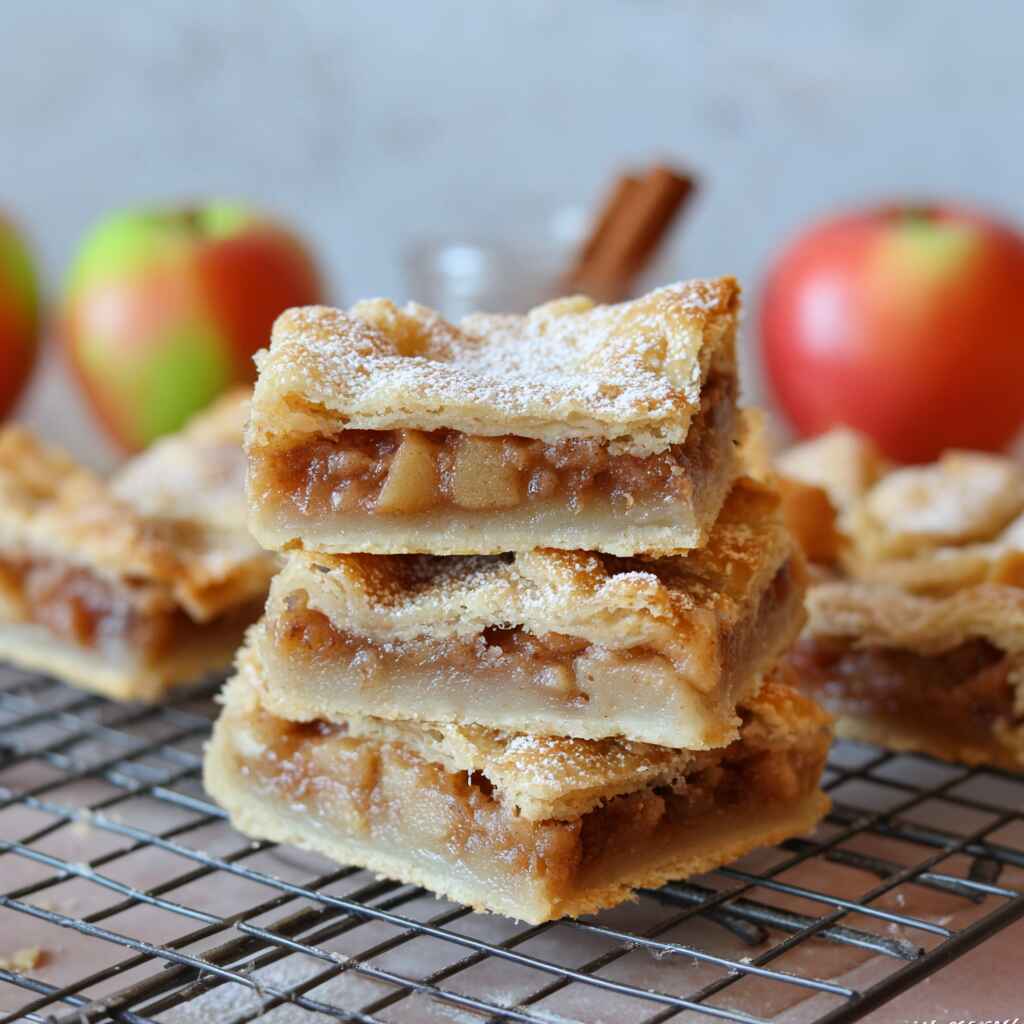
I still remember the first time I baked them. Instead of juggling dough and praying for clean slices, I pressed a buttery crust into a pan, layered it with tender apples, and topped it with a crumble that baked into golden perfection. The scent drew my children into the kitchen long before the timer rang. We cut the bars into neat squares, and for once, every piece looked as beautiful as it tasted. That day, apple pie bars rescued me from kitchen stress and gave my family a dessert we still request every fall.
Apple pie bars are more than a shortcut; they are a solution. They pack the same cozy flavors as traditional apple pie, but they’re reliable, easy, and portable. Whether you’re baking for a school event, a neighborly gift, or just yourself, these bars carry the promise of home in every bite. And unlike pies, you don’t have to worry about presentation every square is a winner.
Sometimes the simplest recipes are the ones that restore our confidence. Apple pie bars are exactly that simple, sure, and always rewarding.
Why Apple Pie Bars Work Every Single Time
What makes apple pie bars so dependable is their simplicity. While traditional pies demand precision chilled dough, careful rolling, and patience with blind baking these bars skip the drama. Instead, the buttery crust presses straight into the pan, the apples bake to soft perfection, and the crumble topping locks in all the cozy flavors. No stress, no guesswork. Just the promise of a golden tray of bars every time.
I often say these bars are “family-proof.” My kids can stir the filling, my husband can sprinkle the crumble, and somehow, it still comes out bakery-beautiful. That reliability makes apple pie bars more than just dessert; they’re a recipe for togetherness. And when a dish consistently delivers, it becomes a tradition worth keeping.The flavor is another reason this recipe wins hearts. Each bite is layered with contrast: crisp crust, spiced apple filling, and crunchy topping. They travel well, slice neatly, and never lose their charm at room temperature. Unlike pies that can be soggy or collapse, apple pie bars hold their shape, making them perfect for potlucks, bake sales, and family holidays.
At their heart, apple pie bars are about more than convenience. They’re about creating something joyful without fear of failure. And that’s why, time and again, they’ve earned a permanent spot in my kitchen.
Ingredients, Substitutions & Foolproof Steps
Here’s everything you’ll need, with helpful notes to guide you:
| Ingredient | Purpose | Swap Option |
|---|---|---|
| All-purpose flour (2 ½ cups total) | Forms the crust and thickens the filling | Use whole wheat pastry flour for a nuttier flavor |
| Salt (½ tsp) | Balances flavor in crust | No swap needed |
| Unsalted butter (12 Tbsp) | Makes the crust tender and rich | Use vegan butter sticks for a dairy-free option |
| Egg yolk (1) | Adds richness to crust | Try 1 Tbsp Greek yogurt as a substitute |
| Milk (¼ cup) | Binds crust | Any plant-based milk works |
| Apples (5 cups, diced) | The star of the show | Stick to firm apples; avoid Red Delicious |
| Granulated sugar (½ cup) | Sweetens filling | Can reduce by 1–2 Tbsp for less sweet bars |
| Light brown sugar (½ cup) | Adds depth and moisture | Use coconut sugar for a caramel-like flavor |
| Ground cinnamon (2 tsp) | Essential spice | Adjust to taste |
| Ground nutmeg (¼ tsp) | Adds warm background flavor | Allspice or clove also work |
| Vanilla extract (1 tsp) | Rounds out flavor | Almond extract for a twist |
| Egg white (1) | Creates a glossy crust top | Can be skipped, but crust won’t be as golden |
| Turbinado sugar (3 Tbsp) | Adds crunch on top | Use demerara or coarse raw sugar |
Common Mistakes to Avoid
- Overworking the crust – Handle the dough gently to keep it tender.
- Skipping the chill – Even a short chill helps prevent shrinking in the oven.
- Using soft apples – Your filling will turn mushy.
- Underbaking – The crust should be fully set and golden before pulling it out.
Pro Tips
- Always taste your apples before adding sugar some are naturally sweeter.
- Don’t skip the foil/parchment liner it helps lift out the bars cleanly.
- Let bars cool completely for neater cuts.
Nutrition Highlights (per bar)
| Nutrient | Per Serving |
|---|---|
| Protein | 2g |
| Carbs | 24g |
| Fat | 9g |
Step-by-Step Instructions
- Preheat & Prep
Preheat your oven to 350°F. Line a 13×9″ baking pan with parchment or foil and spray with nonstick spray. - Make the Crust
In a food processor, pulse flour and salt. Add cubed cold butter and pulse until crumbly. Add yolk and milk; pulse until dough forms. Wrap and chill. - Mix the Filling
Toss diced apples with vanilla, sugars, flour, cinnamon, and nutmeg. Mix until coated. - Assemble Base Layer
Roll out half the chilled dough into a 13×9″ rectangle. Lay it into your prepared pan. - Add Filling
Pour the apple mixture over the crust, spreading evenly. - Top with Second Crust
Roll out the other dough half slightly larger than the pan. Drape it over the apples, tucking edges gently. - Finish & Bake
Brush with egg white and sprinkle turbinado sugar. Bake 55–65 minutes, until golden and firm. - Cool & Cut
Let cool for at least 1 hour before slicing into bars.
Serving, Storage & Freezer Tips
How to Serve Apple Pie Bars
Apple pie bars deserve a little flourish. Serve them warm with a scoop of vanilla ice cream, or let them cool and cut into neat squares for an easy handheld dessert. A drizzle of caramel sauce or a dollop of whipped cream makes them celebration-ready.
How to Store
These bars keep well at room temperature for up to two days in an airtight container. For longer freshness, refrigerate for up to five days. If stacking, place parchment between layers to keep the crumble crisp.
Can You Freeze Apple Pie Bars?
Yes! Once cooled, wrap the bars tightly in plastic wrap and place in a freezer-safe bag or container. They stay fresh for up to three months. Thaw overnight in the refrigerator, then warm slightly in the oven before serving to restore their texture.
Personal Reflection
The first time I froze apple pie bars, I discovered a hidden blessing. Months later, I thawed a batch on a rainy afternoon, and the kitchen filled with the scent of cinnamon again, just as if I had baked them fresh. It reminded me that food is not just about flavor it’s about preserving little pockets of joy we can return to whenever life feels heavy. Apple pie bars do exactly that: they carry comfort forward, ready to be shared at just the right moment.
FAQ Section
1. Can I make apple pie bars ahead of time?
Yes, apple pie bars can be made a day or two in advance. In fact, the flavors often deepen overnight as the apples settle into the crust. Just store them in the fridge, covered tightly, and bring to room temperature before serving.
2. What apples are best for apple pie bars?
The best results come from a mix of tart and sweet apples. Granny Smith adds sharpness, while Gala, Fuji, or Honeycrisp bring natural sweetness. A blend keeps the filling balanced without being too sour or overly sweet.
3. How do I cut apple pie bars cleanly?
Let the bars cool completely before slicing. For neat squares, refrigerate the tray for at least an hour, then cut with a sharp knife. Wipe the blade between slices to keep the edges clean.
4. Can I use other fruits instead of apples?
Absolutely! Pears, peaches, or even berries work beautifully. Keep in mind that softer fruits may release more liquid, so sprinkle in a teaspoon of cornstarch with the filling.
Conclusion
Apple pie bars are proof that dessert doesn’t need to be complicated to be meaningful. They’re golden, spiced, and endlessly shareable the kind of recipe that welcomes family to the table and makes strangers into friends. Every bite carries the warmth of home, the joy of apples in season, and the promise of a dessert that never lets you down. If this recipe reminds you of someone you love, share it with them. Your memories keep recipes alive, one pan of apple pie bars at a time.
Recipe written by Jacqueline – from our kitchen to yours.
Apple Pie Bars
Ingredients
Equipment
Method
- Preheat oven to 350°F. Line a 13×9″ pan with parchment or foil and spray with nonstick spray.
- In a food processor, pulse flour and salt. Add cold butter and pulse until crumbly. Add egg yolk and milk, then pulse until dough forms. Chill dough wrapped in plastic.
- In a large bowl, toss diced apples with both sugars, flour, cinnamon, nutmeg, and vanilla extract. Mix well to coat.
- Roll half the dough to 13×9″. Drape into pan to form bottom crust. Pour in apple filling, spreading evenly.
- Roll remaining dough slightly larger than 13×9″. Drape over filling, tuck edges, and seal gently.
- Brush top with beaten egg white and sprinkle turbinado sugar evenly.
- Bake for 55–65 minutes or until golden and firm. Let cool at least 1 hour before slicing.