
As the sun sets on another busy weekday, the kitchen buzzes with the sounds of pots and pans, children’s chatter, and the faint aroma of dinner wafting through the air. You carve out precious moments to connect with loved ones, but the mounting pressure of feeding your family healthy meals can feel overwhelming. As a health-conscious individual balancing family life and personal health goals, the task seems daunting. Some nights call for indulgence without the guilt, and that’s where our delightful, guilt-free solution steps in—Chocolate Poke Cake. This recipe is more than a dessert; it embodies a comforting moment of joy amidst the chaos.
Once, after a long day filled with work and the kids’ endless activities, I found myself riffling through my pantry, searching for an easy yet satisfying treat to serve after dinner. I needed something that would embrace my family’s cravings while aligning with my desire for healthier options. That’s when Chocolate Poke Cake entered the scene—the perfect balance of sweetness and indulgence, all while being macro-friendly. As I pulled the warm cake from the oven, I felt a soothing wave of relief. Nothing beats the satisfaction of creating something that brings your family together, making all the hustle worth it.
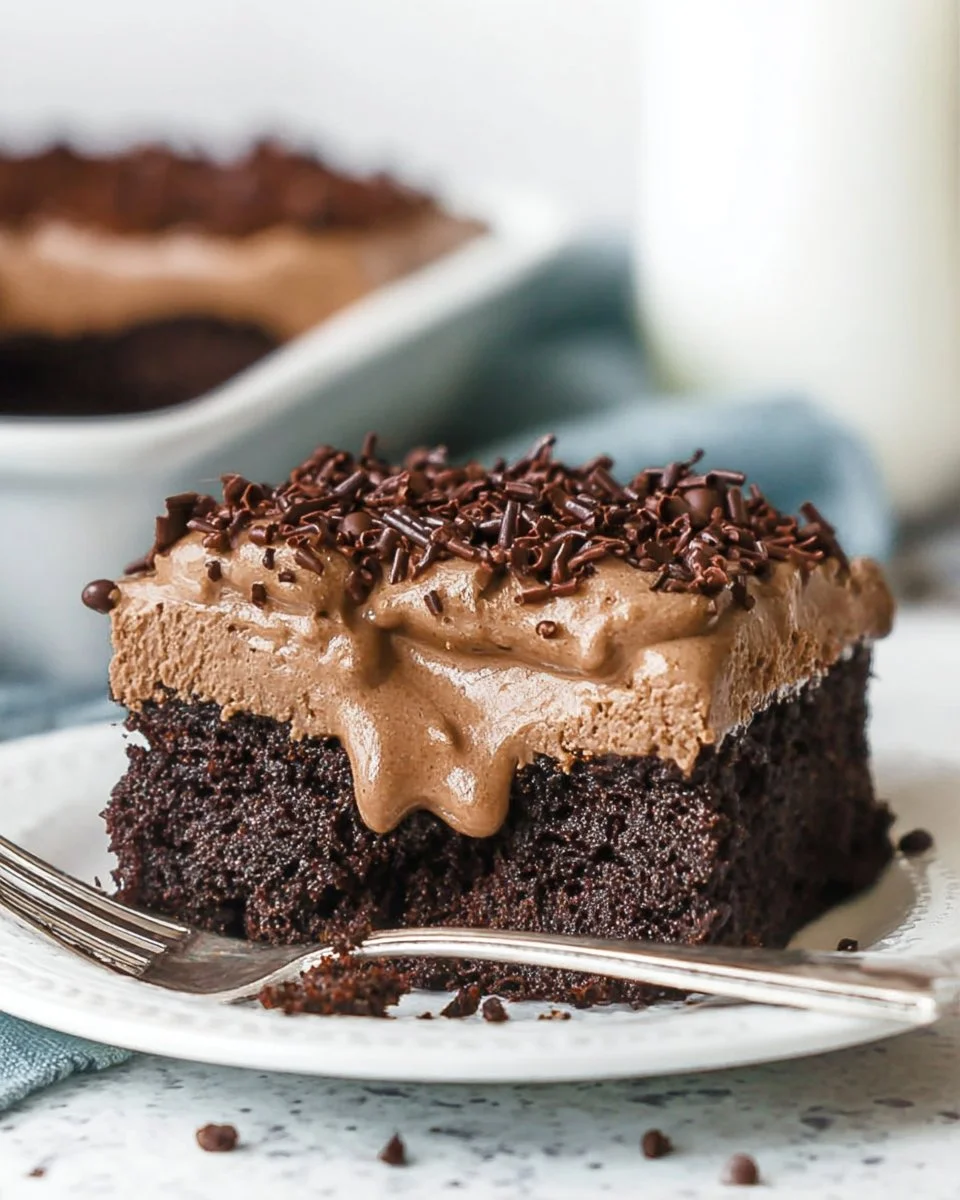
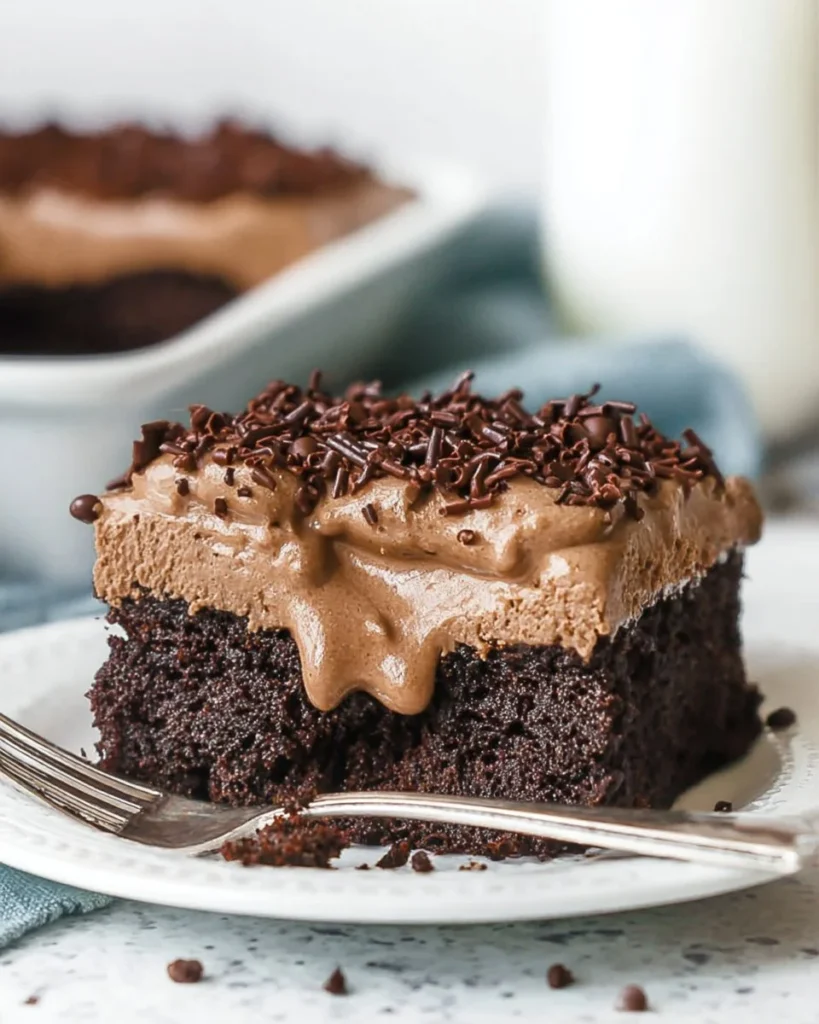
Chocolate Poke Cake works so effortlessly for a reason. Its moist, fluffy texture absorbs the luscious chocolate mixture, creating a symphony of flavors that dance on your palate. Each bite is a delightful fusion of chocolatey goodness and creamy, inviting whipped topping. Rich in taste yet moderate in calories, this cake not only satiates cravings but also serves your nutritional goals, making it ideal for family gatherings or simple weeknight treats. Most importantly, it aligns perfectly with your need for time-saving meals.
Quick Answer: The secret to perfect Chocolate Poke Cake is the addition of hot water, which creates a rich, moist cake that soaks up the sweet topping perfectly.
Ingredients, Substitutions & Foolproof Steps
2 cups (260g) all-purpose flour: The foundation of your cake; measure correctly for best results.
2 cups (414g) sugar: Adds sweetness; consider using a sugar alternative for a low-calorie version.
3/4 cup (85g) natural unsweetened cocoa powder: Delivers that deep chocolate flavor; don’t substitute for sweetened cocoa.
2 tsp baking soda: The leavening agent that helps your cake rise; ensure it is fresh for best results.
1 tsp salt: Enhances the overall flavor; using kosher salt will add a nice touch.
2 large eggs: Binds the ingredients together; egg substitutes can work if needed.
1 cup (240ml) milk: Provides moisture; any non-dairy milk can also work well.
1 cup (240ml) vegetable oil: Keeps the cake tender; can substitute with melted coconut oil for a healthier option.
1 1/2 tsp vanilla: Enhances flavor; using pure vanilla extract over imitation will give a richer taste.
1 cup (240ml) hot water: The key ingredient for a moist cake that soaks up flavor.
14 oz sweetened condensed milk: Creates a rich dessert base; use a low-fat version for fewer calories.
1 cup (169g) semi-sweet chocolate chips: Adds texture and richness; dark chocolate chips are a great lower-sugar option.
2 cups (480ml) heavy whipping cream, cold: Essential for that luscious topping; choose a dairy-free whipped cream for a vegan version.
3/4 cup (86g) powdered sugar: For sweetness in the whipped cream; can be substituted with erythritol for a sugar-free option.
1/4 cup (29g) natural unsweetened cocoa powder: Deepens the chocolate flavor in the whipped cream.
1/2 tsp vanilla extract: The final touch to elevate flavor; using fresh vanilla will shine through.
Chocolate sprinkles, optional: For garnish; consider healthier toppings like crushed nuts or berries.
Directions / Steps
Prepare Your Cake Pan
Grease a 9×13-inch cake pan thoroughly. Preheat your oven to 300°F (148°C), allowing it to reach the perfect baking temperature.
Mix Dry Ingredients
In a large bowl, combine the all-purpose flour, sugar, cocoa powder, baking soda, and salt. Whisk until well blended, ensuring no lumps remain.
Combine Liquids with Dry Ingredients
Add the eggs, milk, vegetable oil, and vanilla extract to your dry mixture. Stir gently until just combined—overmixing can lead to a dense cake.
Incorporate Hot Water
Adding hot water to the batter will seem counterintuitive, but it creates a thin, pourable mixture that results in moisture. Stir gently until just combined.
Bake Your Cake
Pour the batter into the prepared pan and bake for about 40-45 minutes, or until a toothpick inserted in the center comes out with a few moist crumbs.
Poke Holes in the Cake
Once baked, remove the cake from the oven and poke holes all over its surface. I recommend using a knife sharpening rod, but a straw or wooden spoon will work as well.
Prepare the Chocolate Mixture
In a microwave-safe bowl, combine the sweetened condensed milk and chocolate chips. Microwave for about 30 seconds to 1 minute, stirring until smooth.
Pour Over the Cake
Immediately pour the melted chocolate mixture over the warm cake, gently spreading it so it seeps into the holes you’ve created. This is where the magic happens!
Chill the Cake
Set your cake in the fridge and let it cool completely, allowing the chocolate to soak in and intensify the flavor.
Make the Whipped Topping
In a large mixer bowl, combine the heavy whipping cream, powdered sugar, cocoa powder, and vanilla extract. Whip on high speed until stiff peaks form.
Add Whipped Cream to Cake
Spread the whipped topping evenly over the cooled cake. If desired, add chocolate shavings or sprinkles for extra flair.
Serve & Enjoy
Refrigerate until ready to serve. This cake is best enjoyed within 4-5 days, though it may not last that long!
Common Mistakes to Avoid
- Overmixing the Batter
- Avoid dense cake by mixing until just combined. If you see flour pockets, that’s alright.
- Not Poking Enough Holes
- Make sure to poke holes generously; otherwise, the chocolate mixture won’t soak in properly.
- Letting the chocolate mixture sit
- Pour it over the cake immediately after mixing to ensure proper absorption.
- Skipping refrigeration
- Allow your cake to sit in the fridge after pouring the chocolate mixture; this is crucial for texture.
- Storing improperly
- Make sure to cover the cake well in the fridge to prevent it from drying out.
Pro Tips
- Use room temperature ingredients for optimal mixing.
- Bake until the toothpick comes out with a few moist crumbs to retain texture.
- For an even richer experience, add a tablespoon of instant coffee granules to the chocolate mixture.
- Allow for cooling time in the fridge; the flavors deepen beautifully.
Serving, Storage & Freezer Tips
How to Serve Chocolate Poke Cake
Slice your Chocolate Poke Cake into generous portions, garnishing with a sprinkle of chocolate or a dollop of whipped cream for presentation.
How to Store Chocolate Poke Cake
Keep the cake covered in the refrigerator to maintain its moisture. It can last up to 5 days, making it ideal for meal prep or last-minute dessert cravings.
Can You Freeze Chocolate Poke Cake?
Yes, you can freeze the unfrosted cake. Wrap it tightly in plastic wrap and freeze for up to 3 months. Thaw in the fridge before adding whipped topping.
Remember, the joy of sharing food is enhanced by creating lasting memories with family and friends—a beautiful slice of life served on each plate.
FAQ Section
- Can I make Chocolate Poke Cake diabetic-friendly?
- Absolutely! Consider swapping sugar for a diabetic-friendly sweetener, and use low-fat condensed milk. This way, you can indulge while managing blood sugar levels.
- Is there a gluten-free version of this cake?
- For a gluten-free option, simply substitute all-purpose flour with a quality gluten-free flour blend. Follow the same measurements for a delicious alternative.
- Can I make this a low-carb dessert?
- Yes! Swap out sugar and flour for low-carb alternatives, such as almond flour and erythritol. This way, you can stick to your macro-balanced meal plan without sacrificing taste.
- How can I make this cake even more chocolaty?
- Adding cocoa powder into the whipped cream or folding in some chocolate chips into the batter can enrich the chocolate flavor.
Conclusion
As you gather around the table with your family to enjoy the delightful slices of Chocolate Poke Cake, remember that the joy of cooking isn’t just about the food; it’s about creating connections. This dessert is a heartwarming reminder that simple moments can be filled with sweetness and love. If this recipe reminds you of someone you love, share it with them. Your memories keep recipes alive.
Chocolate Poke Cake
Ingredients
Method
- Grease a 9×13-inch cake pan thoroughly. Preheat your oven to 300°F (148°C).
- In a large bowl, combine the all-purpose flour, sugar, cocoa powder, baking soda, and salt. Whisk until well blended.
- Add the eggs, milk, vegetable oil, and vanilla extract to your dry mixture. Stir gently until just combined.
- Add hot water to the batter. Stir gently until just combined.
- Pour the batter into the prepared pan and bake for about 40-45 minutes, or until a toothpick inserted in the center comes out with a few moist crumbs.
- Once baked, remove the cake from the oven and poke holes all over its surface.
- In a microwave-safe bowl, combine the sweetened condensed milk and chocolate chips. Microwave for about 30 seconds to 1 minute, stirring until smooth.
- Immediately pour the melted chocolate mixture over the warm cake, gently spreading it so it seeps into the holes.
- Set your cake in the fridge and let it cool completely.
- In a large mixer bowl, combine the heavy whipping cream, powdered sugar, cocoa powder, and vanilla extract. Whip on high speed until stiff peaks form.
- Spread the whipped topping evenly over the cooled cake. If desired, add chocolate shavings or sprinkles.
- Refrigerate until ready to serve.