There’s something deeply frustrating about bringing home store-bought pita bread only to find it dry, flavorless, and flat instead of puffed with that signature pocket. I used to think homemade pita bread would be complicated, full of kneading and fuss until I tried it myself. To my surprise, it was quick, forgiving, and incredibly satisfying. Homemade pita bread doesn’t just beat the store version it changes the entire sandwich game. With just five ingredients, a hot oven, and a little patience, you’ll have soft, chewy rounds that puff like magic and taste like they came straight from a bakery oven.
The Simple Science Behind the Puff: Why This Homemade Pita Bread Works So Well
What makes homemade pita bread puff into that beautiful pocket? It’s not magic though it feels like it the first time. It’s heat, hydration, and a bit of patience. When you get those three elements right, the dough transforms from a simple flat round into a hollow, steamy pillow of perfection.
Let’s break it down. First, the hydration. This dough is lower in water than peasant bread, but still moist enough to create steam. When the round hits the hot surface of a preheated pizza stone or cast iron pan, the water inside instantly vaporizes. That steam tries to escape and because the top and bottom crusts seal quickly from the intense heat, the only place the steam can go is outward, puffing the dough into a pocket.
Second, the rest times. Letting the dough rest after mixing, and again after rolling, allows the gluten to relax. This makes the dough easier to roll and helps prevent tearing. Rested dough also responds better to heat and rises more consistently.
Third, the gentle handling. If you press too hard when rolling, you’ll squeeze out those tiny air bubbles that help form the initial lift. That’s why this recipe calls for soft hands and confidence.Once you get the feel for it, homemade pita becomes second nature. It’s the kind of recipe you’ll want to make weekly not just for sandwiches, but for tearing and dipping into things like touma garlic sauce or fresh hummus.
Trust your dough, trust the heat, and trust that your kitchen is about to smell amazing.
Foolproof Homemade Pita Bread: Ingredients, Swaps & Step-by-Step Success
One of the best things about homemade pita bread is how few ingredients it needs and how many ways you can make it work with what you have. Here’s a breakdown of what you need, why it matters, and how to avoid the most common pitfalls.
Ingredient Breakdown & Swaps
| Ingredient | Purpose | Substitution |
|---|---|---|
| All-purpose flour | Structure & softness | Up to 50% whole wheat flour (more may reduce puff) |
| Instant yeast | Rise without proofing | Active-dry yeast (proof 15 mins in water first) |
| Kosher salt | Flavor | Sea salt (use slightly less if fine) |
| Olive oil | Tender texture | Avocado or neutral oil |
| Lukewarm water | Hydration for steam | Slightly warm tap water |
Common Mistakes to Avoid:
- Over-rolling the dough: crushes air pockets, no puff.
- Skipping the rest time: stiff dough won’t rise properly.
- Baking on a cold pan: the bread won’t balloon.
Pro Tips:
- Use a digital scale for exact flour/water ratio.
- If dough feels stiff, let it rest longer.
- Always preheat your stone/skillet for at least 10 minutes.
Step-by-Step Instructions (Numbered)
- Mix the Dough
In a large bowl, whisk flour, salt, and instant yeast. Add lukewarm water and olive oil. Stir until shaggy dough forms. - Shape & Rise
Form into a ball with your hands. Drizzle with olive oil. Cover and let rise in a warm spot for 90 minutes. - Portion the Dough
Turn onto a floured surface. Knead briefly. Divide into 6 balls (~73g each). Let rest 30 minutes. - Roll Gently
Flatten each ball into a 6-inch round using a rolling pin. Rest again for 15 minutes. - Bake
Preheat oven with Baking Steel or pan to 550°F. Slide 2–3 rounds (on parchment) directly onto hot surface. Bake 2–3 minutes or until puffed and golden. - Wrap to Soften
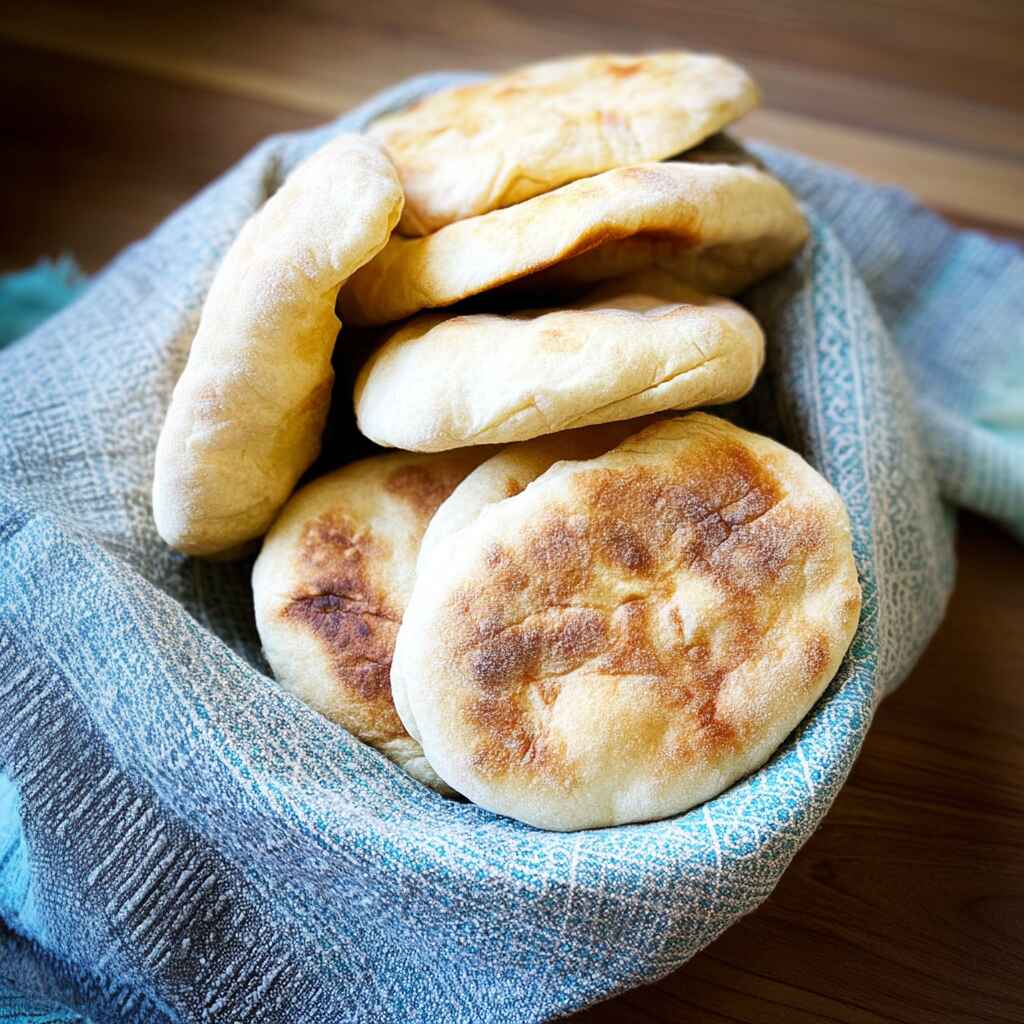
Transfer to a towel-lined bowl and cover to keep soft.
For a comforting pairing, try this with a warm bowl of Middle Eastern lentil soup.
Nutrition Highlights (per pita)
| Nutrient | Per Serving |
|---|---|
| Protein | 7g |
| Carbs | 12g |
| Fat | 6g |
From Oven to Table: Serving, Storing & Freezing Homemade Pita Bread
How to Serve Homemade Pita Bread
Fresh out of the oven, homemade pita bread is soft, warm, and slightly chewy perfect for so much more than just sandwiches. Slice them in half and stuff them with grilled vegetables or chicken shawarma. Or tear them into quarters and use them to scoop up creamy dips like cucumber yogurt sauce, hummus, or touma.
You can also brush them with garlic-infused olive oil, sprinkle with za’atar or sesame seeds, and pop them back in the oven for a minute for an aromatic, toasty snack.
How to Store
To keep your pita soft and fresh:
- Room temperature: Store in an airtight bag or container for up to 3 days.
- Reheat: Gently warm in the oven or microwave wrapped in a damp towel for that fresh-from-the-oven texture.
Avoid the fridge it tends to dry out the bread faster than you’d think.
Can You Freeze Homemade Pita Bread?
Absolutely homemade pita freezes beautifully. Let the bread cool completely, then wrap each one individually in plastic wrap or parchment. Store in a zip-top freezer bag and freeze for up to 3 months.
To reheat: Place frozen pita directly in a warm oven (300°F) for 5–7 minutes, or toast on a hot skillet for a few seconds on each side.
There’s something about the smell of freshly baked bread filling your kitchen that instantly feels like home. When I pull pita from the oven, I think of my mother’s hands, always moving with quiet purpose. This recipe carries a little piece of that memory and now, maybe it will hold some of yours, too.
FAQ SECTION
What is the secret to perfect pita?
The secret lies in three things: a hot cooking surface, well-rested dough, and gentle rolling. When the dough is handled softly and placed onto a blistering hot pizza stone or skillet, the moisture inside turns to steam, puffing the pita into a perfect pocket. Skipping the rest time or rolling too hard can prevent puffing.
How to make pita bread at home?
Making pita at home is simple and quick. You’ll mix flour, salt, yeast, water, and olive oil into a dough, let it rise, then roll into rounds. After a short rest, bake on a hot surface for just 2–3 minutes. That’s it! The result is soft, warm, pocketed pita ready for dipping or stuffing.
What is the difference between pita and Greek-style pita bread?
Traditional pita has a pocket, which forms during baking due to steam. Greek-style pita, however, is thicker and pocketless, with a more pillowy texture. It’s usually grilled and often used as a wrap for gyros or souvlaki, while classic pita is better for stuffing or tearing and dipping.
What kind of flour is best for pita?
Standard all-purpose flour works beautifully for soft, puffed pita. You can use up to 50% whole wheat flour, but more than that might interfere with the pocket formation. Whole wheat adds nuttiness, but also extra bran, which can make the dough denser and tougher to puff.
CONCLUSION
There’s something powerful about baking bread with your own two hands. Homemade pita bread isn’t just easy it’s transformative. It’s the smell in your kitchen, the soft warmth in your hands, and the quiet joy of watching it puff. Whether you serve it with a bowl of lentil soup or tuck in some shawarma, this recipe brings more than food to the table. It brings memory, connection, and comfort.
If this recipe reminds you of someone you love, share it with them. Your memories keep recipes alive.
Homemade Pita Bread
Ingredients
Equipment
Method
- Whisk flour, salt, and yeast in a bowl. Add water and oil. Mix until a shaggy dough forms.
- Briefly knead into a ball. Drizzle with oil, cover, and let rise 90 minutes in a warm spot.
- Turn out onto floured surface. Divide into 6 balls (~73g). Rest 30 minutes.
- Roll each ball into a 6-inch round. Let rest another 15 minutes.
- Preheat oven with Baking Steel or pan to 550°F. Bake 2–3 rounds at a time for 2–3 minutes.
- Wrap hot pita in towel-lined bowl to keep warm and soft.