Sopapilla Cheesecake: A Sweet Escape into Comfort
Life’s little moments can sometimes feel overwhelming. Whether it’s a busy week at work, juggling family responsibilities, or simply striving to enjoy life’s hectic pace, something always seems to be demanding our attention. Amidst this chaos, we all crave a comforting treat that brings a hint of sweetness and nostalgia. That’s where Sopapilla Cheesecake comes to the rescue! This delightful dessert not only satisfies your sweet tooth but also evokes memories of family gatherings and joyful celebrations. In less than an hour, you can whip up this luscious, creamy, and flaky treat that sure feels like a big hug on a plate.
The Reality of Cooking Adventures
Have you ever started a recipe only to find yourself in over your head? I remember my first attempt at making a layered dessert; the mess that ensued was something out of a cooking catastrophe. Imagine crust crumbling, ingredients spilling, and a bubbling mess that threatened to take over my kitchen. It felt like I was overcome by a tidal wave of frustration. The thought of a baking failure made me question my culinary skills. Just when I considered tossing in the towel, my Aunt Clara walked in. She chuckled, making her way through the chaos, and shared her secret for conquering any dessert disaster: “Follow your intuition and remember, every chef has failed in the kitchen more times than they’ve succeeded.”
This revelation altered my perspective and eager spirit. It wasn’t about perfection; it was about the journey and the delightful flavors that unfolded along the way. And now, years later, my experiences dovetail perfectly with this Sopapilla Cheesecake recipe. It’s forgiving, simple, and absolutely delicious—one that can turn any kitchen into a welcoming haven.
If you want to explore more comforting treats, be sure to check out my Peanut Butter Chicken Recipe.
Why is Sopapilla Cheesecake a Crowd-Pleaser?
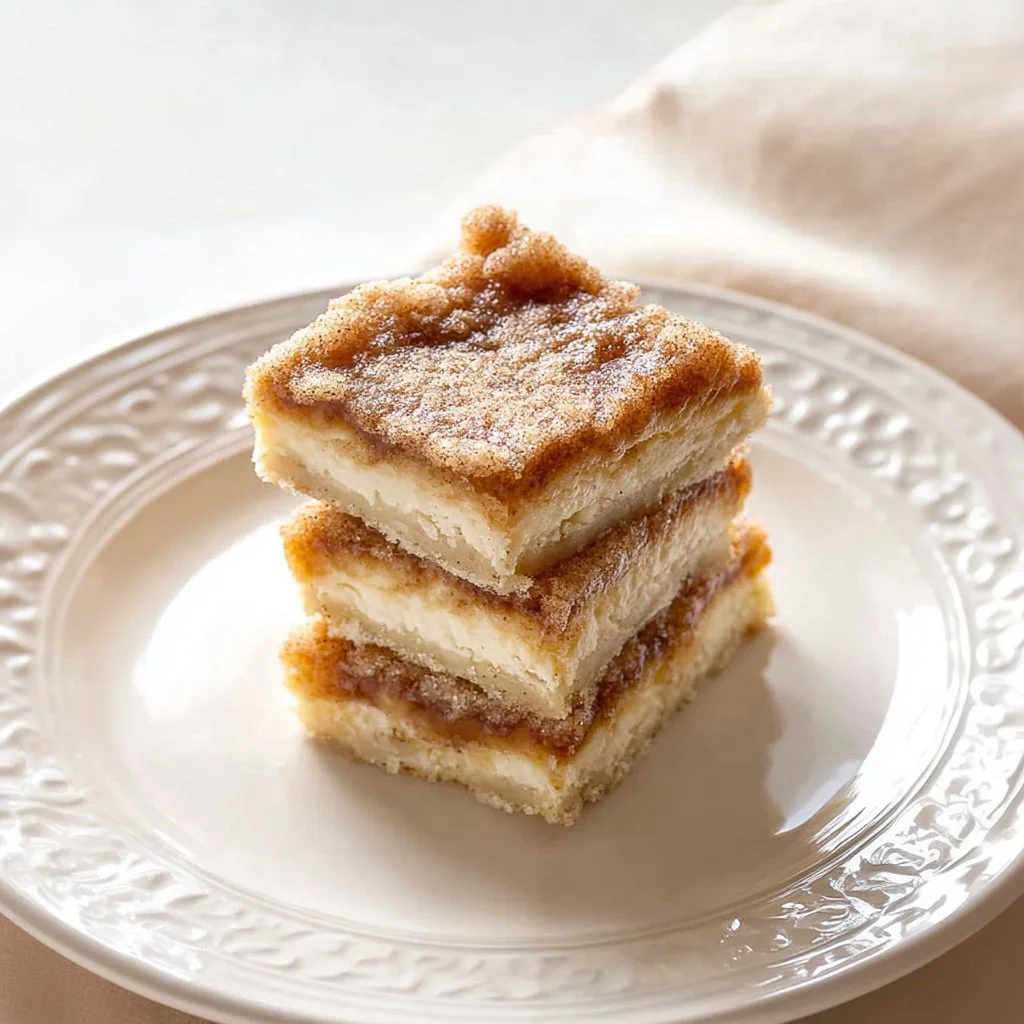
What truly makes Sopapilla Cheesecake work wonders? It’s the marriage of textures and flavors that create an experience beyond just taste. Imagine the flaky crust embracing creamy, rich cheesecake infused with a perfect touch of sweetness and the warmth of cinnamon. Every bite unveils layers of flavor that beckon you back for seconds—maybe even thirds!
Quick Answer: The secret to perfect Sopapilla Cheesecake lies in using crescent roll dough, which delivers a flaky, buttery crust that complements the creamy filling beautifully.
The cheesecake itself is lightened up by the fluffy cream cheese, which pairs beautifully with sugar and vanilla. Every element within this dish works in harmony to create a sense of nostalgia, transporting you to joyful gatherings filled with laughter and love. It simply delights on so many levels—comforting enough for a night in yet classy enough for parties.
To make the experience even richer, consider whipping up a homemade Cinnamon Roll Cake for the breakfast or brunch bandwagon!
Ingredients, Substitutions & Foolproof Steps
You’ll love how easy it is to make this dreamy Sopapilla Cheesecake. Here’s what you’ll need:
- Crescent Roll Dough — Creates an easy-to-work-with crust; can substitute with store-bought pie crust if preferred.
- Cream Cheese — Provides a delightful tanginess; Greek yogurt makes a healthy substitute.
- Sugar — Sweetens the cream cheese filling; you can replace with honey or agave.
- Vanilla Extract — Adds aromatic flavor; vanilla bean paste makes an excellent upgrade.
- Butter — Enhances richness; coconut oil works beautifully as a dairy-free alternative.
- Cinnamon — Offers a warm spice note; nutmeg is a pleasant alternative if desired.
Directions / Steps:
- Preheat your oven to 350°F (175°C).
- Unroll one can of crescent roll dough and press it into the bottom of a greased 9×13 inch baking dish.
- In a bowl, mix the cream cheese, sugar, and vanilla until smooth. Spread the mixture over the crescent roll layer.
- Unroll the second can of crescent roll dough and place it on top of the cream cheese layer.
- Pour melted butter over the top layer and sprinkle with a mixture of sugar and cinnamon.
- Bake for 30-35 minutes or until golden brown.
- Let cool before slicing and serving.
Common Mistakes to Avoid:
- Skipping the greasing step can lead to sticking!
- Overmixing the cream cheese can lead to cracks in the finished product.
- Not letting it cool before slicing can result in a messy presentation.
Pro Tips:
- For extra richness, try serving it with a dollop of whipped cream.
- Leftovers can be refrigerated and enjoyed the next day.
- Add nuts or chocolate chips for extra texture and flavor.
Nutrition Highlights Table:
| Nutrient | Per Serving | |———-|————-| | Protein | 7g | | Carbs | 12g | | Fat | 6g |
The flavors in this Sopapilla Cheesecake weave a beautiful tale of a shared experience at the dinner table. For those who want to explore further, check out our Gluten-Free Dairy-Free Breakfast Ideas to complement this dessert.
Serving, Storage & Freezer Tips
How to Serve Sopapilla Cheesecake
Serve your Sopapilla Cheesecake warm or cold, garnished with fresh fruit, or a light dusting of powdered sugar. It’s versatile enough for breakfast, dessert, or as a decadent snack, making it a must-have for any occasion.
How to Store Sopapilla Cheesecake
Keep leftovers in an airtight container in the refrigerator for up to five days. Reheat individual slices in the microwave if you prefer it warm—trust me, the flavors settle in beautifully over time.
Can You Freeze Sopapilla Cheesecake?
Yes! You can freeze slices wrapped in plastic wrap and aluminum foil for up to three months. Simply thaw in the refrigerator overnight when you’re ready to enjoy.
Having made this delightful cheesecake countless times myself, I can assure you that it has never let me down. It embodies the warmth of shared stories and gatherings, every bite reminding you of simpler times and sweet moments.
FAQ Section
Can I add fruit to the Sopapilla Cheesecake?
Absolutely! Fresh berries or peaches can be layered on top or served alongside the cheesecake, providing a refreshing contrast to its creamy sweetness.
Is it okay to use low-fat cream cheese?
Yes, low-fat cream cheese can be used, but the texture might be slightly different. The cheesecake may not be as creamy, but it will still be delicious!
How long does Sopapilla Cheesecake need to cool?
Allow the cheesecake to cool at room temperature for at least 30 minutes before slicing. This helps set the layers for cleaner cuts.
What if I can’t find crescent roll dough?
You can make your dough from scratch or use a different pastry dough like phyllo, although baking times may vary.
Conclusion
At the heart of every home, there’s a special recipe that warms our souls, and Sopapilla Cheesecake is undoubtedly one of those treasures. It not only brings sweetness into our lives but also sparks cherished memories with loved ones. If this recipe reminds you of someone you love, share it with them. Your memories keep recipes alive.
You May Also Like:
Sopapilla Cheesecake
Ingredients
Method
- Preheat your oven to 350°F (175°C).
- Unroll one can of crescent roll dough and press it into the bottom of a greased 9×13 inch baking dish.
- In a bowl, mix the cream cheese, sugar, and vanilla until smooth. Spread the mixture over the crescent roll layer.
- Unroll the second can of crescent roll dough and place it on top of the cream cheese layer.
- Pour melted butter over the top layer and sprinkle with a mixture of sugar and cinnamon.
- Bake for 30-35 minutes or until golden brown.
- Let cool before slicing and serving.