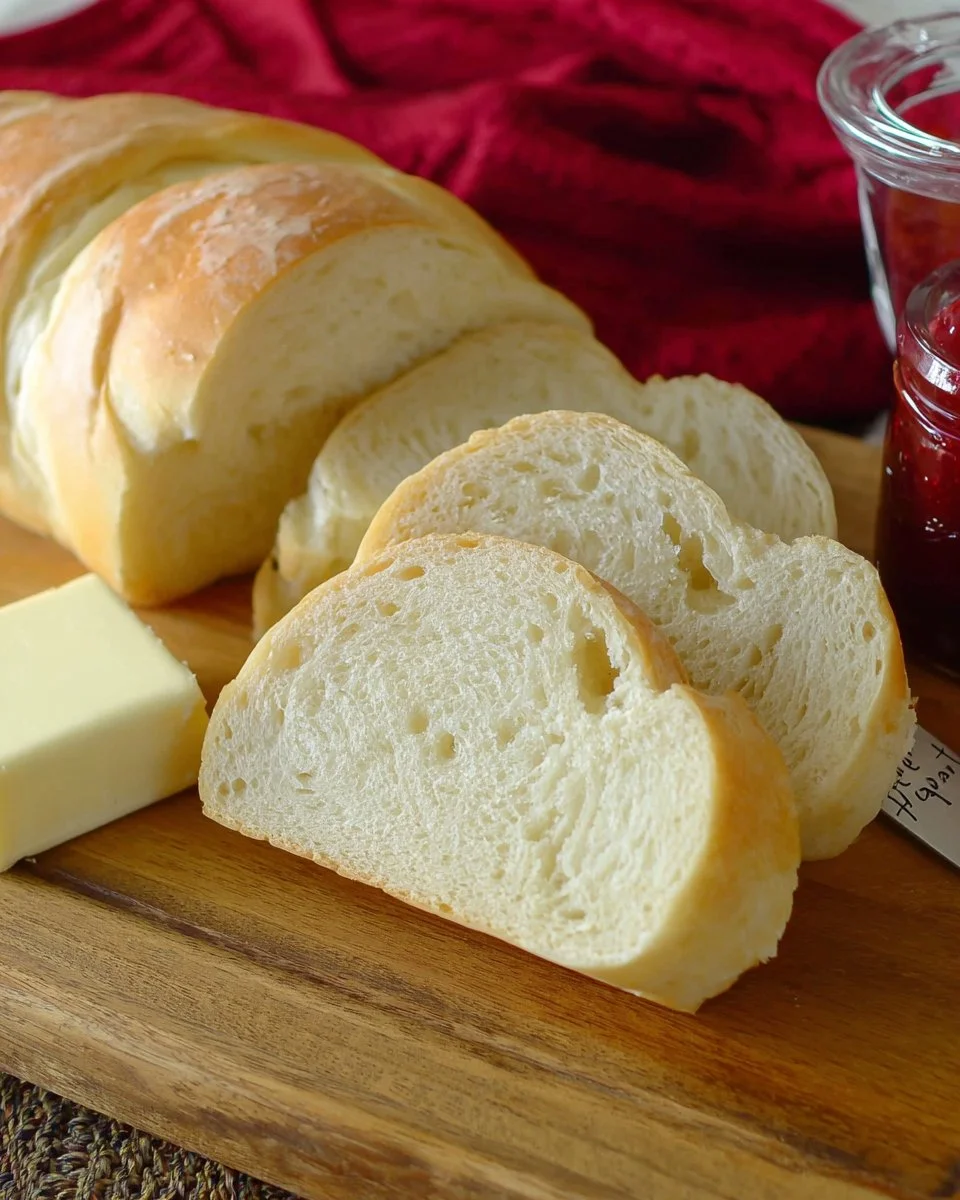
There’s something incredibly comforting about baking bread at home. The warm aroma that fills the kitchen, the crisp golden crust, and the soft, pillowy interior beckon you to slice off a piece right out of the oven. Homemade bread is not just a staple but a labor of love, and making a classic loaf can transform any meal or occasion into a delightful experience. Imagine slathering fresh butter over a warm slice or using it to make a hearty sandwich. The texture is chewy yet tender, with a beautiful crust that’s just waiting for you to break into it. Whether served alongside a bowl of soup or eaten as a standalone snack, homemade bread can elevate any culinary situation. And as you prepare to dive into this cozy cooking adventure, expect your kitchen to become the heart of your home, filled with the irresistible smells of baking that will have everyone flocking to enjoy your creation. Dive into the joy of bread-making, and you’ll discover why it’s become a cherished kitchen tradition for many.
Why You’ll Love This Recipe
This recipe for homemade bread is not only straightforward but also incredibly rewarding. You don’t need any fancy equipment; just a mixing bowl and your hands will suffice. The process of kneading the dough is therapeutic, and the anticipation of watching it rise is a thrill in itself. With this simple recipe, you’ll create a loaf that boasts a crunchy, golden crust coupled with a light and airy crumb. Each bite is a reminder that good things come to those who wait. The satisfaction of pulling your freshly baked bread from the oven, the hearty sound of the crust crackling, and the joy of sharing it with loved ones make this more than just a cooking task—it’s an experience you’ll cherish. Plus, when you master this basic loaf, you can easily adapt it with herbs, seeds, or toppings to tailor it to your tastes and preferences.
What Makes This Recipe Special
What sets this homemade bread recipe apart is the perfect balance of simplicity and flavor. Utilizing just a few basic ingredients, it shows that gourmet results can be reached without complicated methods or hard-to-find items. The yeast is activated in warm water, allowing for optimal fermentation, while the combination of hot water and sugar sets the foundation for a deliciously airy loaf. This recipe gives you the flexibility to shape the dough into traditional French loaves or experiment with different styles. Plus, the method is forgiving—the bread adapts well to different temperatures and conditions, making it suitable for novice bakers. With a lovely color and a satisfying crunch, each loaf is perfect for toast, sandwiches, or just enjoying plain. It’s truly a recipe that reflects the heart of homemade cooking, making it special for any occasion.
Ingredients
active dry yeast: Essential for fermentation, helping the dough rise and develop flavor.
warm water: Activates the yeast, providing the perfect environment for rising.
hot water: Ensures proper dough hydration and activates the sugar content.
sugar: Aids in yeast activation and enhances the bread’s sweetness.
salt: Balances flavors and strengthens the gluten structure.
oil: Adds moisture and richness to the bread, improving texture.
all-purpose flour: The base of the dough, providing structure and chewiness.
egg: Used for brushing to create a shiny, golden crust.
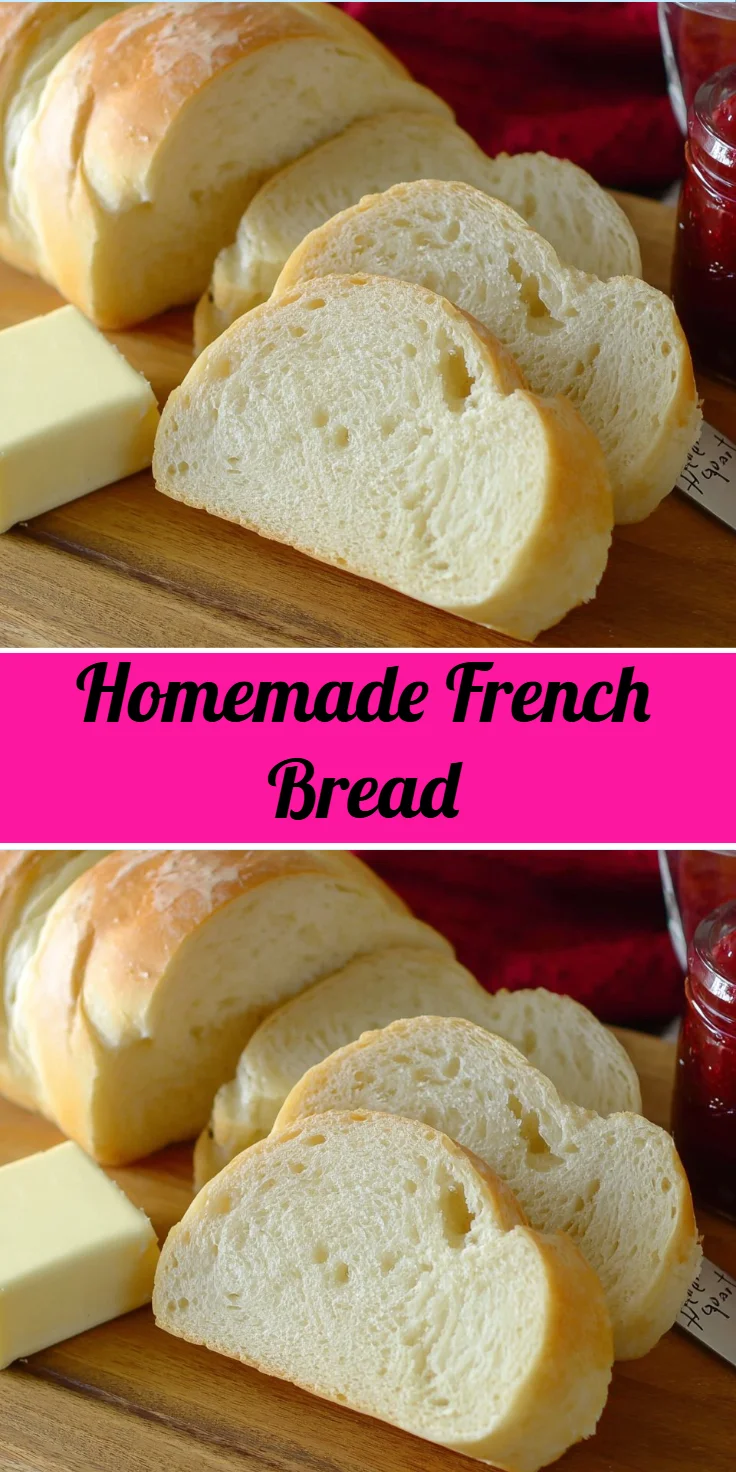
How to Make Homemade French Bread
STEP 1. Proof the yeast. Dissolve the yeast in warm water in a small bowl and allow it to proof for 10 minutes until bubbly.
STEP 2. Combine ingredients. In a mixing bowl, combine hot water, sugar, salt, oil, and 3 cups of flour, mixing until well blended.
STEP 3. Add the yeast mixture. Pour the yeast mixture into the bowl and stir to combine thoroughly.
STEP 4. Add remaining flour. Gradually incorporate the remaining flour, one cup at a time, mixing until the dough starts to pull away from the bowl.
STEP 5. Let the dough rest. Allow the dough to sit for 10 minutes to relax the gluten.
STEP 6. Divide the dough. On a floured surface, divide the dough into 3 equal pieces.
STEP 7. Roll the dough. Roll each piece into a rectangle approximately 9×12 inches and then roll it up tightly like a jelly roll.
STEP 8. Shape the loaves. Shape each rolled piece into a French bread loaf, smoothing out the edges for a uniform appearance.
STEP 9. Prepare the baking tray. Place the loaves seam-side down on a greased baking pan to prevent sticking.
STEP 10. Score the loaves. Make 3-4 diagonal cuts on the top of each loaf using a sharp knife for steam release.
STEP 11. Brush with egg. Brush the tops of the loaves with beaten egg to achieve a glossy finish.
STEP 12. Let rise. Allow the dough to rise uncovered in a warm place for 30-40 minutes until it doubles in size.
STEP 13. Bake the bread. Preheat the oven to 375°F and bake for 18-22 minutes or until the loaves are golden brown.

Pro Tips
To achieve the best results with your homemade French bread, consider these pro tips. First, ensure that the water used for proofing the yeast is not too hot, as this can kill the yeast and prevent proper rising. Ideal temperatures are between 100°F to 110°F. Additionally, when kneading, you want to create a soft, pliable dough that’s not too sticky; flour your surface lightly to manage stickiness. It’s also important to let the dough rise in a warm draft-free area; a turned-off oven with the light on or a cozy corner of your kitchen works wonderfully. Before shaping your loaves, gently deflate the risen dough to remove excess air, ensuring a tight crumb. For an extra touch, add steam to the oven by placing a pan of hot water on the bottom shelf while baking, enhancing the crust’s texture. Lastly, allow the bread to cool on a wire rack after baking, which prevents the bottom from becoming soggy.
Common Mistakes to Avoid
While making homemade bread can be wonderfully rewarding, there are common pitfalls to look out for. One major mistake is not properly activating the yeast, leading to a dense loaf; always check that the yeast is fresh and bubbling before use. Additionally, over-kneading the dough can result in a tough texture, so aim for a smooth, elastic feel without extending kneading excessively. Skipping the rising time can also impact the final product; be patient and ensure the dough has doubled in size. Another mistake is using incorrect flour; stick to all-purpose for best results unless adapting to specialty breads. Also, remember that oven temperatures vary; using an oven thermometer ensures you’re baking at the right temperature, which is crucial for achieving that golden crust. Lastly, don’t cut the bread immediately after baking; allow it to cool completely to set the texture properly.
Variations
• Add minced garlic and fresh herbs for a savory twist.
• Mix in seeds like sesame or poppy for added texture and flavor.
• Incorporate cheese for a rich flavor, perfect for sandwiches.
• Experiment with whole wheat flour for a nutty variation.
• Brush the top with olive oil and sprinkle with sea salt before baking.
Serving Ideas
When it comes to serving your delicious homemade bread, the options are endless. Slice it thick and serve alongside a warm, hearty soup for a complete meal that warms the soul. Use it to create delightful sandwiches filled with your favorite fillings, from classic turkey and cheese to a fresh Caprese with basil and mozzarella. It also pairs perfectly with artisan cheeses and charcuterie for an elegant appetizer spread at gatherings. For a simple treat, toast slices and add a drizzle of honey or a spread of flavored butter. Lastly, crisp leftover slices in the oven for a delightful accompaniment to salads or dips, transforming them into a delightful experience.
Meal Prep & Storage
When it comes to meal prep, homemade bread can be quite flexible. If you’re making it in advance, consider wrapping the fully cooled loaves tightly in plastic wrap and then placing them in a resealable freezer bag. They can be stored in the freezer for up to three months. Thaw loaves at room temperature before slicing and toasting as desired. For short-term storage, keep the bread wrapped in a kitchen towel and stored at room temperature for optimal freshness for up to a few days. It’s essential to avoid moisture-rich environments that can lead to staleness; if you want to extend shelf life, consider slicing and storing in an airtight container. Additionally, you can refresh stale bread by lightly spritzing it with water and warming it in the oven for a few minutes before serving.
FAQs
Can I use instant yeast instead of active dry yeast?
Yes, you can substitute instant yeast for active dry yeast at a 1:1 ratio; just mix it directly into the flour without proofing.
How do I know when the bread is done baking?
The bread is done when it reaches a golden brown color and sounds hollow when tapped on the bottom. You can also use an internal thermometer for accuracy, aiming for approximately 190°F.
Can I add other ingredients to this recipe?
Absolutely! Feel free to add herbs, cheese, or spices to customize the flavor of your bread. Just keep the primary ratios in mind for best results.
How do I store leftover bread?
To keep leftover bread fresh, wrap it in a kitchen towel at room temperature or freeze it if you won’t finish it within a few days.
What can I do with stale bread?
Stale bread can be transformed into croutons, breadcrumbs, or bread pudding for delicious leftover meals. They can add texture and flavor to various dishes.
Conclusion
Making your own French bread is such a fulfilling endeavor, offering a sensory experience unlike any other. The beautiful aroma, satisfying texture, and warm, comforting taste of your homemade creation will surely become a family favorite. Embrace this simple recipe, and let it lead you into a delightful world of baking. Remember, it’s not just about the final bread; it’s about the process and joy of creating something wonderful in your kitchen. Happy baking!

Homemade French Bread
Ingredients
Method
- Proof the yeast by dissolving it in warm water in a small bowl and allowing it to sit for 10 minutes until bubbly.
- In a mixing bowl, combine hot water, sugar, salt, oil, and 3 cups of flour, mixing until well blended.
- Pour the proofed yeast mixture into the bowl and stir to combine thoroughly.
- Gradually incorporate the remaining flour, one cup at a time, until the dough starts to pull away from the bowl.
- Allow the dough to rest for 10 minutes to relax the gluten.
- On a floured surface, divide the dough into 3 equal pieces.
- Roll each piece into a rectangle approximately 9x12 inches, then roll it up tightly like a jelly roll.
- Shape each rolled piece into a French bread loaf, smoothing out the edges for a uniform appearance.
- Place the loaves seam-side down on a greased baking pan to prevent sticking.
- Make 3-4 diagonal cuts on the top of each loaf using a sharp knife for steam release.
- Brush the tops of the loaves with beaten egg to achieve a glossy finish.
- Allow the dough to rise uncovered in a warm place for 30-40 minutes until it doubles in size.
- Preheat the oven to 375°F and bake for 18-22 minutes, or until the loaves are golden brown.