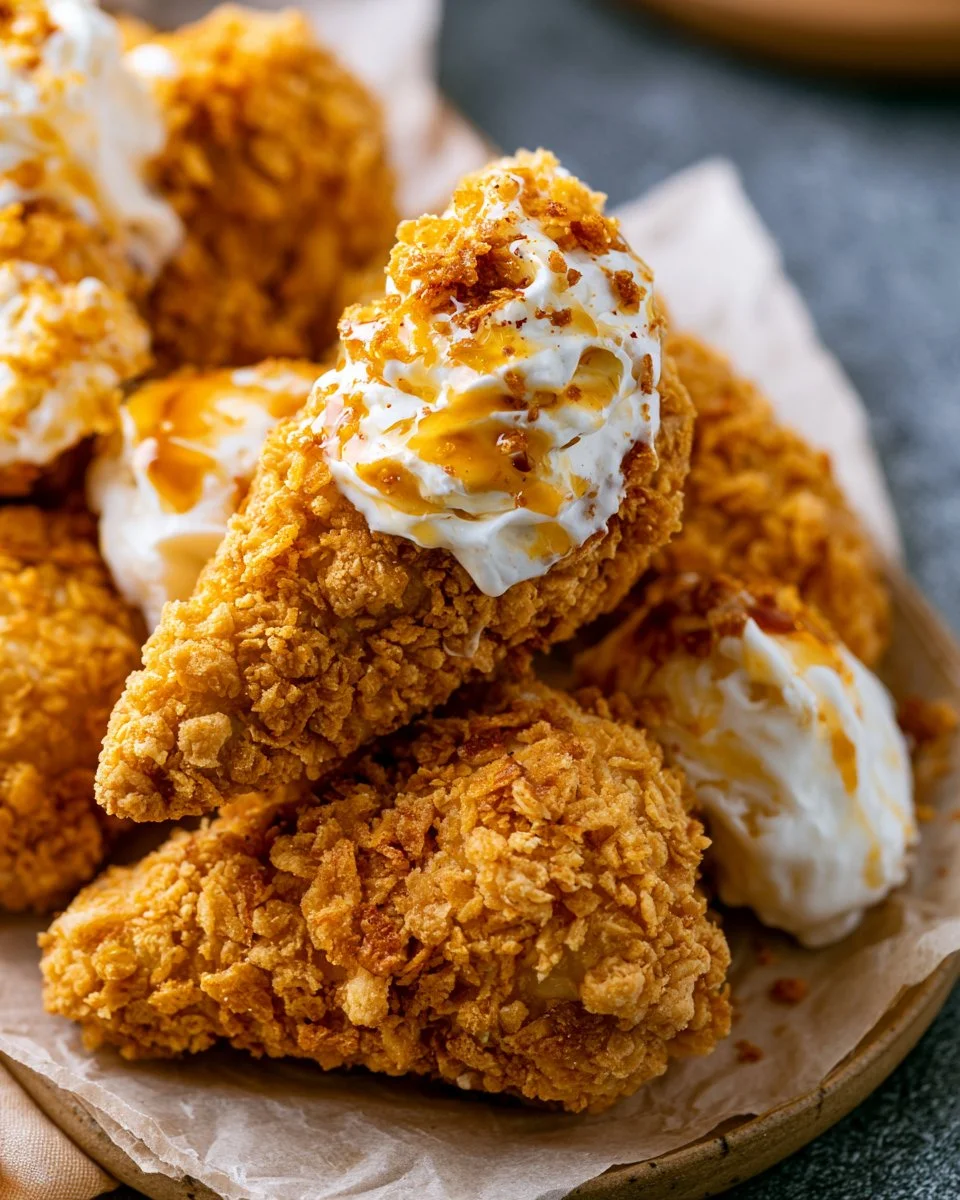
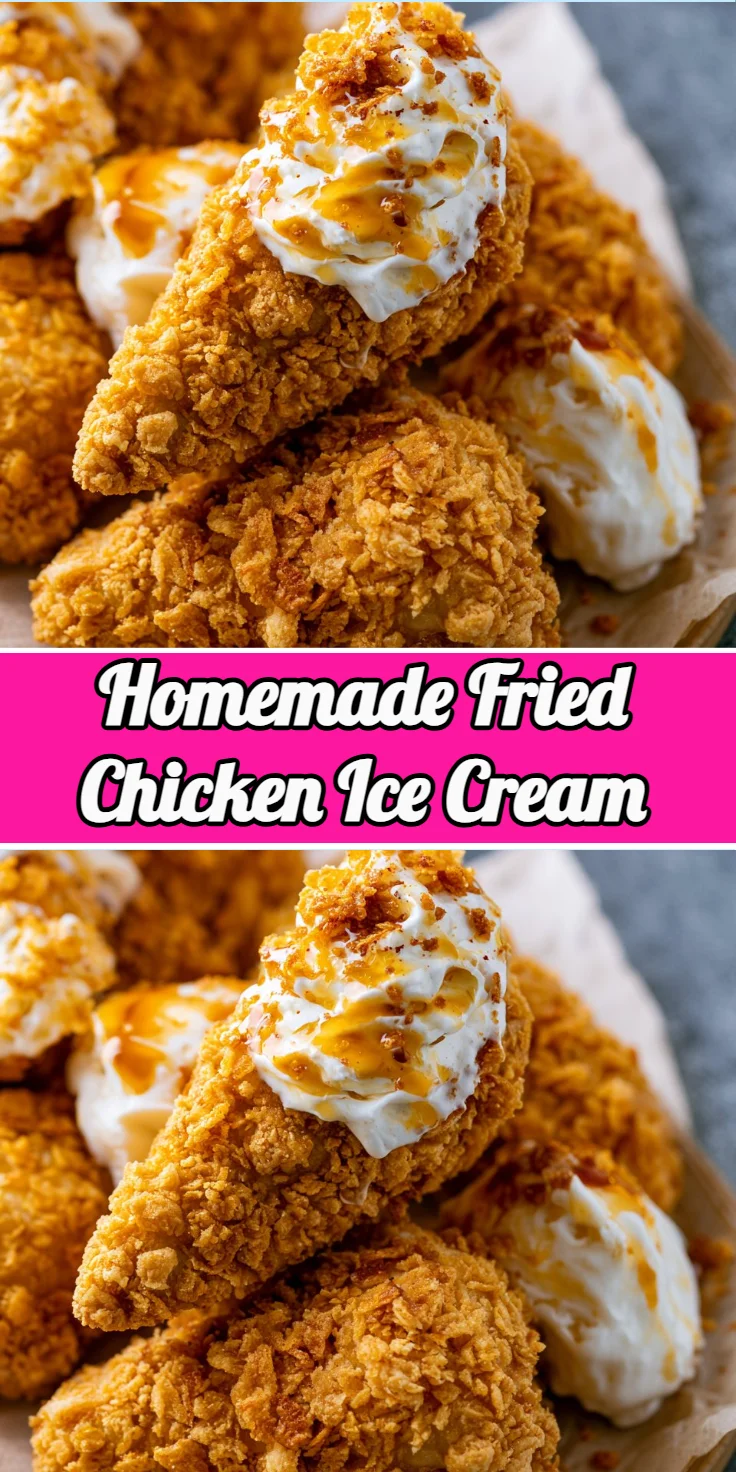
Imagine the thrill of biting into a crispy outer layer only to be pleasantly surprised by a creamy, sweet center that melts in your mouth. This delightful paradox combines the taste of crispy fried chicken with the smooth allure of ice cream. It’s a bold dessert that’s perfect for adventurous eaters and those who enjoy culinary surprises. Homemade treats provide a satisfying way to express creativity in the kitchen, and this unique recipe will surely become the talk of your next gathering. With its crunchy cornflake coating and rich white chocolate flavor, you’ll experience the ultimate comfort food treat. As the heat of summer approaches, there’s no better way to cool off than with this playful dessert that blurs the lines between savory and sweet. Prepare to impress your family and friends with this unexpected yet utterly enjoyable frozen dessert. Like a savory chicken nugget meets a decadent ice cream, this treat is destined to be a Pinterest favorite!
Why You’ll Love This Recipe
This recipe stands out for its inventive twist on classic flavors. The combination of rich heavy cream, sweetened condensed milk, and the crunch of cornflakes adds layers of texture and flavor that are sure to impress. Plus, it leverages the creativity often found in food trends, offering something beyond the ordinary dessert. Whether you’re planning a family gathering or looking to surprise a special someone, this dish invites joy and laughter with each flavorful bite. Not only is it a delightful treat, but it is also a hit when served at parties, instantly becoming the centerpiece that captures attention and sparks conversations. With the perfect blend of nostalgic taste and bold innovation, this homemade frozen dessert embraces the joy of cooking and serving to loved ones.
What Makes This Recipe Special
What makes this recipe truly unique is the whimsical fusion between savory and sweet, unapologetically celebrating both worlds. Instead of traditional ice cream flavors, we infuse a playful presentation resembling fried chicken, making it visually enticing and fun to eat. The creation process is straightforward, allowing even novice cooks to enjoy the satisfaction of making their own ice cream from scratch. Each bite delivers a delightful crunch from the cornflake coating, creating a perfect contrast with the creamy frozen center. The use of high-quality ingredients such as heavy cream and premium white chocolate enhances the overall experience, ensuring that each scoop pleases the palate. This is not just a dessert; it’s a conversation starter that invites curiosity and delight among your guests, making it an unforgettable addition to any gathering.
Ingredients
heavy cream: Provides creaminess and richness, forming the base of the ice cream.
sweetened condensed milk: Adds sweetness and helps create a smooth texture that pairs perfectly with the heavy cream.
vanilla extract: Enhances the overall flavor with a lovely aromatic note.
white chocolate chips: Offers a sweet, creamy flavor that complements the dessert.
refined coconut oil: Smooths the melted chocolate for easier coating and adds a subtle flavor.
cornflakes: Provides a crunchy texture that mimics fried chicken and adds crunch to the dessert.
How to Make Homemade Fried Chicken Ice Cream
STEP 1. Chill the equipment. Pour cold heavy cream into a stand mixer bowl and refrigerate it along with the whisk attachment.
STEP 2. Prepare the baking dish. Line a baking dish with parchment paper and set aside.
STEP 3. Whip the cream. Whisk the heavy cream on medium-low speed for 30-60 seconds, then increase to medium-high until soft peaks form.
STEP 4. Achieve stiff peaks. Reduce to medium speed and whisk until stiff peaks form in the cream.
STEP 5. Combine the ingredients. Gently fold in the sweetened condensed milk and vanilla extract until fully combined with the whipped cream.
STEP 6. Transfer to a baking dish. Move the mixture to the prepared baking dish, smoothing it out into a flat layer, and freeze for at least 8 hours.
STEP 7. Shape the ice cream. Once frozen, cut the mixture into chicken nugget or drumstick shapes.
STEP 8. Prepare a baking sheet. Line a baking sheet with parchment paper.
STEP 9. Melt chocolate. Melt white chocolate and coconut oil in a microwave-safe bowl at 50% power, stirring intermittently until smooth.
STEP 10. Coat the ice cream shapes. Dip the ice cream shapes into the melted chocolate, then roll them in the crushed cornflakes.
STEP 11. Freeze again. Return the coated ice cream to the baking sheet and freeze for at least 1 hour to set.
STEP 12. Serve or store. Serve immediately or store in an airtight container in the freezer until ready to enjoy.

Pro Tips
For a smoother ice cream consistency, make sure to whip the heavy cream until it reaches stiff peaks; this adds air and lightness to the mix. If the mixture is too soft after adding the condensed milk, try refreezing it for a couple of hours and re-whipping before molding. To achieve the crispiest cornflake coating, use fresh cornflakes and lightly crush them just before coating the ice cream. When melting the white chocolate, be cautious to avoid overheating, as it can seize; using 50% power allows for a gentle melt. Enjoy experimenting with the shape of the ice cream—create smaller bites or larger drumstick-style pieces to suit your serving size preferences. Lastly, keep the coated ice cream in the freezer until serving to prevent melting and to maintain the desired texture.
Common Mistakes to Avoid
One common mistake is not allowing sufficient freezing time for the ice cream mixture; proper freezing is crucial to achieve the right texture. Another issue may arise from not whipping the cream enough; ensure it reaches stiff peaks for the best volume and lightness. When coating the ice cream, avoid over-soaking the pieces in melted chocolate, as this can result in a soggy texture. Instead, let excess chocolate drip off before applying the cornflake coating. Be mindful of using refined coconut oil; using unrefined can impart a coconut flavor that may not be desirable in this recipe. Lastly, avoid leaving the coated pieces out for too long at room temperature before serving, as they can quickly melt and lose their delightful shape.
Variations
• Add caramel or chocolate drizzle on top for extra sweetness.
• Use fruit-flavored white chocolate for a fruity twist.
• Swap crushed cookies for cornflakes for a unique texture.
• Incorporate sprinkles for a festive look.
• Experiment with different ice cream shapes, like stars or hearts.
Serving Ideas
This inventive dessert can shine as the highlight of a summer gathering or as a whimsical treat for children’s parties. Serve alongside fresh fruit for a contrast in flavor and texture. Pair with whipped cream and chocolate sauce for an indulgent experience. For a refreshing touch, consider garnishing with mint leaves. Place the ice cream shapes on a wooden platter for a rustic presentation, inviting guests to help themselves. You can also create an ice cream sundae bar, allowing friends to customize with their favorite toppings and accompaniments, turning dessert into an interactive event.
Meal Prep & Storage
Making this homemade treat ahead of time is a great way to ensure you have a delightful dessert ready for any occasion. Assemble the ice cream mix and freeze it for at least 8 hours to achieve the right consistency. Once cut into shapes and coated, store them in an airtight container, ensuring they are separated by parchment paper to prevent sticking. They can last up to two weeks in the freezer; however, they are best enjoyed fresh within the first few days. For added freshness, place a layer of wax paper between the ice cream shapes and the container lid; this helps prevent freezer burn and ensures a delightful experience when you indulge in this sweet treat.
FAQs
Q: Can I use a different flavor of extract?
A: Yes, almond or even coconut extract can add an interesting flavor twist to your ice cream!
Q: Is it possible to make this dairy-free?
A: Absolutely! Substitute heavy cream with a dairy-free alternative like coconut cream and use a dairy-free chocolate for coating.
Q: How do I know when the ice cream is ready to serve?
A: The ice cream should be completely frozen and firm to the touch, and it should hold its shape after being cut.
Q: Can I make this without an electric mixer?
A: Yes, you can whip the cream by hand using a whisk, although it may take more effort to achieve the desired peaks.
Q: What is the best way to store leftovers?
A: Store any leftovers in an airtight container in the freezer to maintain freshness; they can last up to two weeks if properly stored.
Conclusion
Creating this delightful dessert is not just about the taste; it’s about the joy it brings to everyone who experiences it. The playful presentation and unique flavor will leave a lasting impression, making this treat a must-try for any dessert lover. Each scoop captures the essence of fun and culinary creativity, making gatherings even more special. Indulge in this creamy yet crispy fusion, and you’ll find yourself craving it long after it’s gone!

Fried Chicken Ice Cream
Ingredients
Method
- Chill the equipment by refrigerating a stand mixer bowl and whisk attachment.
- Line a baking dish with parchment paper and set aside.
- Whisk the heavy cream on medium-low speed for 30-60 seconds, then increase to medium-high until soft peaks form.
- Reduce to medium speed and whisk until stiff peaks form.
- Gently fold in the sweetened condensed milk and vanilla extract until fully combined.
- Transfer the mixture to the prepared baking dish and smooth into a flat layer. Freeze for at least 8 hours.
- Once frozen, cut the mixture into chicken nugget or drumstick shapes.
- Line a baking sheet with parchment paper.
- Melt the white chocolate and coconut oil in a microwave-safe bowl at 50% power, stirring intermittently until smooth.
- Dip the ice cream shapes into the melted chocolate, then roll them in the crushed cornflakes.
- Return the coated ice cream to the baking sheet and freeze for at least 1 hour to set.
- Serve immediately or store in an airtight container in the freezer until ready to enjoy.