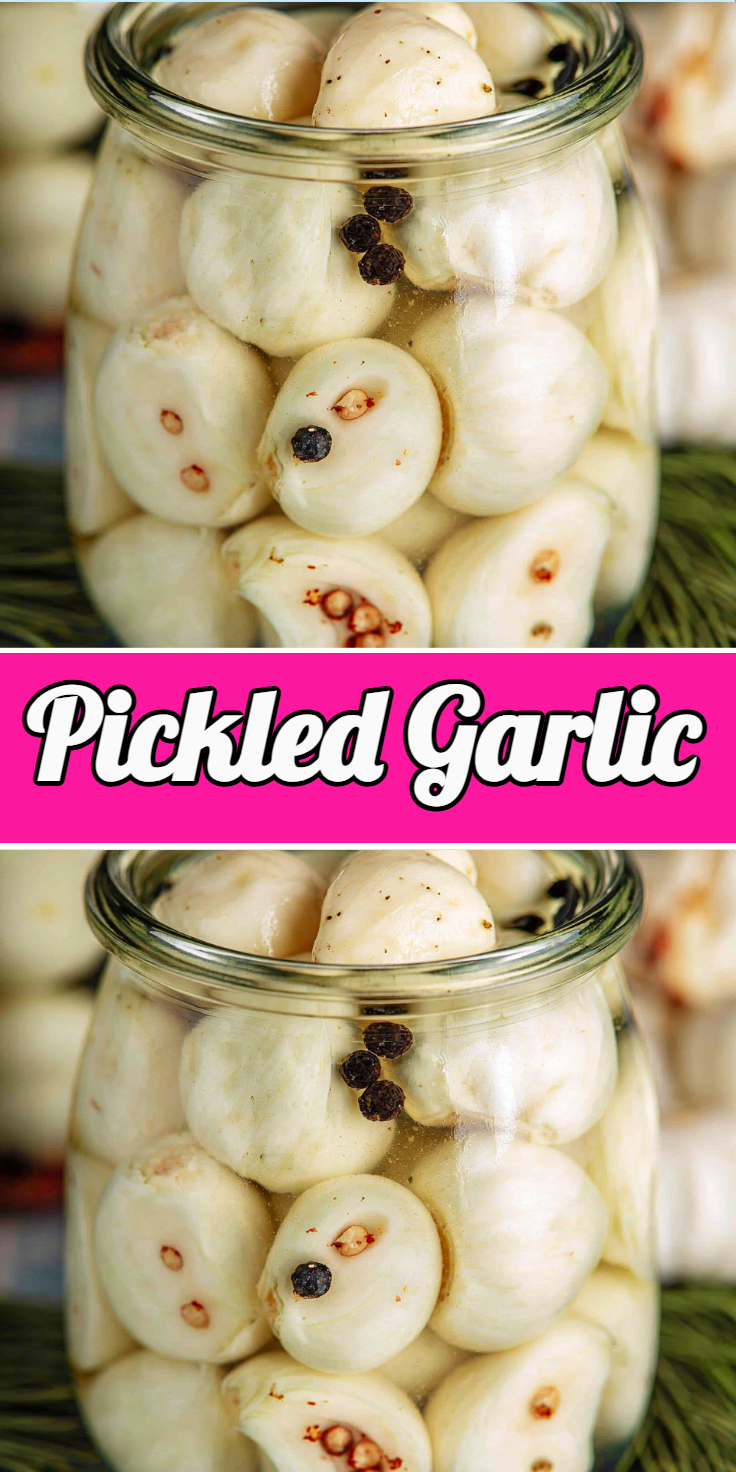
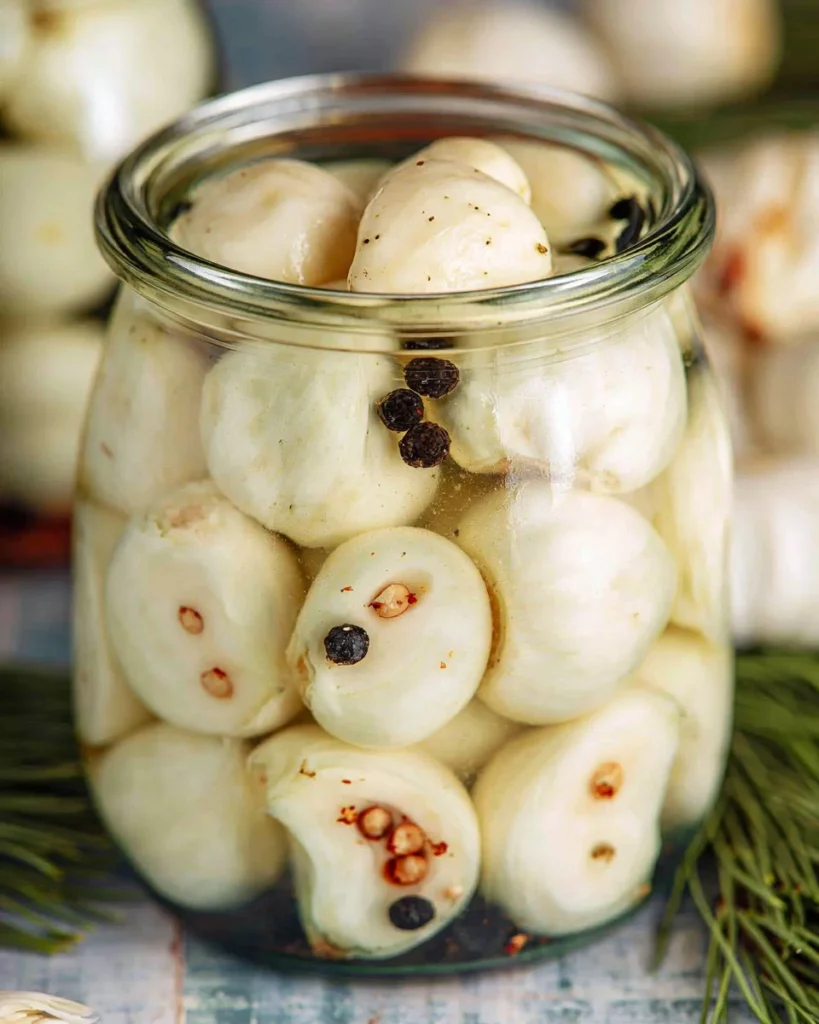
Pickled Garlic
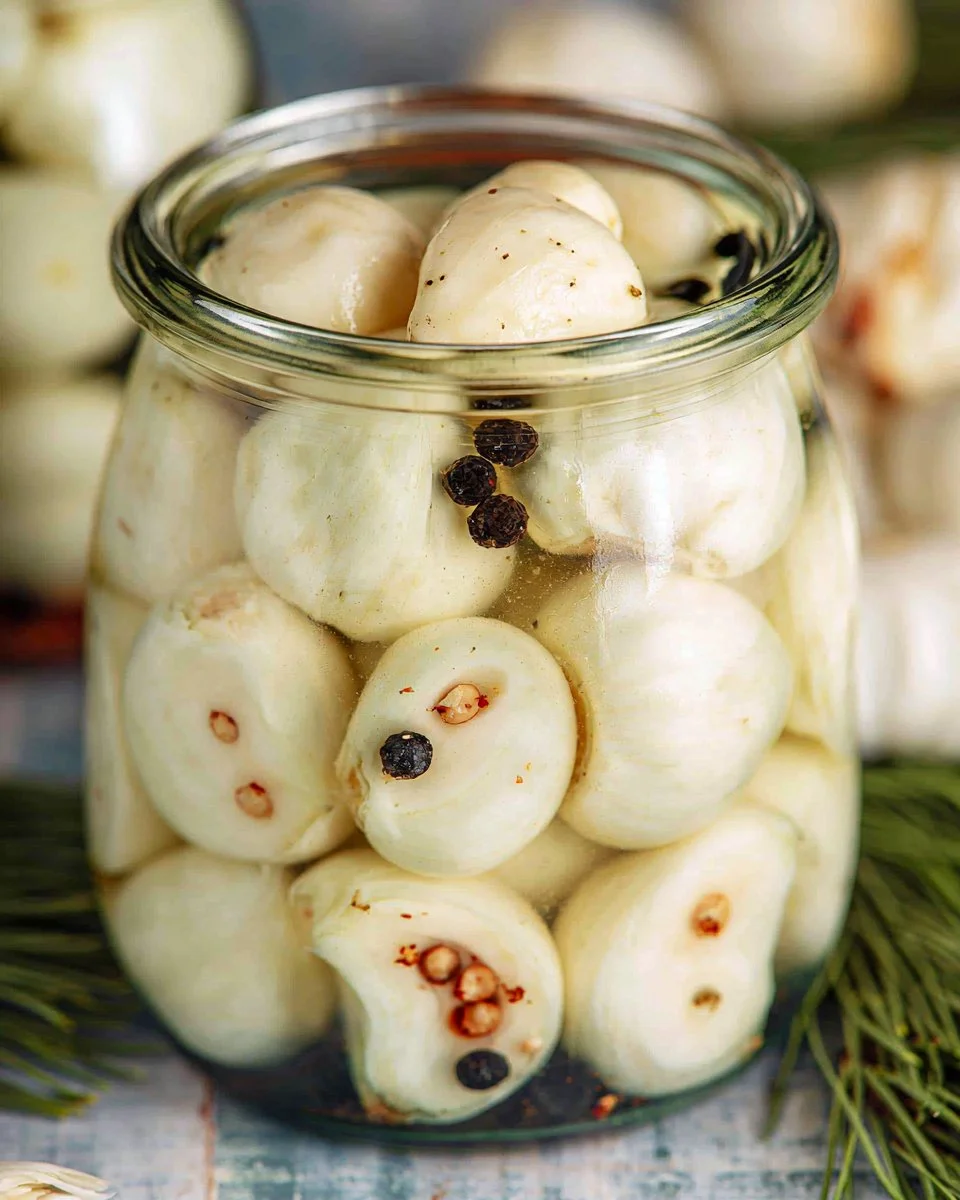
If you’re looking for a unique way to elevate your culinary creations, pickled garlic is an absolute game-changer. Imagine adding a burst of flavor to your dishes with just a few cloves of this tangy, slightly crunchy treat! Perfect for snacking, adding to charcuterie boards, or even as a zesty garnish, the versatility of pickled garlic is unmatched. As it gently pickles, the pungent rawness of garlic transforms into a mellow sweetness, infusing it with an exciting zest that can brighten any meal. And not only does it taste fantastic, but it’s also a great conversation starter at gatherings! Whether you’re enjoying it straight from the jar or incorporating it into your favorite recipes, this pickled wonder is sure to impress.
Quick Answer
This recipe for pickled garlic is a simple, straightforward process that yields delicious results. Allow at least three weeks for the garlic to pickle and develop its flavors.
Why You’ll Love This Recipe
Creating your own pickled garlic is not just about the tangy flavor; it offers several benefits that will enhance your kitchen experience!
- Flavor enhancer: Adds a delightful kick to dishes.
- Simple to make: Requires minimal effort and pantry staples.
- Long shelf life: Keeps in the fridge for months when stored properly.
- Healthy option: Garlic has numerous health benefits, including boosting immunity.
- Culinary versatility: Perfect for salads, sandwiches, and more.
- Great gift idea: Homemade pickled garlic makes a thoughtful present.
What Makes This Recipe Special
This pickled garlic recipe stands out not just for its simplicity but also for the layers of flavor it brings to the table. The combination of white vinegar, sugar, and canning salt creates a perfect balance between acidity and sweetness, ensuring the garlic is tender yet still offers a crisp bite. Fresh dill adds a herby note, while the crushed red pepper flakes and black peppercorns introduce a gentle warmth, elevating the overall flavor profile. Moreover, the process of pickling not only enhances the garlic’s flavor but also preserves its health benefits, allowing you to enjoy the zesty taste for months to come!
Kitchen Tools You’ll Need
- Large pot – For boiling the pickling liquid.
- Sterilized jars – Essential for storing your pickled garlic.
- Ladle – Useful for pouring the hot liquid into jars.
- Measuring spoons – To measure out your ingredients accurately.
- Knife – To peel the garlic cloves for easy preparation.
- Cutting board – A clean surface for peeling and chopping.
Ingredients
- Canning salt: Essential for the brining process, enhancing the flavor without the use of iodine.
- White vinegar: Provides a sharp acidity that balances the flavors.
- Sugar: Adds a hint of sweetness to offset the vinegar’s tang.
- Fresh garlic: The star ingredient; sweetens in flavor as it pickles.
- Crushed red pepper flakes: Introduces a mild, spicy kick to the garlic.
- Black peppercorns: Adds depth and warmth to the brine.
- Fresh dill: Offers a refreshing herbaceous note that complements the garlic.
- Kilner wide mouth preserve jars: Perfect for containment and easy pouring.
Ready to cook? Scroll to the recipe card below for exact measurements.
How to Make Pickled Garlic
Phase 1 – Prep
STEP 1. Prepare pickling liquid. Mix the canning salt, sugar, and vinegar in a big pot and bring it to a boil. Let it simmer for 5 minutes on low heat.
Phase 2 – Cook
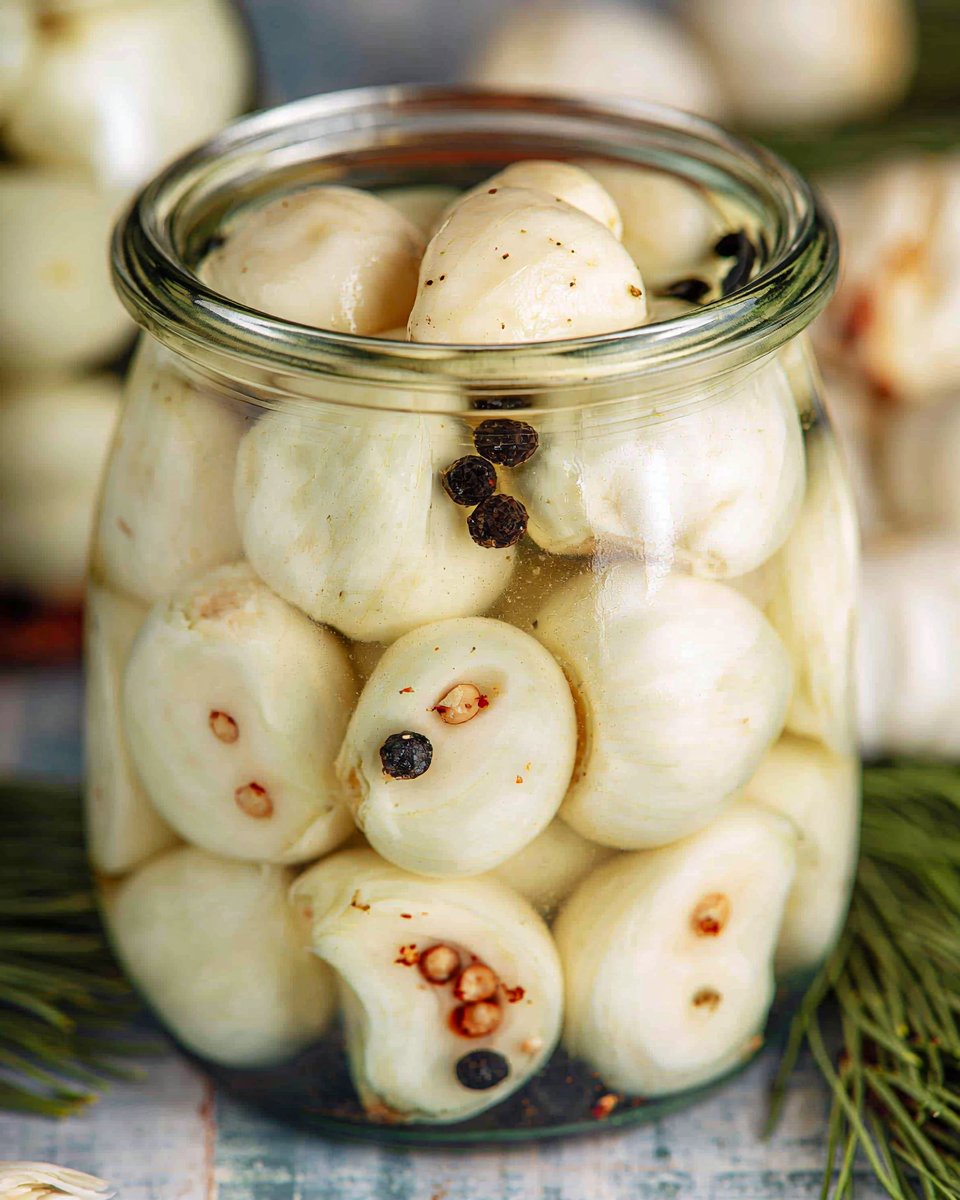
STEP 2. Fill the jars. Next, put some garlic into 3 sterilized jars and add a little bit of red pepper flakes, peppercorns, and dill to each jar.
STEP 3. Add liquid. Using a ladle, pour the hot pickling liquid into the jars, but make sure to leave some space at the top.
STEP 4. Remove air bubbles. Remove any air bubbles, clean the jar lids and screw them on tight.
Phase 3 – Serve
STEP 5. Refrigerate. Put the jars in the fridge and let the garlic pickle for at least 3 weeks.
STEP 6. Storage. Keep in the fridge for up to 4 months, or you can seal the jars following some instructions, but remember that the pickled garlic still needs to be refrigerated. Sealing the jars (must be refrigerated).
Why This Recipe Works
The texture balance of the garlic, captured through the pickling process, creates a delightful contrast between the soft, tender cloves and the crunchy bits of aromatics. The flavor layering is key; the tartness of the vinegar mingles beautifully with the sweetness from the sugar and the herbal notes from the dill. This marriage of flavors not only enhances the garlic but also contributes to the overall robustness of any dish it complements. Moreover, the pickling method is beneficial as it preserves the garlic while delivering maximum flavor, ensuring that every jar is packed with mouthwatering goodness.
Pro Tips
To achieve the best results when making pickled garlic, keep these tips in mind: ensure that your jars are fully sterilized before filling them with garlic and liquid to prevent contamination. Use fresh, high-quality garlic for the best flavor; avoid any cloves that are soft or have sprouted. If you prefer a sweeter pickle, adjust the sugar to suit your taste. Monitor the garlic during the pickling process, and consider taste-testing after the three-week mark to determine if they’ve reached your desired flavor intensity. Finally, always remember that the pickled garlic must be stored in the fridge, even if sealed, for optimal freshness.
Common Mistakes to Avoid
Mistake: Using unsterilized jars.
Why it happens: Some may overlook the importance of sterilization, thinking it’s optional.
How to fix it: Always sterilize your jars by boiling them in water or running them through a dishwasher cycle before use.
Mistake: Overcooking the pickling liquid.
Why it happens: Ovens and stoves vary in heat, and it’s easy to lose track of time.
How to fix it: Cook on low heat and keep an eye on it to prevent boiling for too long.
Mistake: Not leaving enough headspace in jars.
Why it happens: Rushing through the process can lead to filling jars too full.
How to fix it: Use the ladle carefully to maintain the recommended space at the top of the jars.
Mistake: Skipping the air bubble removal.
Why it happens: Forgetting this vital step can lead to spoilage.
How to fix it: Use a clean utensil to gently press down and release trapped air bubbles before sealing each jar.
Variations
- Add other herbs like thyme or oregano for different flavor notes.
- Experiment by using apple cider vinegar instead of white vinegar for a unique twist.
- Incorporate spices like mustard seeds or coriander seeds for diverse flavors.
- Try adding sliced jalapeños for a spicier version.
- Modify the sugar level according to your sweetness preference.
Nutrition Highlights
| Nutrient | Role |
|---|---|
| Garlic | Known for its immune-boosting properties and rich in antioxidants. |
| Vinegar | May aid in digestion and help regulate blood sugar levels. |
| Dill | An herb that is rich in vitamins and provides digestive benefits. |
Serving Ideas
Pickled garlic is incredibly versatile! Serve it on a charcuterie board alongside assorted cheeses, cured meats, and fresh vegetables. It’s also delightful sliced and added to sandwiches or wraps, enhancing the flavor profile while offering a crunchy texture. For a bold addition to salads, toss whole cloves into green salads or grain bowls for an extra pop. Additionally, use them as a zesty topping on tacos, or mix them into sauces and dressings for added depth.
Best Occasions for This Recipe
Perfect for potlucks, picnics, or home gatherings, pickled garlic can be a great conversation starter at any event. It complements barbecue spreads at summertime cookouts while also fitting right in alongside dips during holiday parties. Use it to enhance your weeknight dinners or when prepping snacks for movie nights. The adaptability of pickled garlic means it can be appreciated in both casual and formal settings alike!
Meal Prep & Storage
Meal Prep
Pickled garlic is a fantastic meal prep item as it can be made in advance and enjoyed over several months. Simply follow the pickling process and store in the fridge for ready-to-use flavor boosts at any time.
Refrigeration
Store your pickled garlic in the refrigerator where it can last up to four months. Make sure the jars are tightly sealed to maintain freshness.
Freezing
Freezing pickled garlic is not recommended, as it can alter the texture and flavor. It’s best enjoyed fresh from the fridge.
Reheating
There’s no need to reheat pickled garlic; it can be eaten straight from the jar or added cold to a dish. If you prefer, you can include it in cooking for added flavor, but be mindful not to lose its tangy bite.
FAQs
How long does pickled garlic last?
Pickled garlic can last in the fridge for up to four months, as long as the jars are sealed and stored properly.
Can I use other types of vinegar?
Yes, experimenting with different vinegars like apple cider or red wine can provide unique flavors to your pickled garlic.
Do I need to seal the jars?
Sealing the jars is advisable, but remember that they must still be refrigerated regardless of sealing.
Can I eat the garlic raw after pickling?
Absolutely! The pickling process softens the garlic, making it deliciously tangy and ready to be enjoyed raw.
How do I know if my pickled garlic is bad?
If you notice any signs of mold or unusual odors, it’s essential to discard the pickled garlic to avoid any health risks.
Save This Recipe for Later
Pin this recipe for future reference on Pinterest or save it in your favorite recipe book to bring a burst of flavor to your kitchen later!
Conclusion
Pickled garlic offers a vibrant addition to your meals, proving that even a simple item can elevate your culinary experience. The easy process and rewarding results make it a must-try for anyone looking to enhance their cooking repertoire. Don’t hesitate to make this recipe a staple in your home kitchen – you’ll be delighted by how this tangy treat can transform everyday meals!
Pickled Garlic
Ingredients
Method
- Prepare the pickling liquid by mixing canning salt, sugar, and white vinegar in a large pot and bring it to a boil.
- Let the mixture simmer for 5 minutes on low heat.
- Fill the sterilized jars with fresh garlic cloves, then add red pepper flakes, black peppercorns, and dill to each jar.
- Using a ladle, pour the hot pickling liquid into the jars, leaving some space at the top.
- Remove any air bubbles and clean the jar lids before securing them tightly.
- Refrigerate the jars and let the garlic pickle for at least 3 weeks.
- Store in the fridge for up to 4 months once sealed.