Classic Apple Crisp Recipe
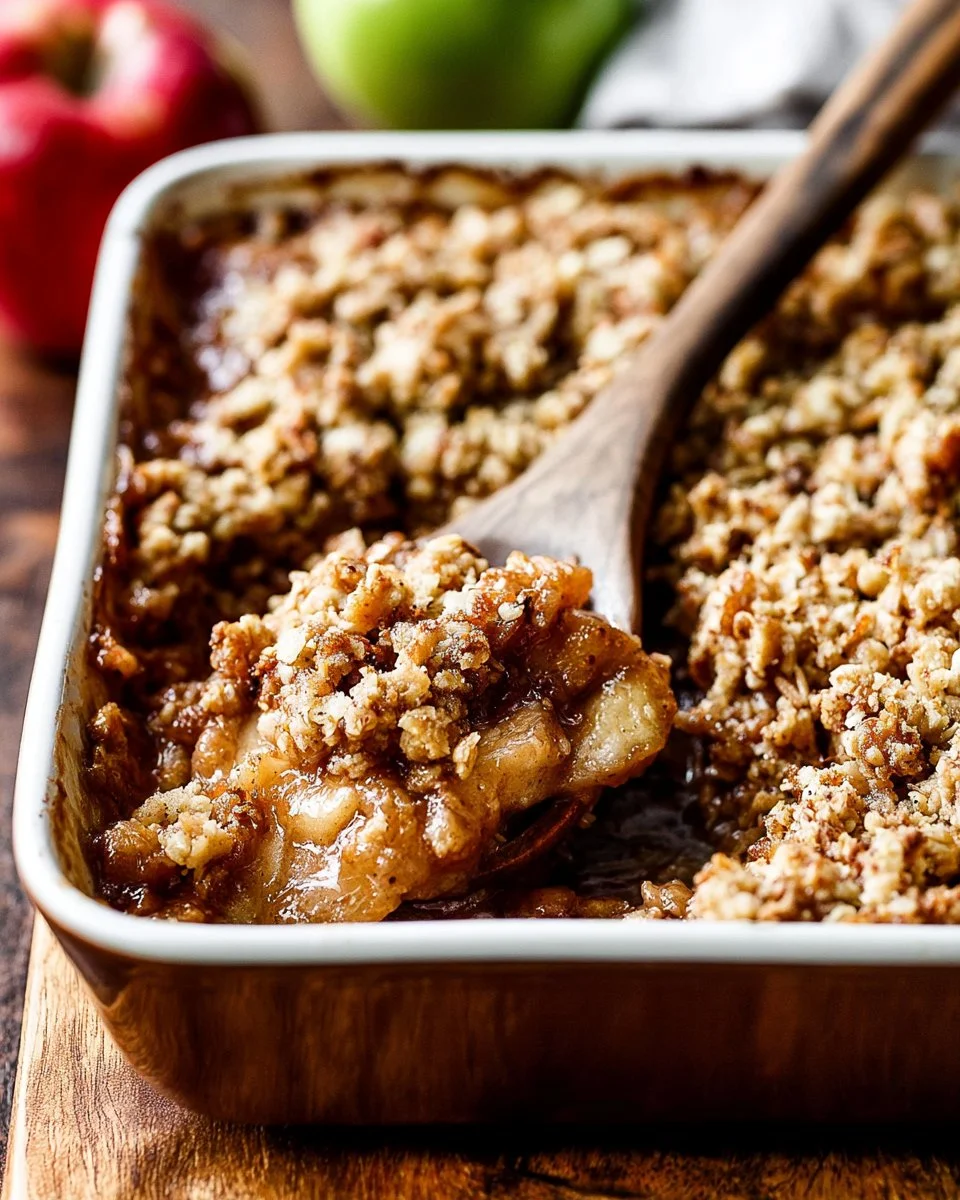
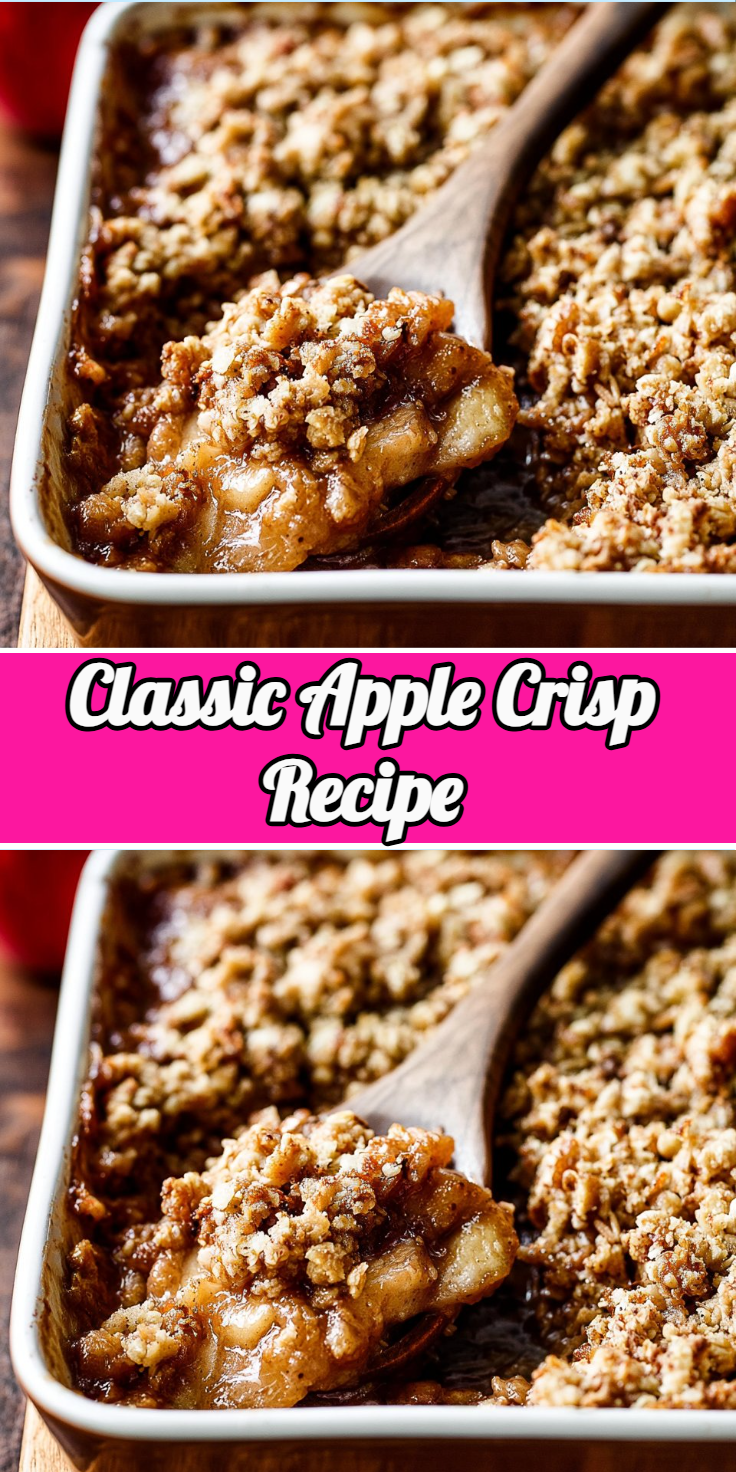
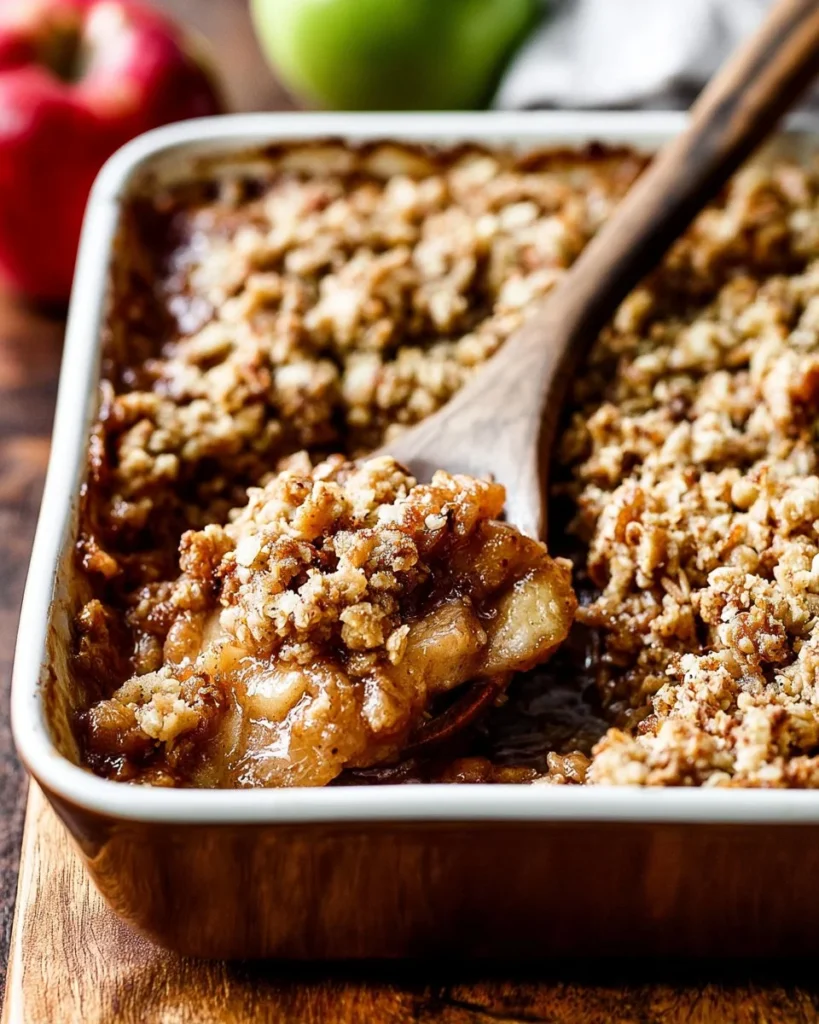
When the weather turns crisp, there’s nothing quite like the homey aroma of baked apples wafting through the kitchen. This classic dessert melds soft, sweetened apples with a crunchy, buttery topping, making it a delightful treat for gatherings and cozy nights in alike. Each bite brings out a heavenly combination of flavors and textures—juicy, tender apples contrasted by a golden, crispy crust. Whether you’re warming your home after a chilly day or prepping for a festive dinner, this timeless dish promises comfort and satisfaction. Just picture serving it warm from the oven, with the option of a luscious scoop of vanilla ice cream melting over the top. With every spoonful, your taste buds will dance as the cinnamon and nutmeg create a warm hug of flavor, making this dessert a go-to favorite throughout autumn and beyond.
Why You’ll Love This Recipe
This apple crisp recipe is not only simple but also rewarding, making it perfect for home cooks of any skill level. It requires minimal preparation and uses common ingredients, so you can whip it up with ease. Plus, the delightful combination of tart and sweet apples ensures a flavor explosion that will delight everyone around your table. The comforting, nostalgic experience of enjoying warm apple crisp with family and friends makes it a perfect addition to any gathering. With its endless customization options and ease of preparation, you’ll find yourself reaching for this recipe time and again.
What Makes This Recipe Special
What sets this dish apart is its balance of flavors and textures. The blending of fresh apples with the warm spices of cinnamon and nutmeg creates an inviting aroma that can instantly uplift any atmosphere. The topping, made from a crunchy mixture of oats, butter, and brown sugar, brings an irresistible crispness that contrasts beautifully with the soft apple filling. This combination makes for a mouthwatering experience that transcends seasons, adapting perfectly to festive occasions or simply as a family dessert. Additionally, the option to serve it with salted caramel or a scoop of vanilla ice cream makes it an even more indulgent treat, elevating it from a simple dessert to a truly special occasion dish.
Ingredients
apples: Essential for the sweet and tangy filling, creating a luscious base.
brown sugar: Adds sweetness and caramel notes, enhancing the fruit’s natural flavor.
all-purpose flour: Provides structure and helps thicken the filling for a perfect consistency.
vanilla extract: Introduces a warm, aromatic flavor that complements the apples beautifully.
ground cinnamon: Adds warmth and spice, elevating the overall flavor profile of the dessert.
ground nutmeg: Offers a unique, rich flavor that enhances the aromatic experience.
salt: Balances sweetness and enhances all the flavors in the dish.
old-fashioned rolled oats: Contributes texture and chewiness to the crisp topping.
unsalted butter: Essential for a rich, flaky topping that adds depth of flavor.
How to Make Classic Apple Crisp Recipe
STEP 1. Preheat the oven. Set your oven to 350°F (177°C) and lightly grease a 9×13-inch baking pan, or use any 3.5-4 quart baking dish.
STEP 2. Prepare the filling. In a large bowl, mix the apples, brown sugar, flour, vanilla extract, cinnamon, nutmeg, and salt until well combined, then spread the mixture into the prepared baking pan.
STEP 3. Make the topping. In a separate medium bowl, whisk together the flour, brown sugar, and cinnamon. Cut in the cold, cubed butter using a pastry cutter or fork until the mixture is crumbly. Stir in the oats and combine well.
STEP 4. Assemble the dish. Evenly sprinkle the topping mixture over the apple filling in the baking pan.
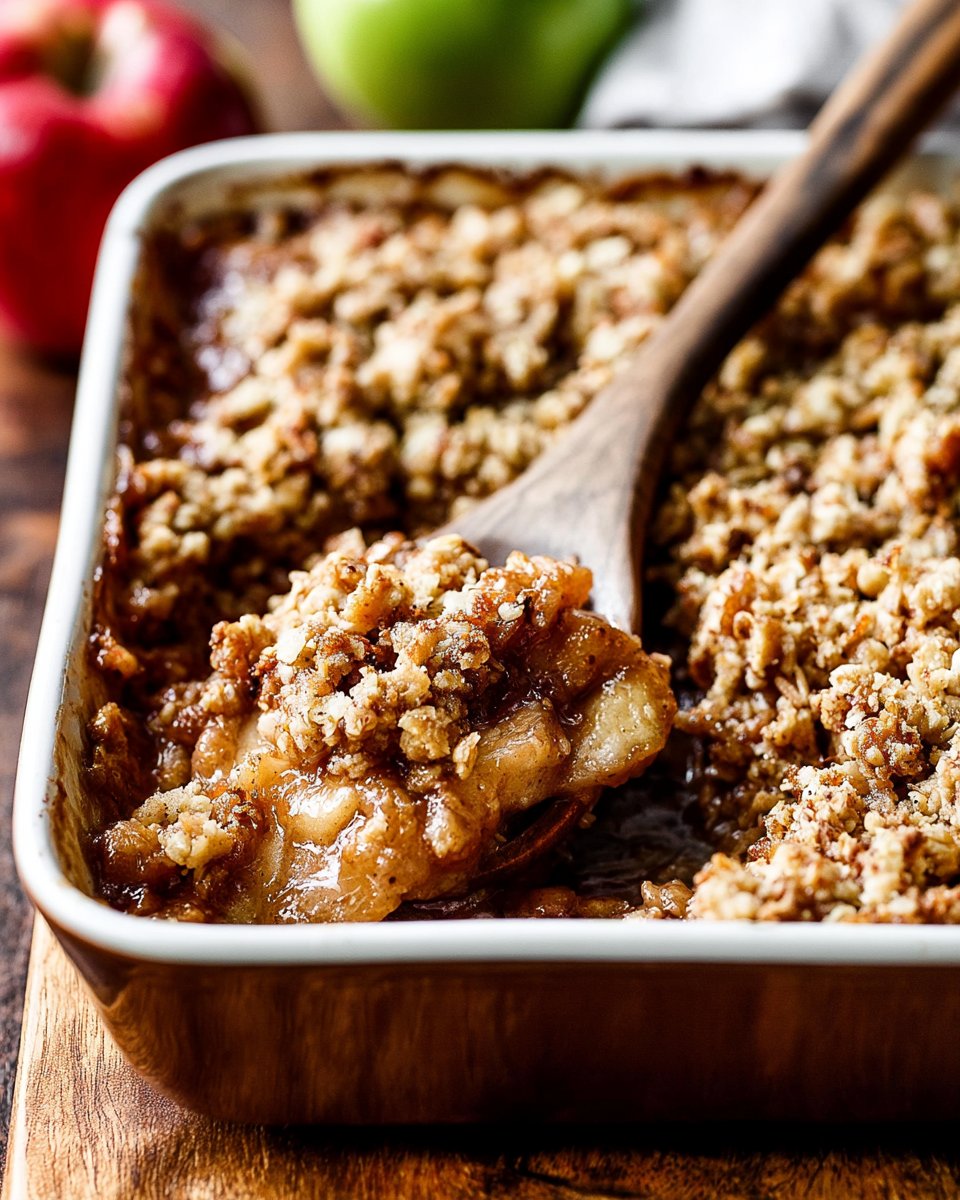
STEP 5. Bake the apple crisp. Place in the preheated oven and bake for 45 minutes, or until the topping turns golden brown and the fruit juices are bubbling around the edges.
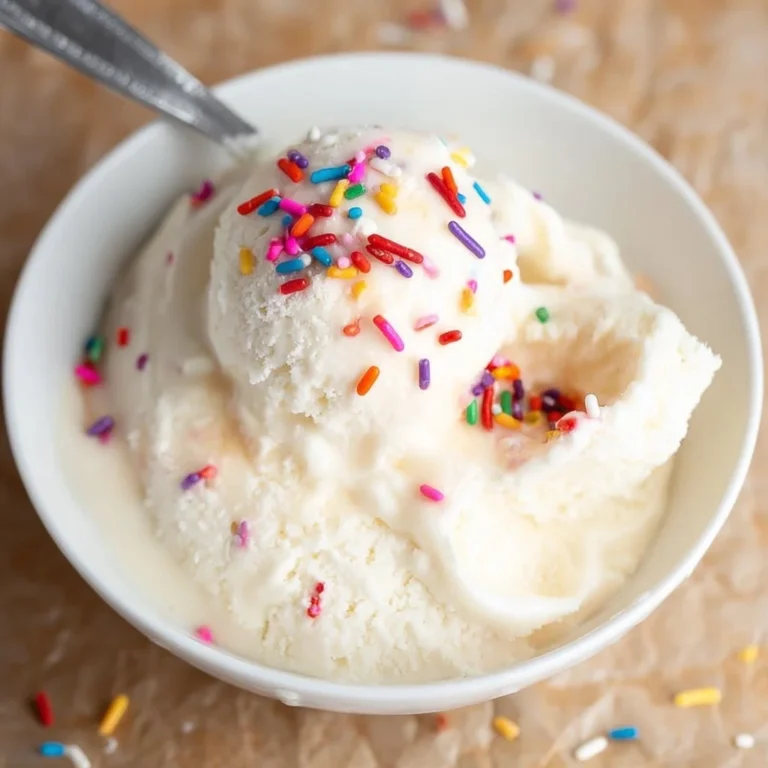
STEP 6. Cool and serve. Remove from the oven, transfer to a wire rack, and allow to cool for at least 5 minutes. Serve warm, at room temperature, or cold; enjoy plain or with salted caramel and/or vanilla ice cream.
Pro Tips
For the best results, choose a mix of tart and sweet apples such as Granny Smith, Honeycrisp, and Fuji for a well-rounded flavor. If you’re preparing this dish ahead of time, you can assemble it and store it in the refrigerator for up to 24 hours before baking. This allows the flavors to meld beautifully. When cutting in the butter for the topping, aim for pea-sized pieces to ensure that your crisp has the perfect crumbly texture. For a more intimate flavor profile, try adding nuts like walnuts or pecans to the topping. Lastly, don’t forget—allowing the crisp to cool for just a few minutes will not only prevent burns but will also help it set, making it easier to serve.
Common Mistakes to Avoid
One common pitfall is using only one type of apple, which can lead to a less dynamic flavor. For a more balanced taste, blend different varieties. Ensure you don’t skip the mixing of the filling ingredients; this step is crucial for even flavor distribution. For the topping, avoid overworking the butter; cutting it just enough to create a crumbly texture is key. Also, watch the baking time closely; every oven runs differently, so check for that golden top and bubbling juices. Don’t let leftovers linger on the counter; they should be covered and refrigerated to maintain freshness, maximizing your comfort food experience over several days.
Variations
• Add berries for a fruity twist.
• Use peaches or pears for an alternative flavor.
• Substitute coconut oil for a dairy-free option.
• Try adding nuts for extra crunch.
• Spice it up with ginger or cloves for a warm flavor boost.
Serving Ideas
Serve your apple crisp warm straight from the baking dish for that fresh-out-of-the-oven feel. Pair it with a scoop of creamy vanilla ice cream or a drizzle of salted caramel sauce for an indulgent treat that everyone will love. This dish is also delightful when served alongside a warm cup of spiced cider or coffee. For a more earthy presentation, consider garnishing with a sprinkle of cinnamon or even some crushed nuts. No matter how you choose to serve it, this crisp will surely be a hit!
Meal Prep & Storage
If you’re planning ahead, you can prepare the filling a day in advance and store it in the fridge until you’re ready to bake. Simply mix the filling ingredients as directed and cover tightly with plastic wrap. For leftovers, store any uneaten apple crisp in an airtight container in the refrigerator for up to five days. Reheat individual portions in the microwave for a quick treat, or warm the entire dish in the oven at a low temperature to restore its crispy topping. Freezing is also an option; wrap well in plastic wrap and then foil before freezing for up to three months.
FAQs
Can I use frozen apples for this recipe?
While fresh apples yield the best texture, you can use frozen apples if they are thawed and excess moisture is drained.
What kind of apples are best for apple crisp?
A mix of tart and sweet apples, like Granny Smith and Honeycrisp, creates a balanced flavor profile.
Can I make apple crisp ahead of time?
Yes! You can prepare the filling a day in advance and bake it just before serving.
Is apple crisp the same as apple crumble?
They are similar, but apple crisp typically includes oats in the topping, while crumble does not.
How do I store leftovers?
Store leftovers in an airtight container in the refrigerator for up to five days.
Can I serve apple crisp cold?
Absolutely! It can be enjoyed warm, at room temperature, or cold, depending on your preference.
Conclusion
This dish is more than just dessert; it captures the essence of comfort food. With its scrumptious layers of baked apples and an unbeatable crispy top, it’s a classic that never disappoints. Embrace the flavors of fall and the joy of homemade recipes by adding this apple crisp to your repertoire.
Classic Apple Crisp
Ingredients
Method
- Preheat the oven to 350°F (177°C) and lightly grease a 9x13-inch baking pan.
- In a large bowl, mix the sliced apples, brown sugar, flour, vanilla extract, cinnamon, nutmeg, and salt until well combined.
- Spread the apple mixture into the prepared baking pan.
- In a separate medium bowl, whisk together the flour, brown sugar, and cinnamon for the topping.
- Cut in the cold, cubed butter until the mixture is crumbly, then stir in the oats.
- Evenly sprinkle the topping mixture over the apples in the baking pan.
- Bake in the preheated oven for 45 minutes, or until the topping is golden brown and the juices are bubbling.
- Remove from the oven and let cool for at least 5 minutes.
- Serve warm, at room temperature, or cold, and enjoy with optional toppings like salted caramel or vanilla ice cream.