When it comes to the holiday season or family gatherings, there’s something magical about the scents and flavors of freshly baked cookies wafting through the air. Yet, many of us find ourselves staring at a recipe, wondering if we can truly master the art of cookie making. If you’ve struggled with achieving that perfect balance of sweetness and texture in your cookies, don’t worry—there’s hope! Enter the Walnut Snowball Cookies Recipe, a delightful treasure in the world of baking that promises to deliver more than just taste; it delivers nostalgia and delight.
These delightful little morsels, often associated with special occasions, fill your kitchen with a warm, inviting aroma that makes it feel like home. So, let’s dive deeper into how you can turn simple ingredients into jaw-dropping cookies that will leave everyone asking for the secret ingredient!
Why Everyone Struggles with Baking Cookies
Ah, the dreaded cookie-making dilemma. I remember my first attempt at baking—flour exploding everywhere, melted chocolate smudged across my face, and a dough that was more soup than substance. I learned early on that managing expectations in the kitchen could be just as challenging as mastering the science of baking. The frustration can be overwhelming, especially when you want your Walnut Snowball Cookies to be that warm hug in cookie form!
Just like many of you, I’ve faced discouragement. I’ll always remember an afternoon spent trying to bake cookies with my grandmother. She’d systematically explained each step, from the importance of room-temperature butter to the magic of mixed nuts. Those lessons didn’t just teach me how to bake; they reminded me that every miss was a step toward a memorable hit.
So, if you’ve felt lost in the kitchen, remember that you’re not alone. In fact, I encourage you to embrace this feeling and turn it into a joyous culinary adventure. With the Walnut Snowball Cookies Recipe as your guide, you’ll create something beautiful—one that feeds the soul as much as the tummy.
Why Walnut Snowball Cookies Recipe Works So Well
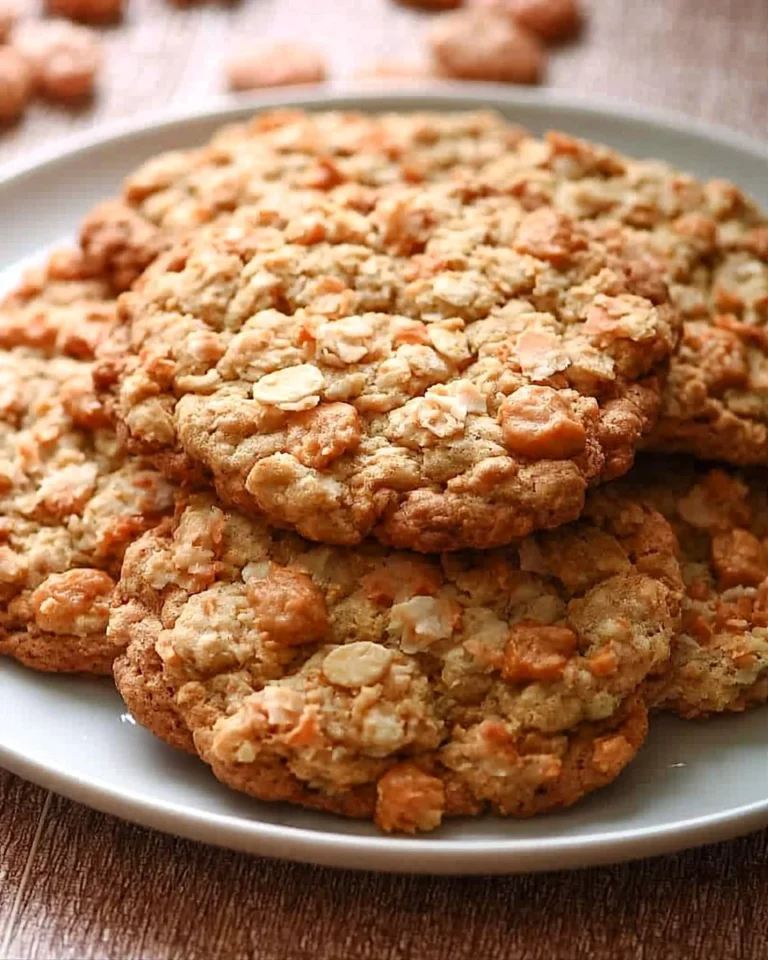
The magic behind the Walnut Snowball Cookies Recipe lies in its simplicity. With just a handful of ingredients, these cookies are not only easy to make but also incredibly satisfying to eat. The mix of rich butter and crunchy walnuts produces a mouthwatering contrast that will have you daydreaming about your next batch.
Quick Answer: The secret to perfect Walnut Snowball Cookies Recipe is using finely chopped walnuts to create a delectable crumbly texture.
The recipe is also inherently versatile. If you prefer flavored alternatives, consider swapping in pecans or hazelnuts for the walnuts. Not a fan of liquid stevia? Brown sugar or coconut sugar could offer a different sweetness profile while maintaining the cookies’ integrity. Each variation tells a unique story, allowing you to experiment while keeping that beloved essence.
To help your cookies shine even more, remember to pre-heat your oven thoroughly! A well-heated oven ensures even baking—a crucial step if you want those edges to be just perfectly golden while the centers remain delightfully soft. For more baking insights, check out our guide on homemade alfredo sauce recipe.
Trust-Building & Tips
As you dive into this recipe, know that baking is as much about intuition as it is about following steps. Your senses are your best guides! Pay attention to texture, smell, and taste—all crucial elements in creating Walnut Snowball Cookies that will wow your family.
Ingredients, Substitutions & Foolproof Steps
Ingredients List Narrative:
- 1/2 cup melted butter — Provides a rich base for the cookies; if you prefer a dairy-free option, coconut oil is a solid substitute.
- 1 large egg — Acts as a binding agent; a flax egg (1 tbsp of ground flaxseed mixed with 2.5 tbsp of water) works wonders for a vegan alternative.
- 50 drops liquid stevia (about 1/4 tsp.) — This sugar alternative sweetens without guilt; consider honey or maple syrup if stevia doesn’t suit you.
- 1/2 tsp pure vanilla extract — This adds depth; you can swap for almond extract for a delightful twist.
- 1 cup walnuts — The starring ingredient that adds crunch; pecans can easily take their place.
- 1/2 cup coconut flour, plus 1 to 2 tbsp. more for rolling — Coco flour gives these cookies a delightful texture; regular flour will work too if you’re not grain-free.
- 1/2 cup confectioners Swerve, divided — Sweetens the coating post-bake; powdered sugar can easily replace this for a traditional finish.
Directions / Steps:
- Preheat oven to 350°F (175°C).
- In a bowl, mix melted butter, egg, stevia, and vanilla extract until combined.
- In another bowl, combine coconut flour and walnuts.
- Gradually mix dry ingredients into the wet mixture until just combined.
- Roll dough into small balls and place on a baking sheet.
- Bake for 12-15 minutes until edges are golden.
- Allow to cool slightly, then roll in the confectioners Swerve.
Common Mistakes to Avoid:
- Overmixing the dough — This can lead to a tough cookie; mix until just combined.
- Skipping the cooling step — Allowing them to cool ensures they firm up and hold their shape.
Pro Tips:
- Chill the dough for a short time for even more tender cookies.
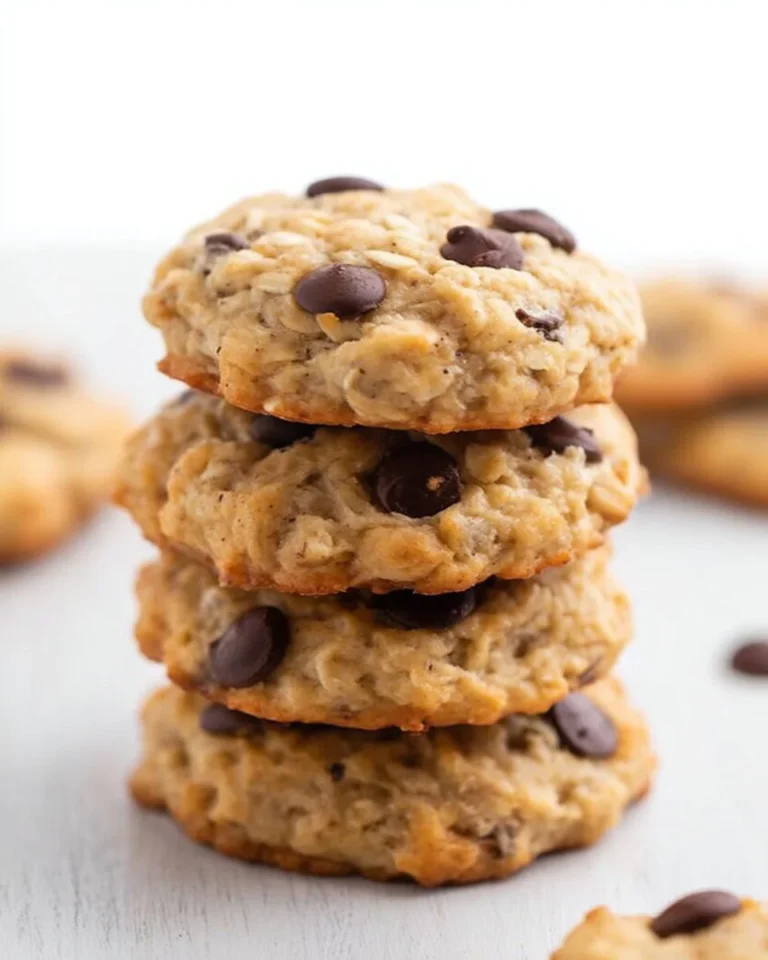
- Try adding chocolate chips or dried fruits for added flavor.
Nutrition Highlights Table:
NutrientPer Serving Protein7g Carbs12g Fat6g Don’t forget to check out our hearty options like cottage cheese mac and cheese for a fulfilling meal to complement your sweet treats!
Serving, Storage & Freezer Tips
How to Serve Walnut Snowball Cookies:
These cookies shine as a festive dessert at gatherings or as a cozy treat with your afternoon cup of coffee. Present them on a simple, beautiful tray dusted with powdered sugar for a pop of color and flair. Add a side of whipped cream or ice cream for an extra treat!
How to Store Walnut Snowball Cookies:
Keep your cookies in an airtight container at room temperature for up to a week. If you want to keep them longer, line them with parchment paper to prevent sticking.
Can You Freeze Walnut Snowball Cookies?
Absolutely! Place unbaked cookie balls on a baking sheet until frozen, then transfer them to a freezer bag for up to three months. Bake from frozen—just extend the baking time by a couple of minutes.
Reflecting back on baking these treats reminds me of family gatherings and laughter. They truly encapsulate comfort and connection—a bite-sized reminder that the greatest joys come from sharing food.
FAQ Section
1. Can I use regular sugar instead of stevia?
Absolutely! You can use traditional granulated sugar or brown sugar instead of stevia. Just keep in mind that the sweetness will change slightly based on the ingredient you choose.
2. How long do these cookies last?
These Walnut Snowball Cookies can last up to one week in an airtight container at room temperature, making them great for make-ahead treats!
3. What can I add to this recipe?
Feel free to add in chocolate chips, dried cranberries, or even a sprinkle of sea salt on top for an elevated flavor.
4. Can I make these cookies gluten-free?
Yes! Use a gluten-free flour blend instead of coconut flour, tailoring it to suit your taste.
Conclusion
The Walnut Snowball Cookies Recipe is more than just a list of ingredients; it’s an invitation to create memories and share moments of delight with loved ones. Baking together can reinvigorate connections, reminding us of all the warmth that comes from the kitchen. If this recipe resonates with someone you hold dear, share it with them. Your memories keep recipes alive.
You May Also Like:
- Peanut Butter Chicken Recipe: The Ultimate Comfort Food Dish
- Alice Springs Chicken: A Complete Guide to Making Outback Steakhouse’s Iconic Dish
- Sweet and Sour Mix: Ultimate Guide to Cocktails

Walnut Snowball Cookies
Ingredients
Method
- Preheat the oven to 350°F (175°C).
- In a bowl, mix melted butter, egg, stevia, and vanilla extract until combined.
- In another bowl, combine coconut flour and chopped walnuts.
- Gradually mix dry ingredients into the wet mixture until just combined.
- Roll the dough into small balls and place them on a baking sheet.
- Bake for 12-15 minutes until the edges are golden.
- Allow to cool slightly, then roll in the confectioners Swerve.