Creamy No Bake Biscoff Cheesecake
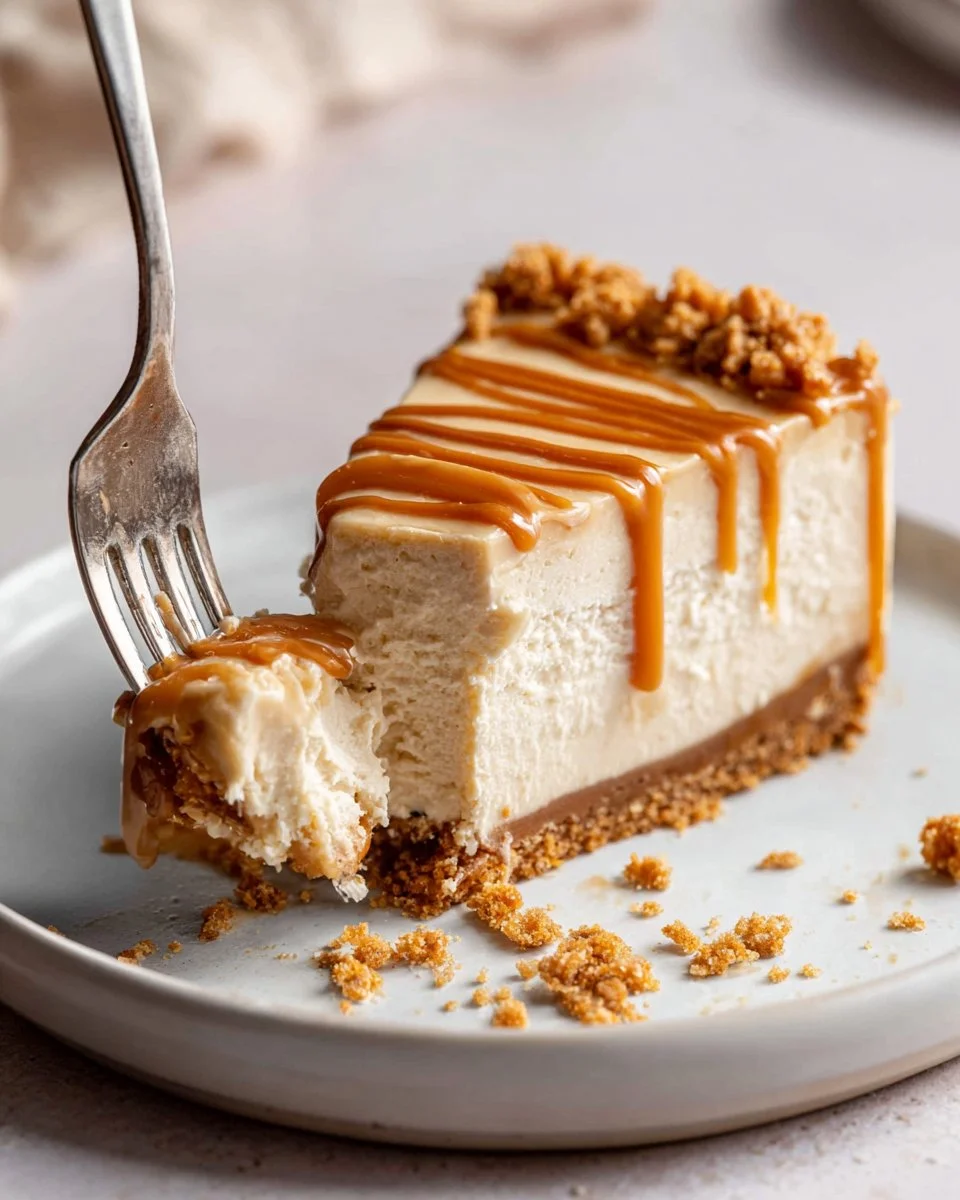
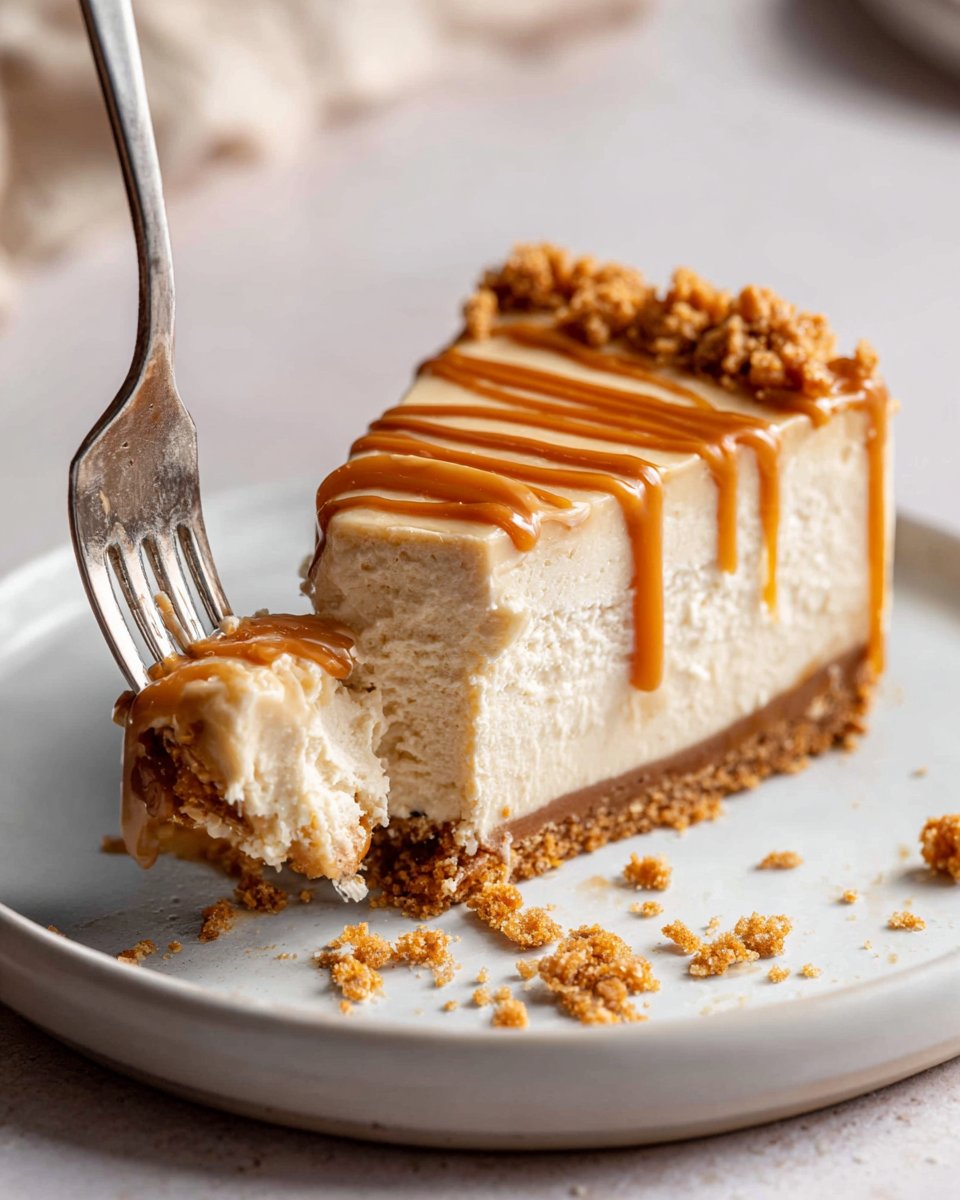
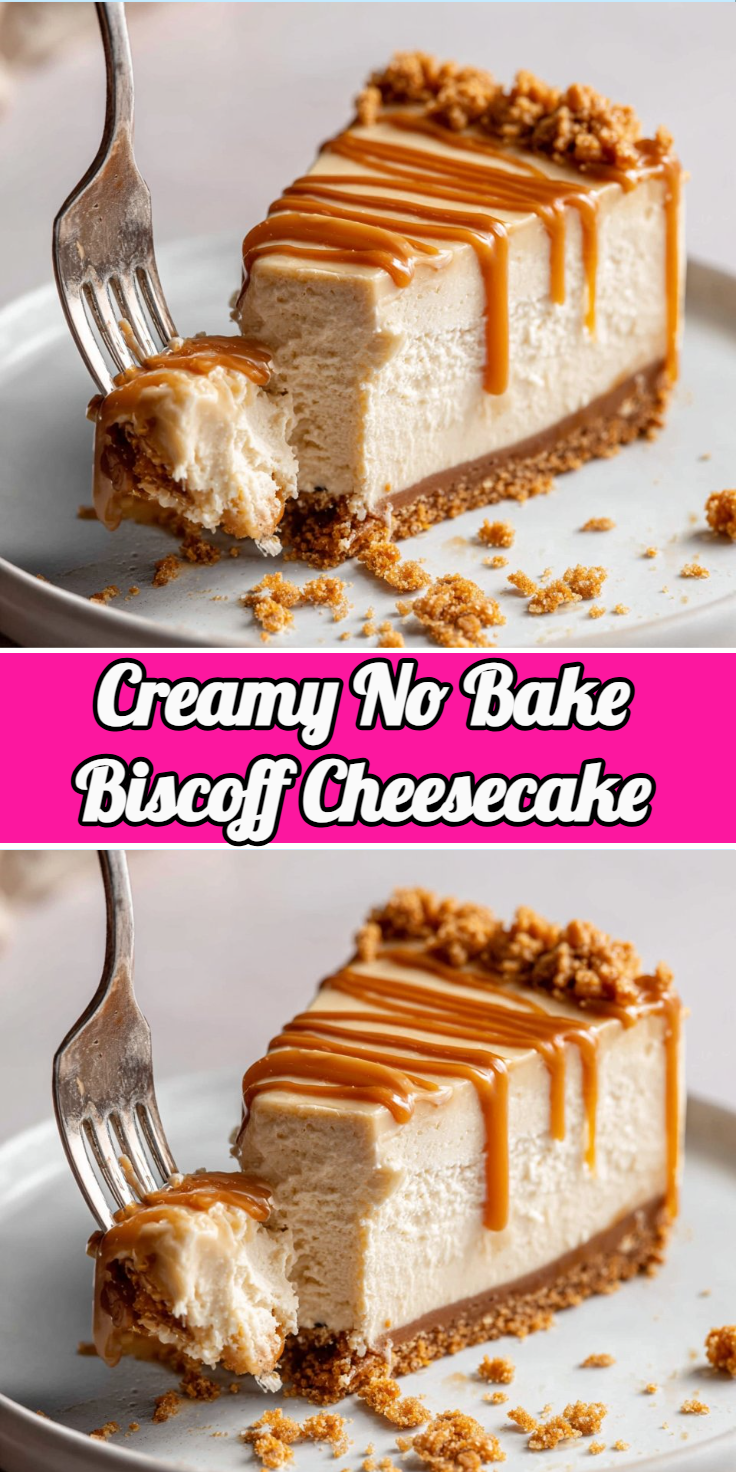
Indulge in a dessert that captures the essence of a cozy afternoon coffee break and elevates it to an extraordinary level. Imagine a luscious, velvety cheesecake blissfully balanced between the crunch of Biscoff cookies and the creamy richness of a heavenly filling. Every bite promises to whisk you away to a world of cinnamon-spiced sweetness, complemented by the unmistakable flavor of cookie butter that drips through the layers like a silky ribbon. This no-bake dessert not only demands to be savored but also brings a charming flair to any gathering, making it the perfect centerpiece for a delightful table spread. Whether served at a birthday party or enjoyed after a simple family dinner, this create-at-home masterpiece will leave everyone reaching for a second slice, unable to resist the tempting allure of its creamy goodness.
Why You’ll Love This Recipe
This creamy cheesecake is simple yet sensational, requiring no baking and minimal fuss yet delivering maximum flavor. The combination of Biscoff cookies and cookie butter offers an addictive twist that will be a hit with both kids and adults alike. Plus, it can be easily customized to your taste, making it a versatile dessert for any occasion. Its flawless texture and delectable layers come together effortlessly, allowing you to focus on enjoying your time with loved ones rather than stressing over complicated baking steps.
What Makes This Recipe Special
What sets this cheesecake apart is its unique blend of flavors and textures. The Biscoff crust provides a delightful crunch that contrasts beautifully with the smooth, creamy filling. The addition of lemon juice and sour cream brings a subtle acidity that balances the sweetness, creating a perfectly harmonious taste profile. No baking means you can prepare this elegant dessert ahead of time, making it an ideal option for busy days or special events. With just a few simple steps, you’ll have an impressive dessert that looks as good as it tastes, sure to impress your guests and become a staple in your recipe repertoire.
Ingredients
Biscoff cookies: These provide a deliciously crunchy and spiced crust with a hint of caramel flavor.
unsalted butter: Helps to bind the cookies together for a sturdy and rich crust.
heavy whipping cream: Adds a light and fluffy texture to the cheesecake filling, making it irresistibly creamy.
cream cheese: Creates a rich and smooth base for the filling, enhancing the overall flavor.
sour cream: Contributes creaminess while offering a subtle tang that balances the sweetness.
lemon juice: Brightens the flavor and adds a refreshing touch to the filling.
powdered sugar: Sweetens the filling without the graininess that granulated sugar might bring.
vanilla extract: Introduces a warm and aromatic flavor that rounds out the dessert’s taste.
creamy cookie butter: Provides an additional layer of flavor and creaminess, enhancing the overall experience.
How to Make Creamy No Bake Biscoff Cheesecake
STEP 1. Prepare the crust. Crush the Biscoff cookies until fine and mix with melted butter. Press the mixture firmly into the bottom of a springform pan to form a solid crust.
STEP 2. Chill the crust. Refrigerate the crust for about 30 minutes to set and firm up before adding the filling.
STEP 3. Make the filling. In a large mixing bowl, beat the cream cheese until smooth, then add sour cream, lemon juice, powdered sugar, and vanilla extract, mixing until well combined.
STEP 4. Whip the cream. In a separate bowl, beat the heavy whipping cream until stiff peaks form.
STEP 5. Fold together. Gently fold the whipped cream into the cream cheese mixture until fully incorporated, ensuring a light and airy texture.
STEP 6. Incorporate cookie butter. Drizzle in the cookie butter and fold until just combined, keeping some swirls of cookie butter visible for that extra touch.
STEP 7. Assemble the cheesecake. Pour the filling over the chilled crust, spreading it evenly to create a smooth top.
STEP 8. Chill to set. Refrigerate for at least 4 hours or overnight until the cheesecake is firm and set.
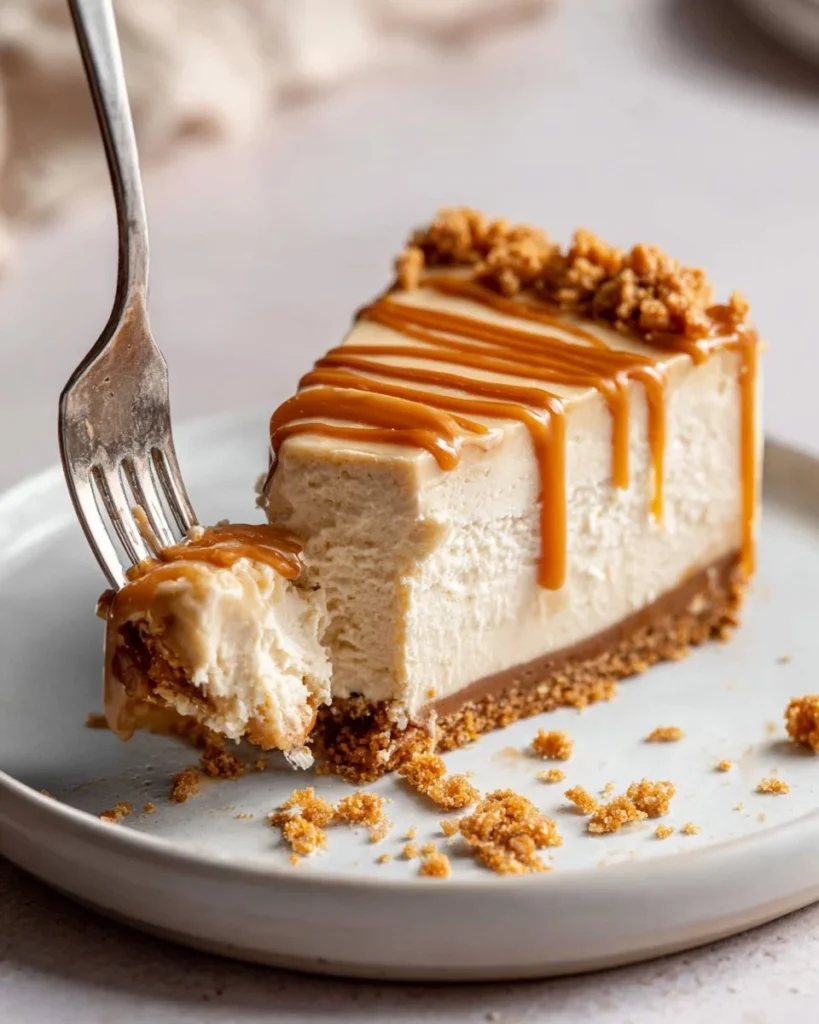
STEP 9. Serve and enjoy. Garnish with extra Biscoff cookies and a drizzle of cookie butter before slicing and serving.
Pro Tips
For a perfect creamy texture, ensure your cream cheese is at room temperature to prevent lumps. When whipping the cream, take care not to overbeat it, as this will lead to a grainy texture instead of the desired fluffiness. If you’re pressed for time, make the crust and filling a day in advance and let them chill overnight; this allows flavors to meld beautifully. For added richness, consider incorporating a sprinkle of sea salt over the top just before serving to enhance the cookie flavor. Lastly, when cutting the cheesecake, dip your knife in hot water, wipe it dry, and then slice for clean edges that look stunning on a plate.
Common Mistakes to Avoid
One common mistake is using cold cream cheese straight from the fridge, which can lead to a lumpy filling. Always allow it to reach room temperature for a smoother mixture. Another pitfall is not allowing the cheesecake to chill long enough; this can result in a filling that doesn’t hold together when sliced. Be sure to follow the recommended chilling time to ensure a perfect set. Additionally, overmixing the whipped cream can ruin its lightness, so handle it gently when folding into the cream cheese mixture. Finally, ensure the crust is compactly pressed down; if it’s too loose, it may crumble when sliced.
Variations
• Add chopped chocolate or nuts for an extra crunch.
• Incorporate a layer of fruit topping like strawberries or raspberries for added freshness.
• Substitute half of the cream cheese with Greek yogurt for a tangy flavor twist.
• Use gluten-free cookies for a gluten-free version.
• Experiment with flavored extracts like almond or hazelnut for unique variations.
Serving Ideas
This cheesecake pairs wonderfully with a steaming cup of coffee or a chilled glass of milk. For a festive touch, serve it at gatherings with seasonal fruits like berries or citrus slices. Whipped cream and chocolate shavings can add an elegant finishing touch while making it even more indulgent. Consider offering a side of hot fudge or a caramel drizzle for guests who enjoy extra sweetness. This versatile dessert can also be enjoyed at casual family dinners, making every gathering feel a bit more special.
Meal Prep & Storage
This no-bake cheesecake can be prepared a day in advance, allowing you to serve a perfectly set dessert on the day of your gathering. Store any leftover cheesecake in an airtight container in the refrigerator for up to five days. For longer storage, you can freeze the cheesecake for up to a month. When ready to enjoy, allow it to thaw in the refrigerator overnight for the best texture. Avoid adding toppings until just before serving to ensure they stay fresh and maintain their texture.
FAQs
Can I make this recipe dairy-free?
Yes, you can use dairy-free cream cheese and whipped cream alternatives to create a dairy-free version of this cheesecake.
What can I substitute for Biscoff cookies?
You can use graham crackers or any other spiced cookie that offers a similar flavor profile for the crust.
How do I know when the cheesecake is set?
The cheesecake should be firm to the touch, with the edges slightly pulling away from the sides of the pan after chilling for the recommended time.
Can I add a fruit topping?
Absolutely! Sliced fresh fruits like strawberries or raspberries pair beautifully with this cheesecake.
Is it okay to use whipped topping instead of whipped cream?
Yes, you can use whipped topping as a quicker alternative, but it may alter the texture slightly compared to fresh whipped cream.
Conclusion
Delighting friends and family with a rich, creamy dessert has never been easier. This no-bake cheesecake, with its harmonious blend of flavors and textures, is bound to become a beloved favorite in your home. Perfect for any occasion, it encourages indulgence and celebration without the fuss, making it the ultimate dessert solution.
Creamy No-Bake Biscoff Cheesecake
Ingredients
Method
- Crush the Biscoff cookies until fine and mix with the melted butter. Press the mixture firmly into the bottom of a springform pan to form a solid crust.
- Refrigerate the crust for about 30 minutes to set and firm up before adding the filling.
- In a large mixing bowl, beat the cream cheese until smooth, then add sour cream, lemon juice, powdered sugar, and vanilla extract, mixing until well combined.
- In a separate bowl, beat the heavy whipping cream until stiff peaks form.
- Gently fold the whipped cream into the cream cheese mixture until fully incorporated.
- Drizzle in the cookie butter and fold until just combined, keeping some swirls visible.
- Pour the filling over the chilled crust, spreading it evenly.
- Refrigerate for at least 4 hours or overnight until firm.
- Garnish with extra Biscoff cookies and a drizzle of cookie butter before slicing and serving.