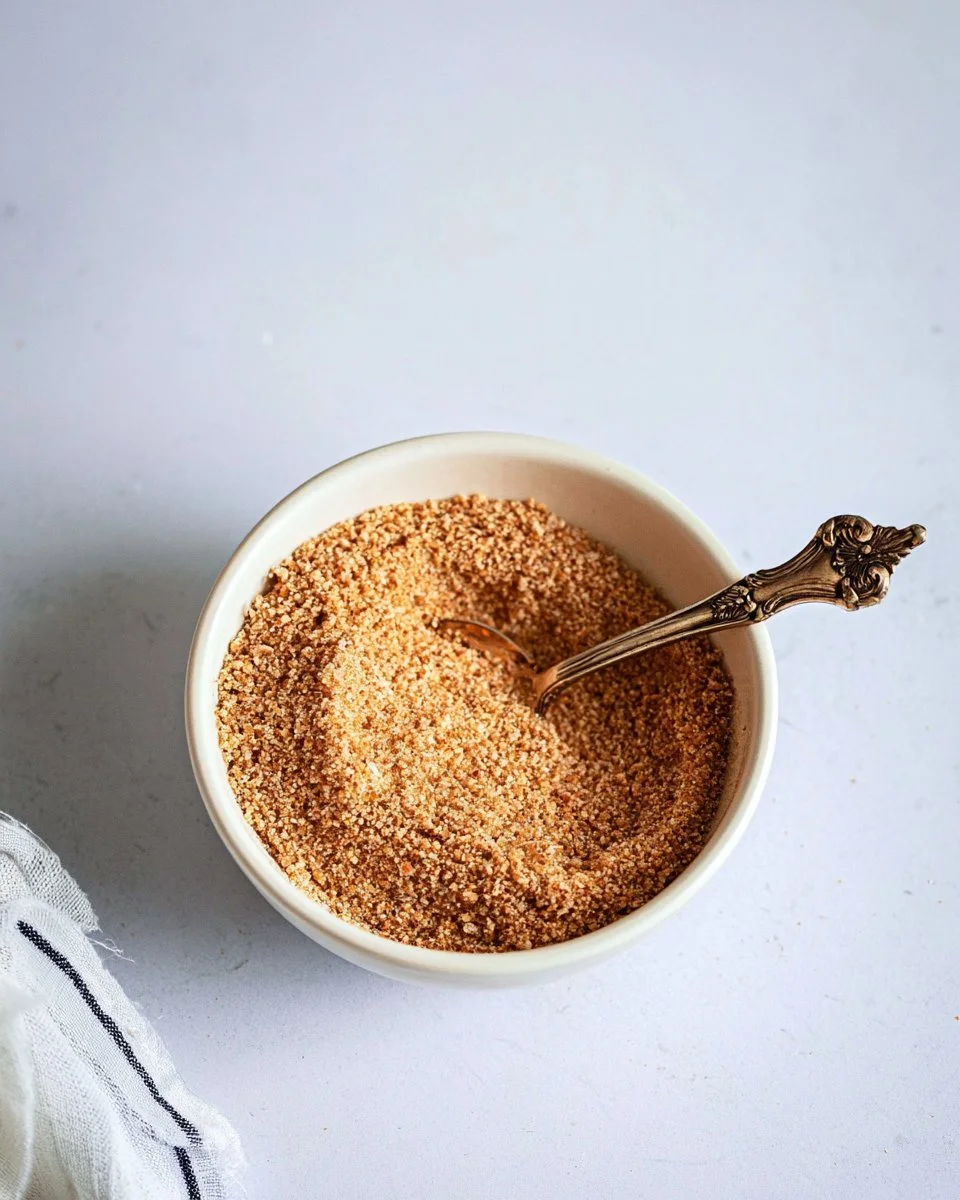
Gluten Free Breadcrumbs
Are you tired of searching for the perfect gluten-free substitute to elevate your meals? Look no further! Making your own gluten-free breadcrumbs is not only simple but also a fantastic way to add crunchy flavor to your favorite dishes. These homemade breadcrumbs will become a staple in your kitchen, enhancing everything from baked casseroles to crispy toppings on salads.
The delightful crunch of these breadcrumbs gives a satisfying texture to your recipes, while the subtle hints of seasonings can be adjusted to suit your palate. Each bite highlights the natural flavors of your ingredients, transforming everyday meals into culinary delights.
Imagine crispy, golden breadcrumbs that can elevate any dish, bringing deliciousness and satisfaction to your family table. Let’s dive into how easy it is to whip up your very own batch!
Quick Answer
This recipe is a straightforward way to create gluten-free breadcrumbs using stale or toasted gluten-free bread, salt, and optional seasonings.
Why You’ll Love This Recipe
Gluten-free breadcrumbs are not just a necessity for those with dietary restrictions; they can enhance your meals in a variety of ways:
- Super simple to make using just a few ingredients.
- Customize with your favorite seasonings for a tailored flavor.
- Perfect for adding texture to a variety of dishes.
- A great way to avoid store-bought options that may contain gluten or additives.
- Versatile for use in meatballs, toppings, and more.
- A healthy alternative that accommodates a gluten-free lifestyle.
- Stale bread is utilized, reducing food waste.
What Makes This Recipe Special
This recipe shines because it combines simplicity with customization, allowing you to control both the flavor and texture. By choosing the type of gluten-free bread you use, you can influence the final product significantly. Stale or toasted bread offers a sturdier structure, creating optimum crunch. Adding seasonings like Italian herbs or garlic powder enhances the flavor profile, making these breadcrumbs a versatile option for various dishes. Additionally, this method is cost-effective, ensuring you have high-quality breadcrumbs without the need for expensive store-bought alternatives.
Kitchen Tools You’ll Need
- Oven – For toasting the breadcrumbs to a perfect golden brown.
- Baking sheet – To hold your breadcrumbs while they bake.
- Parchment paper – Ensures easy cleanup and prevents sticking.
- Food processor – For quickly breaking down the gluten-free bread into crumbs.
- Knife – To cut the gluten-free bread into cubes.
Ingredients
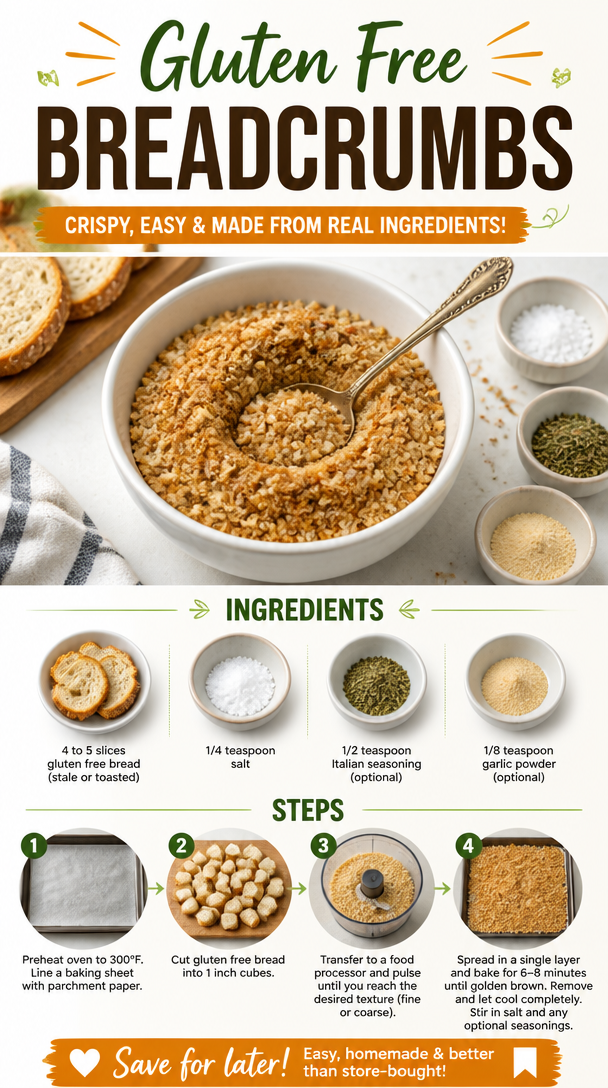
gluten free bread: Provides the main structure and base flavor for the breadcrumbs.
salt: Enhances the overall flavor and balances the ingredients.
Italian seasoning: Adds a delightful burst of herbal notes, making it more flavorful.
garlic powder: Infuses a subtle depth and aromatic quality to the breadcrumbs.
Ready to cook? Scroll to the recipe card below for exact measurements.
How to Make Gluten Free Breadcrumbs
Phase 1 – Prep
STEP 1. Preheat oven. Set the oven temperature to 300 degrees F.
STEP 2. Prepare baking sheet. Line a baking sheet with parchment paper.
STEP 3. Cut bread. Slice gluten free bread into 1 inch cubes.
Phase 2 – Cook
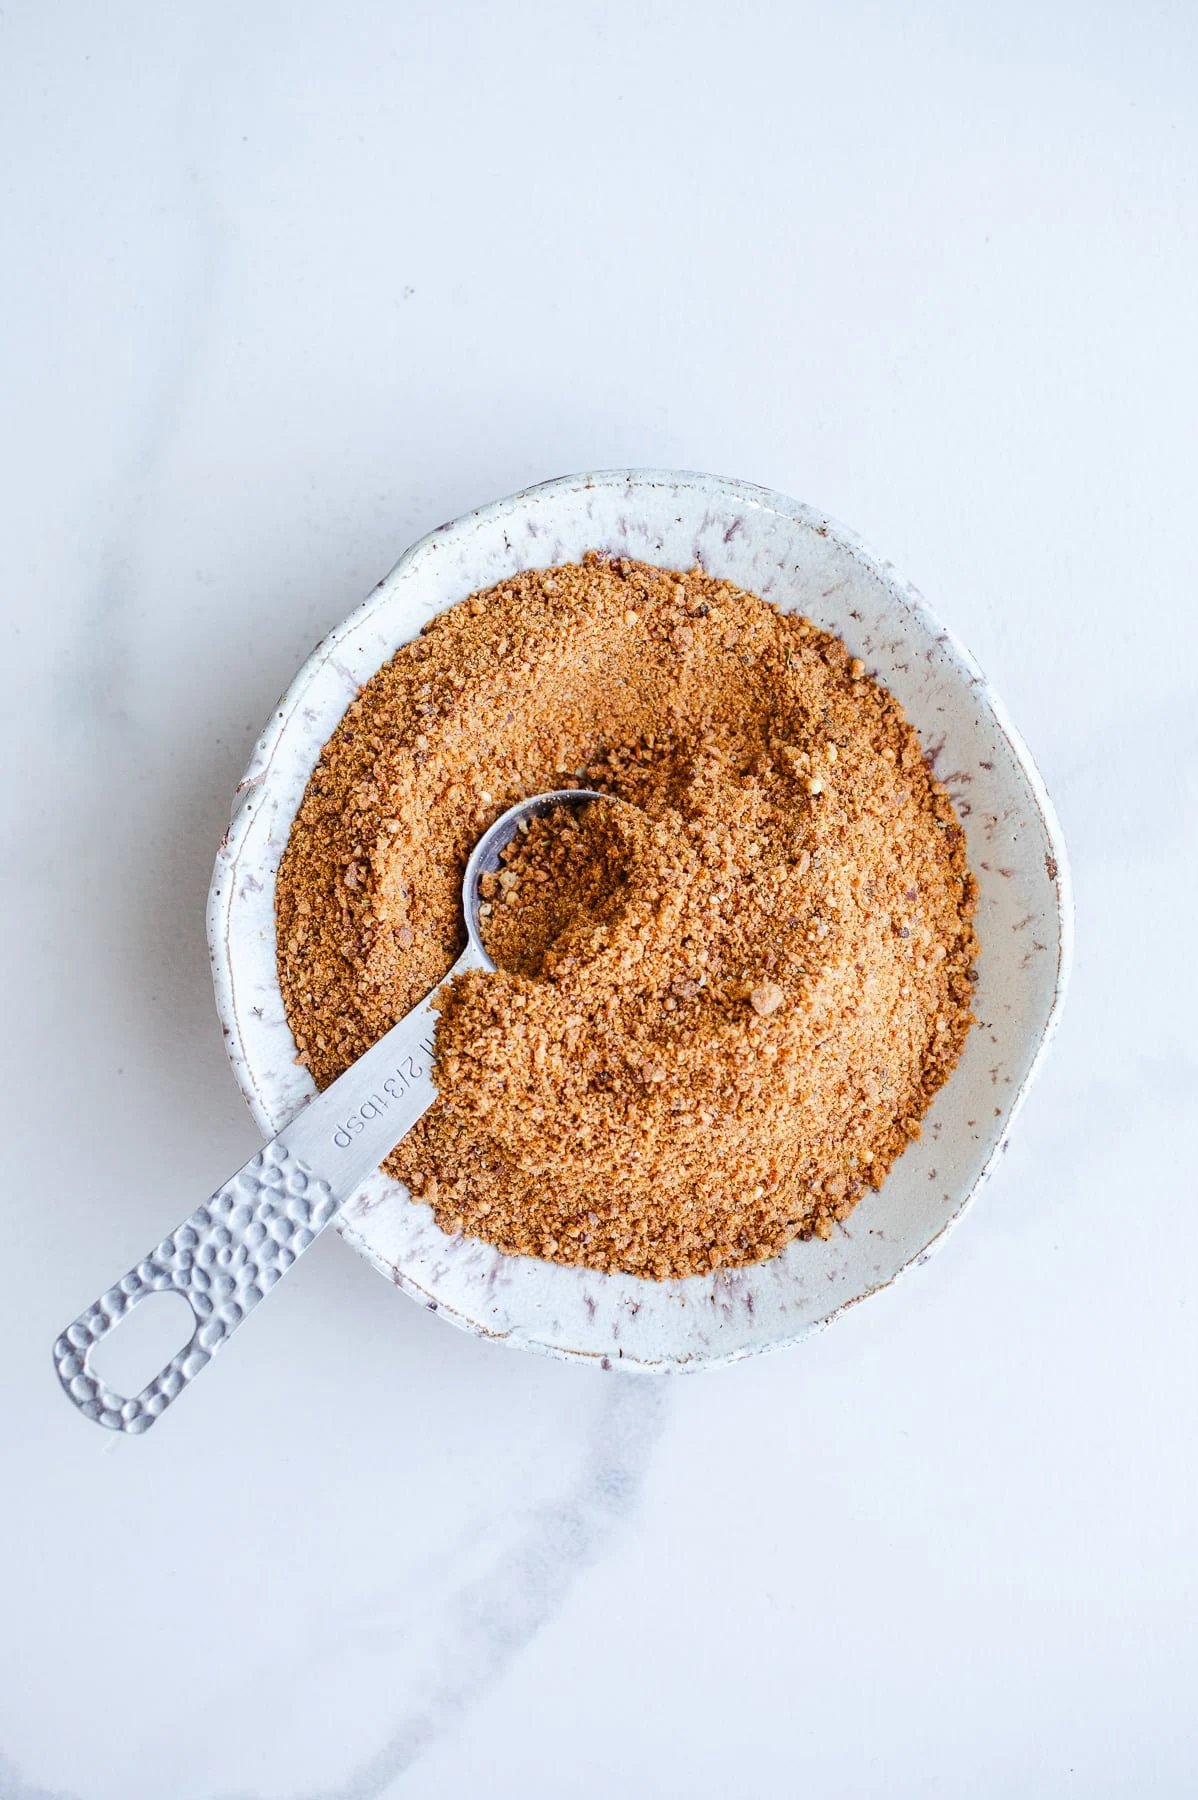
STEP 4. Pulse bread. Transfer the bread cubes to a food processor and pulse until you reach the desired texture (fine or coarse).
STEP 5. Spread on sheet. Spread the breadcrumb mixture in a single layer on the baking sheet.
STEP 6. Bake breadcrumbs. Bake for 6 to 8 minutes until they turn golden brown.
STEP 7. Cool completely. Remove from the oven and let cool completely.
Phase 3 – Serve
STEP 8. Stir in seasonings. Stir in salt and any optional seasonings to finish.
Why This Recipe Works
This recipe creates a perfect balance of textures and flavors. The crunchiness of the baked breadcrumbs is achieved through precise baking, transforming stale bread into a delightful topping or filler. Flavor layering comes into play with the optional seasonings, allowing for versatility that can suit myriad dishes. The cooking method benefits from the use of low heat, which promotes an even roast without burning, ensuring optimal flavor and texture. Using a food processor simplifies the process, allowing for quick preparation without compromising on quality.
Pro Tips
For the best results, consider these tips: Always use stale bread, as it results in drier, crunchier breadcrumbs. Toast the bread first if it’s fresh; this promotes a better texture. Experiment with various gluten-free breads to find your favorite base flavor. For added taste, let the breadcrumbs cool completely before mixing in seasonings, as this allows the flavors to meld together more effectively. Store your breadcrumbs in an airtight container to maintain freshness, and don’t hesitate to adjust the seasonings based on your personal preferences!
Common Mistakes to Avoid
Mistake: Using fresh bread.
Why it happens: Fresh bread retains moisture, resulting in soggy breadcrumbs.
How to fix it: Always use stale or toasted gluten free bread for the best texture.
Mistake: Not pulsing the bread evenly.
Why it happens: Over or under-pulsing can lead to inconsistent breadcrumb size.
How to fix it: Pulse in short bursts and check the consistency frequently.
Mistake: Skipping the cooling step.
Why it happens: Rushing can lead to clumping.
How to fix it: Allow breadcrumbs to cool completely before adding seasonings.
Mistake: Not spreading evenly on the baking sheet.
Why it happens: Overcrowding can cause uneven cooking.
How to fix it: Always spread breadcrumbs in a single, even layer.
Variations
- Add grated cheese for a rich flavor twist.
- Use flavored gluten-free bread to introduce new tastes.
- Incorporate spices like paprika or chili powder for a kick.
- Mix in nuts for an added crunch.
- Blend in different herbs based on your dish’s needs.
Nutrition Highlights
| Nutrient | Role |
|---|---|
| Fiber | Supports digestive health and helps maintain steady energy levels. |
| Vitamin E | Acts as an antioxidant, supporting skin health and immunity. |
| Iron | Vital for oxygen transport in the body and energy production. |
Serving Ideas
Use these flavorful breadcrumbs to enhance a variety of dishes. Sprinkle them over pasta for a crispy topping, add to meatballs for texture, or use in vegetable casseroles for an added crunch. They make a perfect coating for baked proteins or can simply be served alongside soups for extra texture. Pairing these breadcrumbs with a flavorful marinara sauce brings a comforting, satisfying element to any meal. Feel free to experiment and find your favorite combinations!
Best Occasions for This Recipe
These gluten-free breadcrumbs are perfect for any occasion! Use them for casual family dinners, holiday gatherings, or meal prep for busy weekdays. They can work as a delicious topping for various dishes during cozy nights at home or when preparing savory snacks for game day. No matter the event, these breadcrumbs lend versatility and flavor to your menu!
Meal Prep & Storage
Meal Prep
Plan ahead by making a batch of breadcrumbs in advance. These can be stored in airtight containers for easy access when preparing meals throughout the week. This method is particularly helpful for busy schedules, allowing you to elevate dishes with minimal effort.
Refrigeration
Store any unused breadcrumbs in the refrigerator for up to a week. Ensure they are in an airtight container to maintain their crispiness and flavor.
Freezing
For longer storage, freeze the breadcrumbs in a sealed bag or container. They will keep well in the freezer for up to three months.
Reheating
To refresh frozen breadcrumbs, simply bake them at a low temperature until warmed through. This will restore their crunchiness.
FAQs
Can I use any type of gluten-free bread?
Yes, you can use various types of gluten-free bread, but the texture and flavor may differ based on your choice.
How do I store leftover breadcrumbs?
Store them in an airtight container in the refrigerator for about a week or freeze them for longer storage.
Can I make these breadcrumbs ahead of time?
Absolutely! They can be prepared in advance and stored for later use.
What can I substitute for Italian seasoning?
You can use any herb blend you enjoy, such as oregano, basil, or a simple mix of dried herbs.
How do I make breadcrumbs more flavorful?
Adding cheese, spices, and herbs can elevate the flavor profile of your breadcrumbs significantly.
Save This Recipe for Later
Don’t forget to pin this recipe for gluten-free breadcrumbs to your favorite Pinterest board so you can easily find it later!
Conclusion
Making gluten-free breadcrumbs is a fun and rewarding kitchen project. With just a few simple ingredients, you can create a versatile component that enhances various meals. Not only are they easy to make, but they also help you avoid gluten-filled options while adding flavor and texture to your favorite dishes. So, grab some gluten-free bread and let your culinary creativity shine!
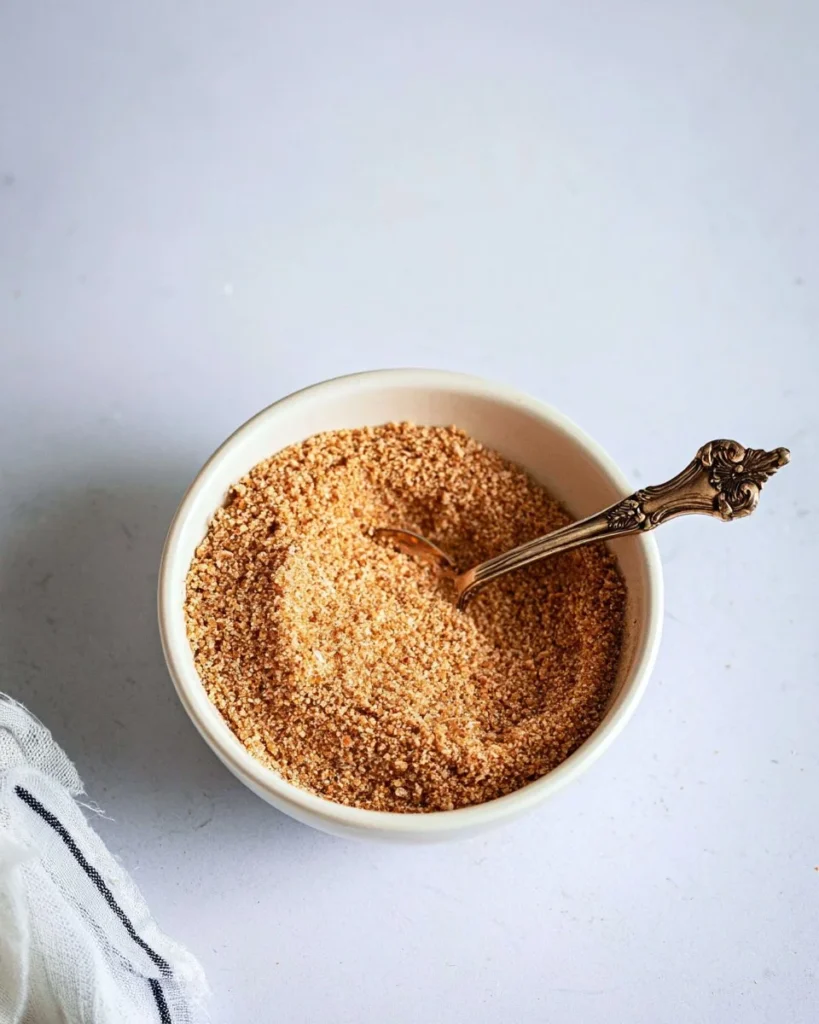
Gluten-Free Breadcrumbs
Ingredients
Method
- Preheat oven to 300°F (150°C).
- Line a baking sheet with parchment paper.
- Slice gluten-free bread into 1-inch cubes.
- Transfer the bread cubes to a food processor and pulse until desired texture is reached.
- Spread the breadcrumb mixture in a single layer on the baking sheet.
- Bake for 6 to 8 minutes until golden brown.
- Remove from the oven and let cool completely.
- Stir in salt and any optional seasonings to finish.