How to Make Homemade Rye Bread
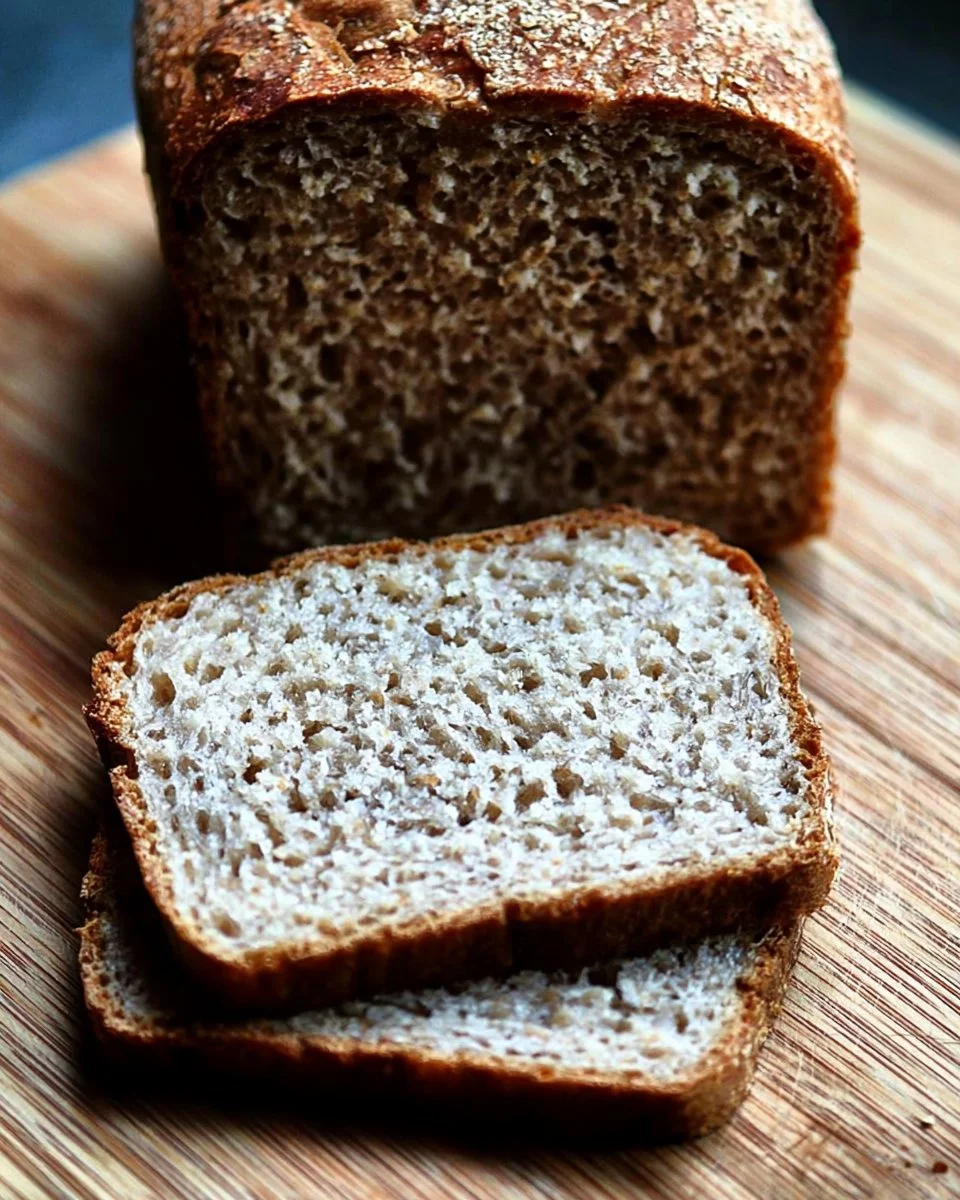
There’s something utterly satisfying about the aroma of freshly baked homemade bread wafting through your kitchen. Rye bread, with its hearty texture and slightly tangy flavor, is not only a delightful treat; it’s also a great way to elevate your sandwiches or simply enjoy with butter. The combination of all-purpose flour and rye flour creates a unique balance, giving your bread a tender crumb while maintaining that characteristic depth. This recipe invites you to explore artisanal baking without needing any special equipment, ensuring consistent results that will impress your family and friends. Plus, once you’ve tasted the rich, warm loaf fresh from the oven, store-bought bread will never quite satisfy the same way again. Get ready to embrace the comforting warmth of homemade rye bread!
Quick Answer
This homemade rye bread recipe combines all-purpose and rye flour for a hearty, flavorful loaf. It’s perfect for sandwiches or enjoyed fresh with butter. Easy to make, this bread rises beautifully and bakes to a golden finish!
Why You’ll Love This Recipe
This homemade rye bread will quickly become a staple in your kitchen for various reasons:
- Flavorful: The combination of rye and caraway seeds provides a distinct, pleasantly earthy flavor profile.
- Hearty Texture: The bread has a beautiful crust with a soft, chewy interior, perfect for holding up to spreads or toppings.
- Quick Preparation: With a straightforward process requiring minimal hands-on time, you can bake a loaf in just a few hours.
- Versatile: Great for sandwiches, toast, or as an accompaniment to soups and stews.
- Healthier Option: Using rye adds fiber and nutrients compared to regular white bread.
- Homemade Goodness: There’s nothing quite like the satisfaction of creating your bread from scratch.
What Makes This Recipe Special
This homemade rye bread stands out due to its thoughtful balance of flavors and textures. The blend of bread and rye flours results in a loaf that is sturdy yet soft, perfect for various toppings. Caraway seeds can be added to enhance the flavor profile further, making the bread slightly aromatic and interesting. The use of honey or maple syrup introduces a hint of sweetness that complements the earthy tones of the rye. This combination of ingredients is not just about taste; it’s about creating a comforting, wholesome loaf that fills your kitchen with warmth and invites everyone to gather around the table.
Kitchen Tools You’ll Need
- Mixing Bowls – For whisking together flours and liquids.
- Rubber Spatula – Ideal for mixing sticky dough.
- Loaf Pan – Essential for shaping and baking your bread.
- Damp Cloth or Plastic Wrap – Used to cover the dough while it rises.
- Cooling Rack – Necessary for cooling the bread after baking.
- Oven – Where the magic of baking happens.
Ingredients
bread or all-purpose flour: Creates structure and a chewy texture in the bread.
rye flour: Adds a rich, nutty flavor and slightly denser texture.
<b kosher salt: Essential for flavor enhancement and strengthening dough.
instant yeast: Helps the dough rise quickly and effectively.
caraway seeds: Imparts a distinctive flavor and aroma to the bread.
lukewarm water: Activates the yeast for proper rising.
honey or maple syrup: Introduces a touch of sweetness and aids in browning.
extra-virgin olive oil: Adds moisture and contributes to a soft crust.
unsalted butter: Used for greasing the loaf pan and adding flavor.
Ready to cook? Scroll to the recipe card below for exact measurements.
How to Make How to Make Homemade Rye Bread
Phase 1 – Prep
STEP 1. Mix the Dry Ingredients. In a large bowl, whisk together the flours, salt, instant yeast, and caraway seeds, if using.
STEP 2. Combine the Wet Ingredients. In a medium bowl, whisk together the water and the honey until the honey is dissolved.
STEP 3. Form the Dough. Add the wet mixture to the flour mixture, followed by 1 tablespoon of the oil. Using a rubber spatula, mix until a sticky dough ball forms.
STEP 4. Let the Dough Rise. Cover the bowl with a damp tea towel and set aside in a warm spot for 2 to 3 hours until doubled in volume.
Phase 2 – Cook
STEP 5. Preheat the Oven. Set the oven to 375ºF.
STEP 6. Prepare the Loaf Pan. Grease an 8.5×4.5-inch or 9×5-inch loaf pan generously with softened butter.
STEP 7. Shape the Dough. Once the dough has doubled, drizzle the remaining oil over it and coat the surface. Release it from the bowl, flip it oil-side down, roll into a coil or loaf shape, and place it seam side down in the pan.
STEP 8. Second Rise. Let the dough rise on the countertop for 45 minutes to an hour until it domes above the pan by about an inch.
STEP 9. Bake the Bread. Transfer the pan to the oven and bake for 45 minutes, or until the top is evenly browned.
Phase 3 – Serve
STEP 10. Cool the Loaf. Remove the pan from the oven and turn the loaf out onto a cooling rack. Let it cool for at least 30 minutes before slicing.
Why This Recipe Works
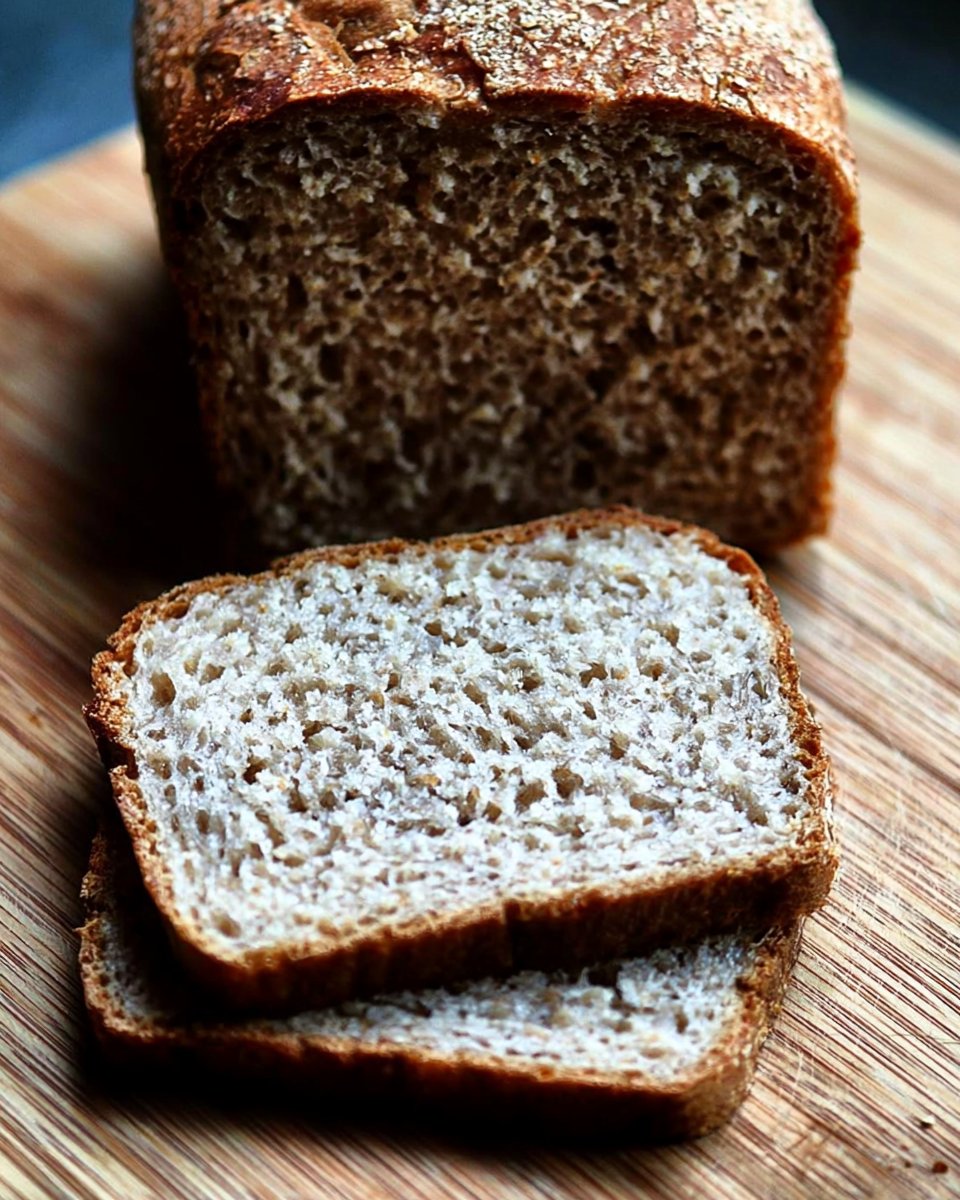
This homemade rye bread recipe achieves an ideal texture balance through its unique flour combination, ensuring a loaf that is both hearty and tender. The inclusion of rye flour not only boosts nutritional value but also brings a distinctive flavor profile to the bread. The natural sweetness from honey or maple syrup harmonizes beautifully with the earthiness of the rye, creating layers of flavor that make every bite delightful. The baking process is straightforward, allowing for a hands-on experience that combines the art of bread-making with kitchen science, resulting in perfectly baked bread with a crusty exterior and a warm, inviting center.
Pro Tips
To ensure perfect homemade rye bread, keep these tips in mind:
- Don’t Rush the Rising Time: Allow the dough to rise for the full duration to develop flavor and texture.
- Check Your Water Temperature: Use lukewarm water to activate the yeast effectively without killing it.
- Invest in a Loaf Pan: A good-quality pan ensures even baking and helps shape the loaf nicely.
- Don’t Skimp on Greasing: Generously greasing the pan will make it easier to remove the bread without tearing.
- Store Properly: Allow the bread to cool completely before storing it to prevent sogginess.
Common Mistakes to Avoid
Mistake: Underestimating Rising Time.
Why it happens: Rushing the dough will lead to bread that is dense and heavy.
How to fix it: Always allow the dough enough time to truly double in size.
Mistake: Using Cold Water.
Why it happens: Cold water can slow down or halt yeast activity.
How to fix it: Ensure the water is lukewarm before adding to the mix.
Mistake: Skipping the Cooling Step.
Why it happens: Cutting into hot bread can lead to a gummy texture.
How to fix it: Let the baked loaf cool on a rack for at least 30 minutes.
Mistake: Not Greasing the Pan Well.
Why it happens: Sticking can occur if the pan isn’t adequately prepared.
How to fix it: Use enough butter to thoroughly coat the pan.
Variations
- Swap out rye flour for whole wheat for a different flavor.
- Add seeds such as sunflower or pumpkin for added texture and crunch.
- Incorporate dried herbs like thyme or rosemary for a fragrant twist.
- Experiment with different sweeteners like agave syrup for a unique taste.
- For a quicker version, use bread machine settings if available.
Nutrition Highlights
| Nutrient | Role |
|---|---|
| Protein | Helps support satiety and balanced meals. |
| Fiber | Promotes digestive health and a feeling of fullness. |
Serving Ideas
This homemade rye bread is incredibly versatile! Serve it warm with a spread of fresh butter for a comforting snack. It makes an excellent base for sandwiches filled with your favorite deli meats and cheeses. Pair it with hearty soups or salads to create a balanced meal. You can also toast slices and enjoy them with avocado or a smear of cream cheese for a delightful breakfast or brunch option.
Best Occasions for This Recipe
Homemade rye bread is perfect for family gatherings, casual get-togethers, or even holiday dinners. Its robust flavor complements various cuisines, making it a splendid choice for serving alongside stews and roast meats. Whether it’s a picnic in the park or a cozy evening at home, this bread is sure to impress. It also makes a thoughtful gift, allowing you to share the warmth of homemade goodness with friends and loved ones.
Meal Prep & Storage
Meal Prep
Make the dough ahead and let it rise in the refrigerator overnight for a slower fermentation, enhancing flavor. Shape and bake the next day for fresh bread at any time.
Refrigeration
Store homemade rye bread in a sealed plastic bag at room temperature for optimum freshness. If kept longer than a few days, refrigeration can dry it out – it’s best stored at room temperature.
Freezing
To freeze, slice the bread and wrap it tightly in plastic wrap followed by aluminum foil. This will preserve freshness and allow easy access to individual slices.
Reheating
To reheat, simply toast a slice or warm the loaf wrapped in foil in a preheated oven at 350ºF until heated through.
FAQs
How long does homemade rye bread last?
Homemade rye bread can last about 3-5 days at room temperature when stored properly in a sealed bag.
Can I substitute the rye flour?
Yes, you can swap rye flour with whole wheat or bread flour, but it will alter the flavor and texture slightly.
What if my dough isn’t rising?
If your dough isn’t rising, check to see if the yeast is fresh and if the water temperature was appropriate for activation.
Can I add toppings or spreads to the dough?
While toppings can be added on top before baking, you can enjoy the bread with spreads such as butter, cream cheese, or your favorite sandwich creations.
How do I know when the bread is done?
The bread is done when the top is golden brown, and it sounds hollow when tapped on the bottom.
Save This Recipe for Later
If you enjoyed this recipe, make sure to save it to your Pinterest boards or your favorite recipe collection for easy access later!
Conclusion
Making homemade rye bread isn’t just about the end product; it’s about the joy of baking and the comforting aroma that fills your home. Embrace the rustic charm of this hearty loaf that transforms simple ingredients into something truly special. With its rich flavor and wholesome texture, you’ll find endless ways to enjoy this bread. Whether as part of a meal or paired with your favorite spread, the satisfaction of savoring your own homemade creation is unmatched. Happy baking!
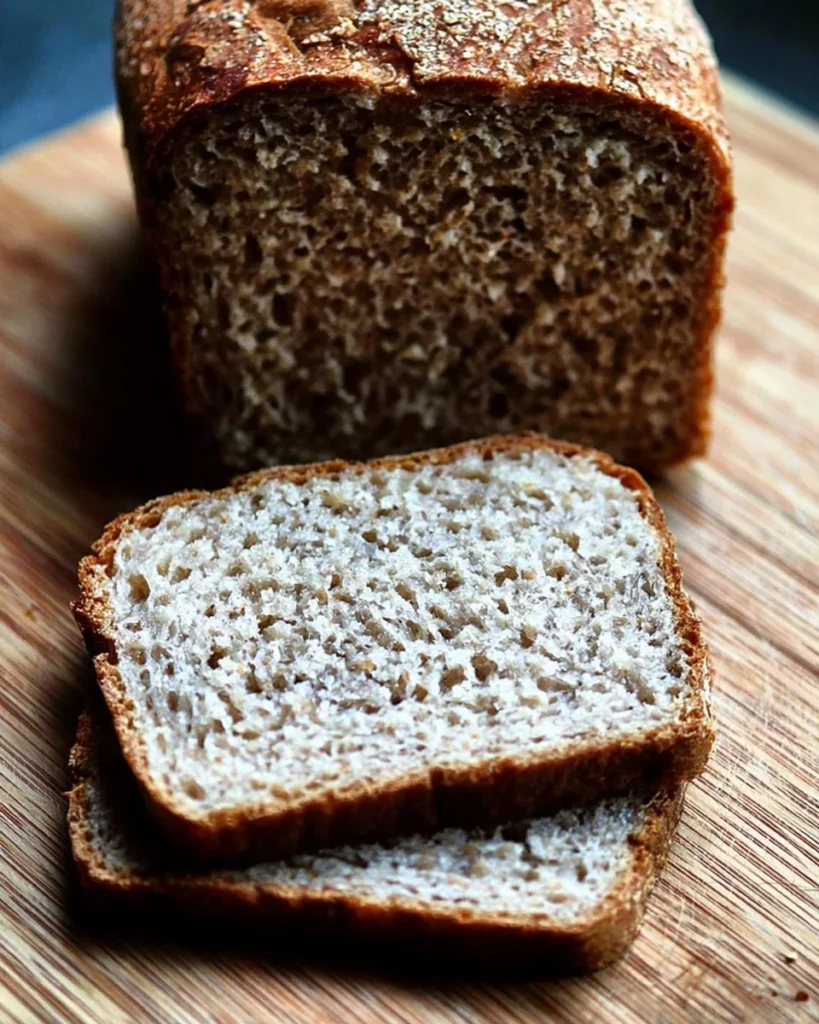
Homemade Rye Bread
Ingredients
Method
- In a large bowl, whisk together the flours, salt, instant yeast, and caraway seeds, if using.
- In a medium bowl, whisk together the lukewarm water and honey until dissolved.
- Add the wet mixture to the flour mixture, followed by 1 tablespoon of the oil. Mix until a sticky dough ball forms.
- Cover the bowl with a damp tea towel and set aside in a warm spot for 2 to 3 hours until doubled in volume.
- Preheat the oven to 375ºF.
- Grease an 8.5x4.5-inch or 9x5-inch loaf pan generously with softened butter.
- Once the dough has doubled, drizzle the remaining oil over it and coat the surface. Shape it into a loaf and place it seam side down in the pan.
- Let the dough rise on the countertop for 45 minutes to an hour until it domes above the pan.
- Transfer the pan to the oven and bake for 45 minutes, or until the top is evenly browned.
- Remove the pan from the oven and turn the loaf out onto a cooling rack. Let it cool for at least 30 minutes before slicing.