How to Parbake (and Blind Bake) Pie Crust + Foolproof Flaky Pie Dough
There’s something undeniably comforting about a flaky, golden pie crust, whether it’s cradling a rich pecan filling or a bright, fresh fruit medley. Perfecting your pie crust technique can elevate your baking game and impress everyone at your table. Imagine each bite offering a satisfying crunch, followed by a buttery, tender texture that harmonizes with the filling it’s holding. From Thanksgiving to summer gatherings, a well-made pie crust is the canvas for countless creative flavors, bringing smiles with every slice.
Learning how to parbake or blind bake your pie crust is essential for avoiding a soggy bottom and ensuring that your crust turns out beautifully golden every time. With just a bit of patience and practice, you’ll master this basic skill and enhance your baking repertoire.
Quick Answer
Parbaking a pie crust involves baking it partially to set the structure, while blind baking means baking it completely without filling. Both techniques help prevent sogginess and create a flaky texture that holds fillings perfectly.
Why You’ll Love This Recipe
Once you try this flaky pie dough recipe and mastering the parbaking process, you’ll wonder how you ever baked without it!
- Perfectly Flaky Texture: Achieves the ideal balance of crispy and tender.
- Versatile Use: Suitable for both sweet and savory pies, expanding your dessert or meal options.
- Simple Ingredients: Made with pantry staples, making it easy to whip up anytime.
- Advanced Baking Technique: Elevates your pie-making skills with minimal effort.
- Make Ahead: Can be prepared in advance and stored, perfect for efficient meal planning.
What Makes This Recipe Special
This recipe showcases the crucial steps to create a pie crust that is both flaky and delicious, setting the stage for any filling you desire. The combination of cold butter and ice water allows for the development of layers that, when baked, lead to that heavenly flakiness. Precise temperature control and resting the dough enhance its elasticity, making rolling easier and more manageable. By incorporating both parbaking and blind baking methods, you can enjoy perfectly baked crusts that don’t become soggy, allowing you to showcase your favorite pie recipes beautifully.
Kitchen Tools You’ll Need
- Food Processor – For easy mixing of dough and achieving the right consistency.
- Measuring Cups – Essential for accurate ingredient measurements.
- Rolling Pin – Helps in evenly rolling out the dough.
- Pie Plate – Provides the shape and structure for your pie.
- Parchment Paper – Useful for lining your pie crust and preventing sticking.
- Pie Weights – Keeps the crust from bubbling and ensures even cooking.
Ingredients
all-purpose flour: The base of the crust, providing structure and stability.
sugar: Adds a hint of sweetness and helps achieve a golden color when baked.
kosher salt: Enhances flavor and balances the sweetness.
butter: Creates a rich, flaky texture and adds a buttery flavor.
ice water: Helps bind the dough while keeping it cold and prevents overworking it.
pie weights or dried beans/rice: Prevents the crust from puffing up during baking.
parchment paper: Keeps the pie crust from sticking and supports the weight of the pie weights.
jumbo ziptop bags: Ideal for storing dough in the fridge or freezer.
Ready to cook? Scroll to the recipe card below for exact measurements.
How to Make How to Parbake (and Blind Bake) Pie Crust + Foolproof Flaky Pie Dough
Phase 1 – Prep
STEP 1. Combine Dry Ingredients. Pulse the flour, sugar, and salt together.
STEP 2. Incorporate Butter. Add the chilled, cubed butter and pulse at 1-second intervals until the butter is the size of peas.
STEP 3. Add Ice Water. Add the ice water and pulse again about 10 times until the mixture is crumbly but holds together when pinched.
STEP 4. Alternate Mixing Method. To make without a food processor, whisk flour, sugar, and salt in a bowl, add butter, and use a fork or pastry cutter to create small pieces before adding ice water.
STEP 5. Shape Dough. Lay two clean tea towels on a work surface and divide the dough mixture between them.
STEP 6. Form Dough Purses. Grab the four corners of the towel together and twist to create a beggar’s purse, pressing the dough into rounds.
STEP 7. Chill Dough. Wrap in plastic wrap or parchment, place in a ziplock bag, and chill in the fridge for 30 minutes to 3 days or freeze for up to 3 months.
Phase 2 – Cook
STEP 8. Preheat Oven. Heat your oven to 425ºF.
STEP 9. Roll Out Dough. On a floured surface, roll out one of the chilled dough rounds until about 15 inches in diameter.
STEP 10. Transfer to Pie Plate. Place the round in the pie plate and trim excess dough, leaving about an inch overhang.
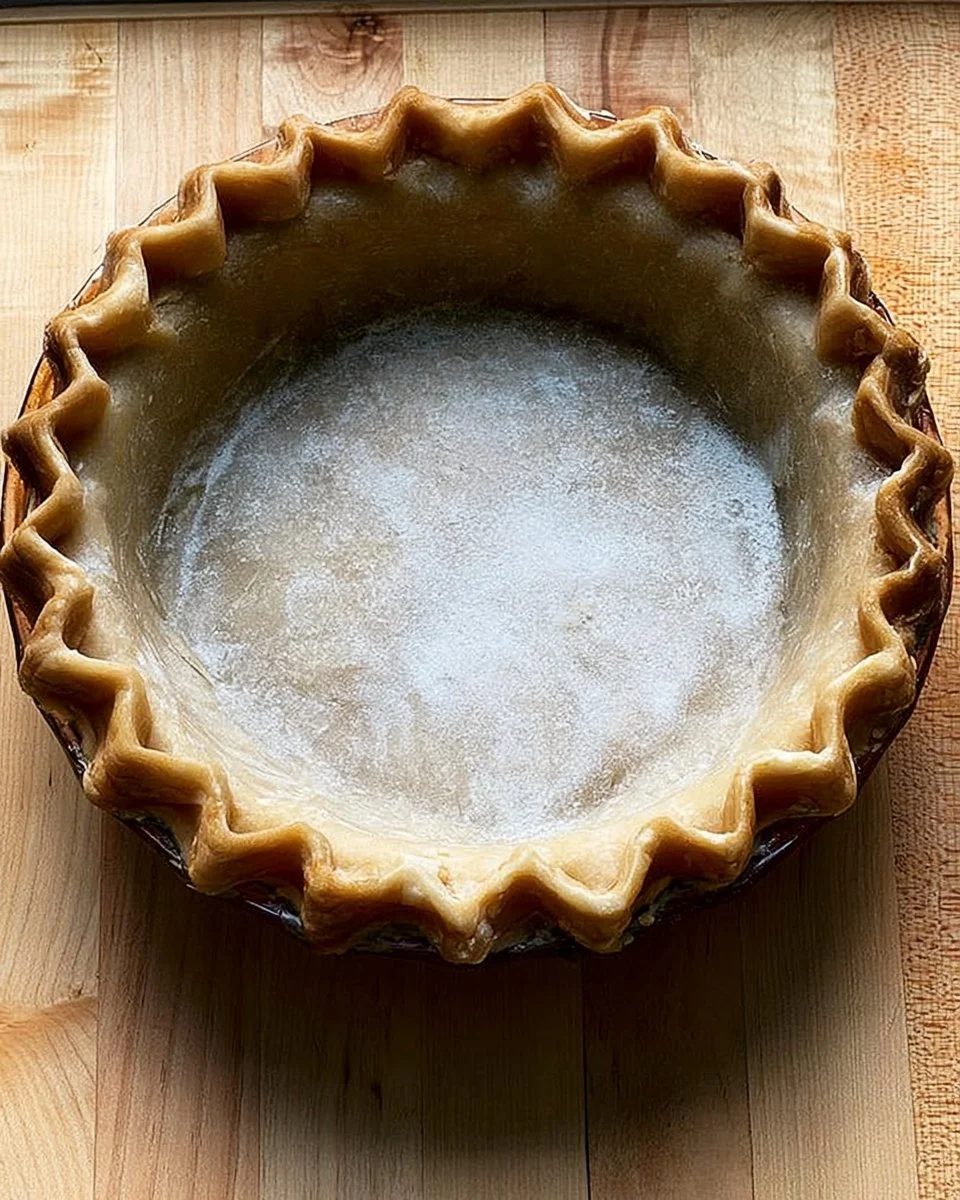
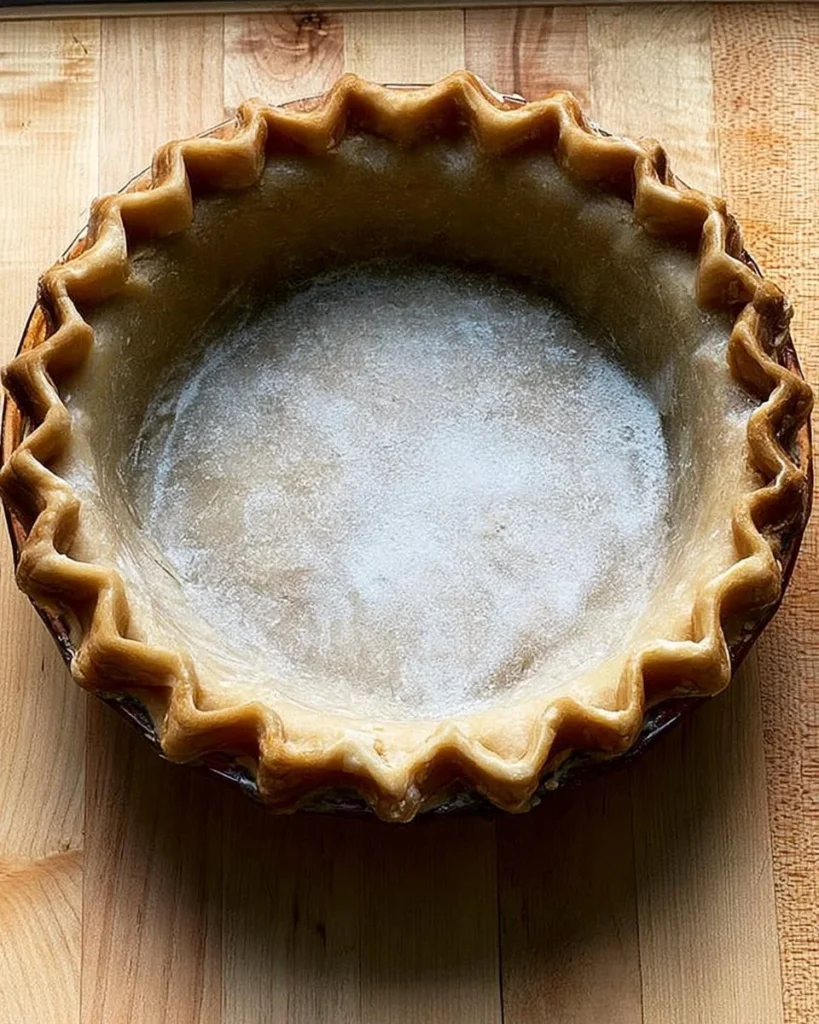
STEP 11. Crimp Edges. Tuck the overhanging dough behind itself and crimp the edge for a decorative finish.
STEP 12. Chill Again (Optional). If time permits, chill the shell for 30 minutes.
STEP 13. Prepare for Baking. Lay parchment over the crust and fill with pie weights or dried beans until they reach the top.
STEP 14. First Bake. Transfer to a parchment-lined sheet pan and bake for 15-20 minutes until edges begin to color.
STEP 15. Remove Weights. Carefully remove the weights and return the pan to the oven.
STEP 16. Finish Parbake. For a parbaked crust, bake for another 2-3 minutes.
STEP 17. Finish Blind Bake (If Needed). For a blind-baked crust, bake for another 10-12 minutes until evenly golden brown.
STEP 18. Cool and Store. Allow to cool completely before storing in an airtight bag for 3 days at room temperature or freeze for 3 months.
Why This Recipe Works
This pie crust recipe strikes a perfect balance between rich flavor and a tender, flaky texture. The combination of cold butter and precise mixing creates layers, allowing steam to develop during baking, which results in a delightful flakiness. Using ice water is crucial, keeping the temperature low to prevent the butter from melting before baking, contributing to that golden crispness. The techniques of parbaking and blind baking ensure that your crust will not become soggy and will support any filling beautifully, allowing each bite to deliver a satisfying crunch alongside the bursting flavors of the pie’s interior.
Pro Tips
Use cold tools and ingredients to maintain the ideal dough temperature.
Practice rolling dough evenly to ensure uniform baking.
Chill for longer periods if you have time; it improves the dough’s manageability.
Keep an eye on the color during the baking process; remember, visual cues are your best guide!
Experiment with different textures and fillings once you feel confident in the crust.
Common Mistakes to Avoid
Mistake: Overmixing the dough.
Why it happens: It’s easy to want a smooth dough, but overmixing leads to tough crusts.
How to fix it: Mix only until the ingredients come together and look crumbly.
Mistake: Skipping the chilling step.
Why it happens: This can seem like a time-saving move.
How to fix it: Always chill your dough; it prevents shrinkage and helps with flakiness.
Mistake: Not using enough pie weights.
Why it happens: It’s a common oversight that can lead to puffed-up crusts.
How to fix it: Use plenty of weights to ensure even baking.
Variations
- Use whole wheat flour for a nuttier flavor.
- Incorporate herbs for a savory crust.
- Add a dash of cinnamon for sweet pies.
- Experiment with flavored butters or oils.
- Try different types of sugars for varied sweetness.
Nutrition Highlights
| Nutrient | Role |
|---|---|
| Protein | Helps support satiety and balanced meals. |
Serving Ideas
This versatile pie crust pairs well with a variety of filling options! Use it to create a classic apple pie for fall gatherings or a rich chocolate ganache pie for a special occasion. You can fill it with fresh berries and cream for a summer treat or savory ingredients like vegetables and cheese for quiches. The possibilities are endless, ensuring there’s always a perfect pie for every event.
Best Occasions for This Recipe
Whether it’s a holiday gathering, a birthday celebration, or just a cozy family dinner, this pie crust is ideal for any occasion. Show off your baking skills for Thanksgiving, delight guests at a summer barbecue with fruit pies, or bring a delicious homemade dessert to a potluck. Its adaptability means it fits right in at casual and festive events alike.
Meal Prep & Storage
Meal Prep
Prepare your pie crust dough in advance and store it in the refrigerator or freezer. This allows you to have ready-to-use dough on hand for impromptu baking sessions.
Refrigeration
Store pie dough in the fridge wrapped tightly for up to three days, or let it chill in an airtight container.
Freezing
You can freeze unbaked crusts by wrapping them well and storing them for up to three months. Simply thaw overnight in the refrigerator before using.
Reheating
Reheat baked crusts in the oven at a low temperature until warmed through, ensuring they retain their crisp texture.
FAQs
Can I use this recipe for savory pies?
Yes! This crust is versatile and works great for both sweet and savory fillings.
How do I prevent my crust from burning?
Keep an eye on it while baking and use a pie shield if the edges are browning too quickly.
Can I use gluten-free flour?
Yes, you can substitute gluten-free all-purpose flour, but ensure it contains xanthan gum for the best texture.
What can I do if my dough is too crumbly?
Adding a little more ice water, a teaspoon at a time, can help bring it together.
Save This Recipe for Later
Bookmark this recipe or pin it on Pinterest to always have this reliable pie crust recipe at your fingertips!
Conclusion
Mastering the art of pie crust is a rewarding endeavor that pays off in delicious ways. With this foolproof flaky pie dough recipe, you’ll be well on your way to creating fabulous pies that are sure to impress. Embrace these baking techniques, and soon you’ll be the culinary hero of every dessert table!
Flaky Pie Crust
Ingredients
Method
- Pulse the flour, sugar, and salt together in a food processor.
- Add the chilled, cubed butter and pulse until the butter is the size of peas.
- Add the ice water and pulse until the mixture is crumbly but holds together when pinched.
- Alternatively, whisk flour, sugar, and salt in a bowl, add butter, and use a fork to mix, then add ice water.
- Lay two clean tea towels on a surface and divide the dough between them.
- Twist the corners of the towel to form dough purses.
- Wrap in plastic wrap or parchment, place in ziplock bag, and chill.
- Preheat your oven to 425ºF.
- Roll out the chilled dough on a floured surface until about 15 inches in diameter.
- Transfer to a pie plate, trim excess dough, and crimp the edges.
- Chill the shell for 30 minutes if time permits.
- Lay parchment paper over the crust, fill with weights, and bake for 15-20 minutes.
- Remove the weights and bake for an additional 2-3 minutes for a parbaked crust, or 10-12 minutes for a blind-baked crust.
- Allow to cool completely before storing.