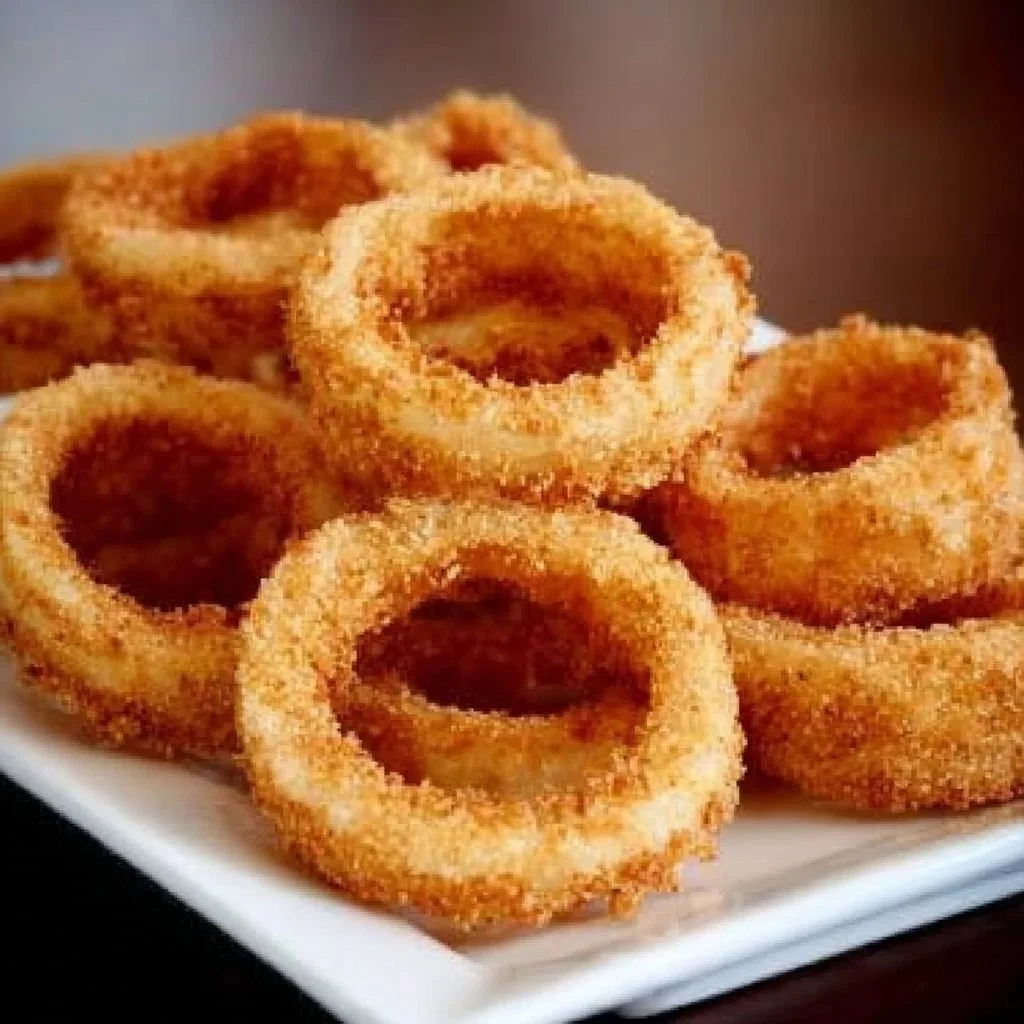
Perfectly Crispy Onion Rings: Your New Go-To Snack
Whenever you bite into a crispy, golden onion ring, a wave of nostalgia washes over you. Who doesn’t love that satisfying crunch combined with the sweet, caramelized flavor of onion? But for many of us, making the perfect onion rings at home often feels just out of reach. They can quickly turn soggy or burnt, leaving us wondering if we should ever try again. If only there were a foolproof way to achieve that perfect crunch and flavor! The good news is, with this easy-on-the-bud recipe for beautiful onion rings, you’ll not only solve this culinary conundrum but also create a delicious snack that is perfect for sharing—or keeping all to yourself!
The Kitchen Struggle: Finding Perfect Onion Rings
Every cooking enthusiast has faced a kitchen challenge that once felt endless. I’ll never forget my initial foray into frying—every batch of onion rings ended up either oily or lacking flavor. I felt disheartened as I watched countless attempts go to waste, each try ending in frustration rather than joy. But one day, that all changed. Inspired by a summer BBQ memory that revolved around crispy onion rings, I decided to conquer my frying fears and rediscover this beloved snack.
I fondly remember the atmosphere: laughter and the tantalizing aroma wafting through the backyard as friends and family gathered around the grill, eagerly anticipating those first bites. That nostalgic feeling fueled my determination, and I started testing different techniques until I finally nailed the perfect recipe for onion rings.
With the right ingredients and methods, you can create a dish that brings back those beautiful memories and flavors. It’s all about patience, practice, and choosing the right coating and frying technique. Whether you’re planning game night or a casual weekend lunch, these onion rings will impress your loved ones with their incredible crunch and flavor.
One tip I learned is to focus on the right temperature for your oil. If the oil isn’t hot enough, you’ll end up with greasy rings. However, if it’s too hot, they may burn before cooking through. This is why I always suggest using a deep fryer thermometer for precision. Trust me; you’ll thank yourself later!
Discover more delicious recipes that bring the family together.
Why Homemade Onion Rings are a Game-Changer
So what makes homemade onion rings stand out? Firstly, the key lies in controlling freshness and quality. Each step of the process contributes to a final product that meets your personal taste expectations, rather than settling for the mystery of fast food.
The combination of crispy exterior and soft, caramelized onion heart gives onion rings that satisfying bite. Plus, customization options abound! You can tweak the seasoning or coating to match your cravings—think spicy or cheesy versions for adventurous palates.
Quick Answer: The secret to perfect Onion Rings is ensuring your oil is at the right temperature!
Perfecting the art of making onion rings at home creates a gastronomic adventure you won’t forget. And let’s not forget about the simple pleasure of sharing homemade food with family and friends. This classic snack brings people together, creating mouth-watering moments. For further inspiration, try pairing these rings with our homemade garlic bread for a delightful twist, or grab your favorite dips for a flavor explosion!
By focusing on texture and flavor balance, you can transform a humble onion into an unforgettable snack. So let’s get started crafting your crunchy creations!
Ingredients, Substitutions & Foolproof Steps
Now that you’re ready to dive into the cooking process, here’s a list of ingredients you’ll need to make these onion rings shine:
- Large Onions — Sweet onions work best for a mild flavor; you can substitute with regular onions for a sharper taste.
- Buttermilk — Essential for soaking to achieve the desired tenderness; use milk with a splash of vinegar as a substitute.
- All-Purpose Flour — Provides the base for the coating; gluten-free flour works as an excellent alternative.
- Cayenne Pepper — Gives a gentle kick; feel free to omit or adjust based on your preference.
- Garlic Powder — Adds depth of flavor; onion powder can be a good substitute.
- Salt and Pepper — Essential seasoning! Use sea salt for a little burst of flavor.
- Breadcrumbs — Create that glorious crunch; panko breadcrumbs are ideal for maximum crispiness.
- Vegetable Oil — Needed for frying; canola oil works well too.
Directions / Steps:
- Slice the onion into rings and separate them.
- In a bowl, combine flour, cayenne pepper, garlic powder, salt, and pepper.
- Dip each onion ring in buttermilk, then coat with the flour mixture, and finally coat with breadcrumbs.
- Heat oil in a deep pan or fryer to 365°F (180°C).
- Fry the onion rings in batches until golden brown, about 2-3 minutes.
- Remove and drain on paper towels.
- Serve hot with your favorite dipping sauce.
Common Mistakes to Avoid:
- Using Cold Oil: Make sure your oil is hot enough!
- Overcrowding the Pan: This can cause a drop in oil temperature, leading to soggy rings.
- Not Draining Properly: Allow excess oil to drip off to maintain crunch.
Pro Tips:
- Resting Time: Letting the coated onion rings rest for a few minutes before frying helps the coating stick better.
- Experiment with Seasonings: Personalize the flavor by adding more spices or herbs into the bread crumbs.
Nutrition Highlights Table:
NutrientPer Serving Protein7g Carbs12g Fat6g Before heading into serving suggestions, don’t forget to check out our chicken and rice soup for a cozy meal option ideal for cooler nights!
Serving, Storage & Freezer Tips
How to Serve Onion Rings
Serve your onion rings while they’re fresh and hot, accompanied by tangy ketchup, zesty ranch dressing, or your favorite spicy dipping sauce. They make excellent appetizers, snacks, or even a side with juicy burgers.
How to Store Onion Rings
To store any leftovers, simply place them in an airtight container in the refrigerator. They should last for up to 3 days, but keep in mind that they’ll lose their crunch.
Can You Freeze Onion Rings?
Yes! You can freeze the breaded onion rings before frying. Lay them on a baking sheet to freeze individually, then transfer them to an airtight bag. They’ll keep for up to 3 months. When ready to enjoy, fry them straight from the freezer, adding a couple of extra minutes to the cooking time.
Fond memories bring warmth to our kitchens, and I often recall making these onion rings with family. Whenever I make them, I feel wrapped in those cherished moments, reminding me of the laughter, joy, and flavors of togetherness. A simple onion ring becomes a vessel of nostalgia, and I can’t help but share that connection with my loved ones.
FAQ Section
Q: Can I use sweet onions for onion rings?
Absolutely! Sweet onions like Vidalia or Walla Walla add a lovely flavor without being overpowering.
Q: What type of oil is best for frying?
Using oils with high smoke points, like vegetable or canola oil, is ideal for frying onion rings.
Q: How do I keep onion rings crispy?
To maintain crunch, serve immediately after frying and avoid stacking them.
Q: Can I bake onion rings instead of frying?
Yes! Baked onion rings can be made for a healthier option, but ensure they’re coated with enough oil for optimal crunch.
Conclusion
Cooking can sometimes be daunting, but making onion rings at home should be enjoyable and rewarding. As you master this beloved recipe, you’ll find yourself craving the crunch and sweetness of these delightful snacks. Whether you’re sharing them with friends or indulging solo, these onion rings have the power to spark joy and bring back cherished memories.
If this recipe reminds you of someone you love, share it with them. Your memories keep recipes alive.
You May Also Like:
- Peanut Butter Chicken Recipe: The Ultimate Comfort Food Dish
- Seven Layer Taco Salad
- Homemade Buttermilk Biscuits
Dive into your own memory lane and savor every crunchy bite!
Crispy Onion Rings
Ingredients
Method
- Slice the onion into rings and separate them.
- In a bowl, combine flour, cayenne pepper, garlic powder, salt, and pepper.
- Dip each onion ring in buttermilk, then coat with the flour mixture, and finally coat with breadcrumbs.
- Heat oil in a deep pan or fryer to 365°F (180°C).
- Fry the onion rings in batches until golden brown, about 2-3 minutes.
- Remove and drain on paper towels.
- Serve hot with your favorite dipping sauce.