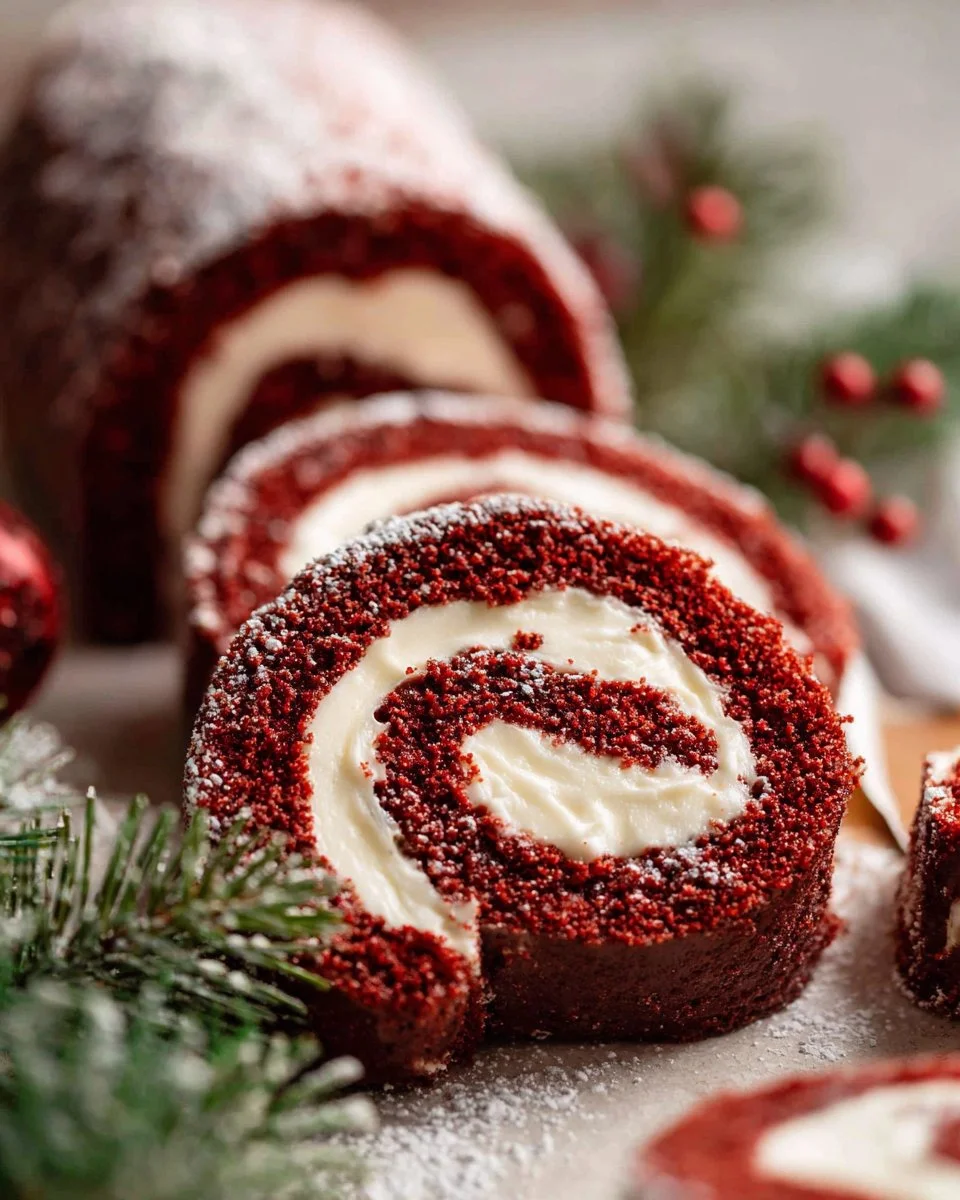
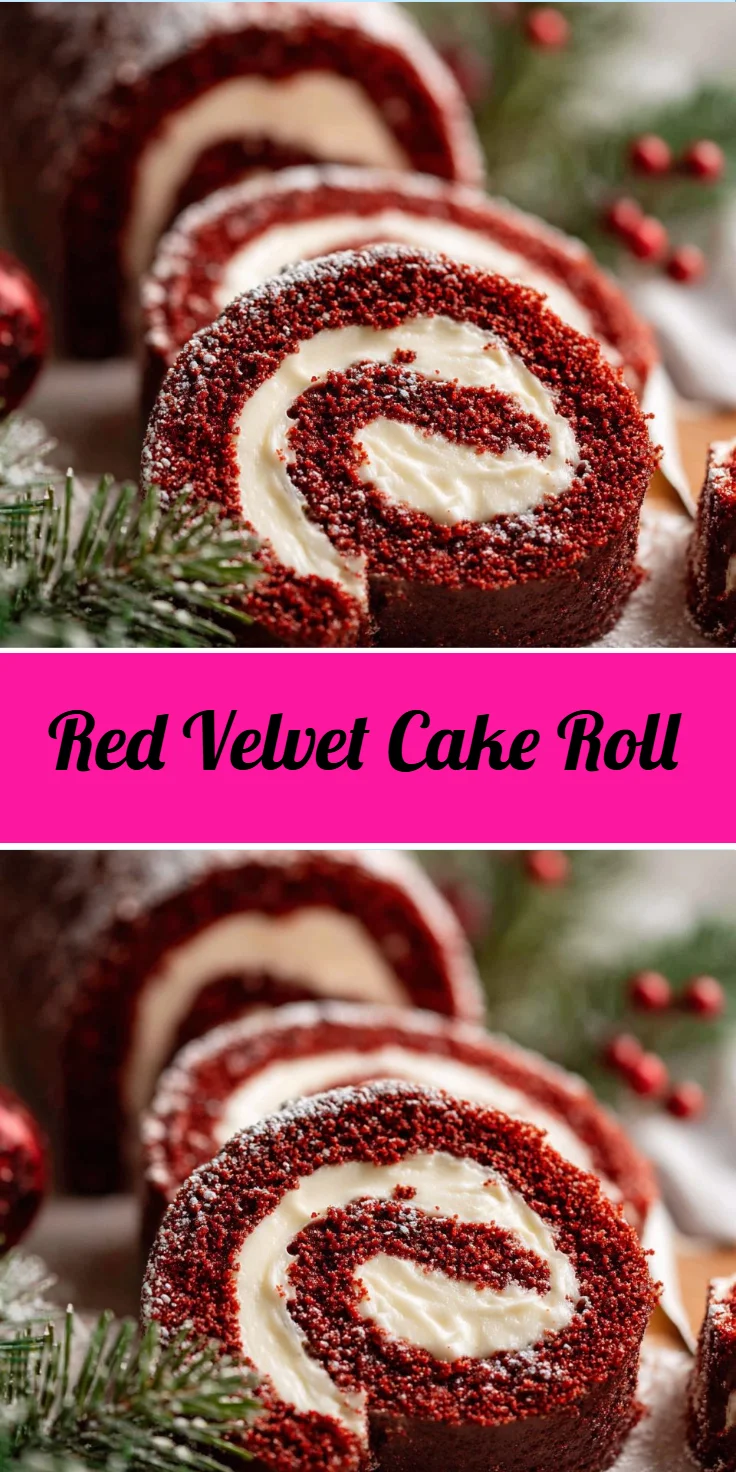
There’s nothing quite like the indulgence of a rich, red velvet dessert, and a rolled cake takes that experience to delightful new heights. This silky-smooth Red Velvet Cake Roll combines the playful charm of a classic red velvet cake with the artistic flair of a Swiss roll, creating a dessert that’s as stunning to behold as it is scrumptious to savor. Imagine slicing through the soft, velvety cake to reveal the luscious cream cheese filling, inviting you to experience the ultimate decadence with each bite. Perfect for celebrations or a sweet treat at home, this cake roll is guaranteed to impress. Its vibrant red hue, a refreshing hint of cocoa, and the creamy filling culminate in a delightful balance of flavors and textures that make this dessert a must-try. Whether you’re looking to sweeten up your dinner table or searching for a show-stopping centerpiece for a special occasion, this cake roll is the perfect blend of sophistication and comfort.
Why You’ll Love This Recipe
This delightful cake roll captures the essence of classic comfort food while offering a unique twist that’s sure to spark joy in your kitchen. The combination of soft, buttery cake and a creamy, tangy filling creates a dessert that is both satisfying and light. It’s incredibly easy to make, making it suitable for bakers of all skill levels. The vibrant red color not only adds a touch of whimsy but also pairs perfectly with festive occasions, enticing guests before they even take a bite. Plus, this recipe allows for versatility in flavor and decoration, enabling you to customize it to suit any celebration or personal preference. Impress your friends and family with this beautiful cake roll that brings smiles to faces and warmth to hearts.
What Makes This Recipe Special
What sets this Red Velvet Cake Roll apart is its elegant presentation coupled with an easy-to-follow process. Unlike traditional layer cakes that can be cumbersome to slice and serve, the rolled format allows for neat, individual servings, creating a visually appealing display without the hassle. Additionally, the cake remains moist and tender, thanks to the vinegar and buttermilk that react with the baking soda for optimal leavening. The contrast between the rich chocolate undertones and the tangy cream cheese filling ensures an explosion of flavor in every bite. Whether served at birthdays, holidays, or just a casual get-together, it transforms any moment into a decadent delight.
Ingredients
all-purpose flour or gluten-free 1:1 flour: Provides structure and stability to the cake.
cocoa powder: Adds a hint of chocolate flavor that complements the red velvet.
baking powder: Helps the cake rise and achieve a light texture.
baking soda: Activates with vinegar for additional leavening.
salt: Enhances overall flavor in the cake.
eggs: Binds the ingredients and adds richness.
sugar: Sweetens the cake, balancing the cocoa’s bitterness.
melted butter or coconut oil: Adds moisture and richness.
white vinegar: Balances the flavors and reacts with baking soda for fluffiness.
milk or buttermilk: Adds creaminess and tenderness to the cake.
red food coloring: Gives the cake its signature vibrant hue.
vanilla: Provides a welcoming aromatic flavor for the cake and filling.
cream cheese: Forms the creamy, tangy filling that contrasts delightfully with the cake.
powdered sugar: Sweetens the cream cheese filling and adds a smooth texture.
butter: Creates a rich and creamy filling consistency.
How to Make Red Velvet Cake Roll
STEP 1. Preheat the oven. Set the temperature to 350°F (175°C) and prepare a 10×15 jelly roll pan by greasing it and lining it with parchment paper.
STEP 2. Mix butter and sugar. In a mixing bowl, combine melted butter and sugar until well combined and creamy in texture.
STEP 3. Add eggs. Incorporate eggs, adding them one at a time and ensuring a thorough mix after each addition to create a cohesive mixture.
STEP 4. Incorporate liquids. Carefully mix in buttermilk, red food coloring, and white vinegar until fully integrated for an enriched flavor and vibrant color.
STEP 5. Combine dry ingredients. In a separate bowl, whisk together flour, cocoa powder, baking powder, baking soda, and salt until blended. Gradually add this dry mixture to the wet ingredients, mixing until the batter is smooth.
STEP 6. Pour and spread. Transfer the batter into the prepared pan and spread it evenly to ensure even baking throughout.
STEP 7. Bake. Place the pan in the oven and bake for 10-11 minutes or until a toothpick inserted in the center comes out clean.
STEP 8. Retain moisture. Once baked, remove the pan from the oven and cover it with another baking pan or foil to trap moisture and prevent the cake from drying out.
STEP 9. Roll the cake. While the cake is still warm, carefully roll it from the short edge and wrap it in foil to maintain its shape.
STEP 10. Cool. Allow the rolled cake to cool for approximately one hour to set its structure and texture.
STEP 11. Prepare filling. In a separate bowl, whip together cream cheese, powdered sugar, vanilla extract, and softened butter until the mixture is creamy and smooth.
STEP 12. Unroll and fill. Gently unroll the cooled cake and spread the prepared cream cheese filling evenly over the surface, leaving a small border.
STEP 13. Roll back up. Carefully roll the cake back up, starting from the edge with the filling, ensuring it’s tight but not too forceful. Wrap the rolled cake tightly in plastic wrap.
STEP 14. Refrigerate. Place the wrapped cake in the refrigerator and allow it to chill overnight for optimal firmness and flavor.
STEP 15. Slice and serve. Before serving, sprinkle the cake with powdered sugar, slice into pieces, and enjoy the burst of flavors in every bite.

Pro Tips
To achieve the best results with your Red Velvet Cake Roll, consider these helpful tips. First, ensure all your ingredients are at room temperature for a smoother batter. This is particularly important for the eggs and cream cheese filling. When mixing the batter, be careful not to over-mix after adding the dry ingredients; this keeps the cake light and fluffy. If using gluten-free flour, ensure you choose a blend specifically designed for baking to maintain the cake’s texture. While rolling the cake, do it gently to avoid cracking, and remember that a bit of patience is needed when unrolling it after cooling. Also, you can customize the filling by adding chocolate chips or nuts for additional flavor and texture. Lastly, for stunning presentation, dust with cocoa powder in addition to powdered sugar or drizzle with chocolate sauce for a touch of elegance.
Common Mistakes to Avoid
When making this delightful cake roll, keep these common pitfalls in mind to ensure success. One mistake is not properly preparing the jelly roll pan; ensure it’s well-greased and lined to prevent sticking. Also, neglecting to check the cake for doneness can leave it either underbaked or overbaked. The perfect cake should spring back when touched and a toothpick should come out clean. It’s also essential not to skip the step of covering the cake after baking, as lack of moisture can result in a dry final product. When rolling, be careful not to roll the cake too tightly, which can lead to cracking. Finally, allow adequate cooling time; rushing this step can make the cake difficult to work with, potentially ruining the final presentation.
Variations
• Add a layer of raspberry or strawberry jam for a fruity twist.
• Substitute the cream cheese filling with whipped cream for a lighter option.
• Use almond flour instead of all-purpose flour for a gluten-free version.
• Incorporate orange zest into the filling for a bright citrus flavor.
• Top the cake roll with fresh berries before serving for added color and nutrients.
Serving Ideas
Serving your Red Velvet Cake Roll can be just as fun as making it! For an elegant presentation, arrange slices on a beautiful platter and decorate with fresh mint leaves or edible flowers. Drizzle warm chocolate sauce over the slices for a decadent touch that enhances flavor. Pair each piece with a scoop of vanilla ice cream to create a delightful contrast of temperatures and textures. For added flair, you can serve the cake with dollops of whipped cream and sprinkle crushed nuts or toasted coconut on top for an extra crunch. Consider offering a side of fresh berries or a fruit coulis to complement the richness of the cake roll, enhancing both flavor and visual appeal.
Meal Prep & Storage
This Red Velvet Cake Roll is an excellent option for meal prep or make-ahead desserts. Prepare the cake and filling completely, then store the wrapped cake in the refrigerator for up to three days. If you’d like to extend its shelf life, consider freezing it. Wrap it tightly in plastic wrap and then in aluminum foil to prevent freezer burn. It can be stored in the freezer for up to three months. When ready to enjoy, simply thaw in the refrigerator overnight before serving. This makes it not only a great dessert choice for unexpected guests but also a lovely addition to special occasions. Make sure to slice just before serving for the best presentation and freshness.
FAQs
Can I make the cake roll a day in advance?
Absolutely! In fact, making it a day ahead enhances the flavors as they meld together. Just ensure it’s tightly wrapped in plastic wrap to keep it moist.
What can I use instead of food coloring?
If you’d prefer to avoid red food coloring, you can use beet juice for a more natural color, although it may slightly affect the flavor.
Is it possible to make a dairy-free version?
Yes! Simply replace butter with a dairy-free alternative and use non-dairy milk like almond milk or coconut milk to achieve a similar texture.
How do I prevent the cake from cracking when rolling?
To minimize cracking, make sure to roll the cake gently while it’s still warm and cover it to retain its moisture. Also, ensure your baking time is accurate to achieve the right doneness.
Can I use different fillings for the cake roll?
Definitely! While cream cheese is traditional, you can experiment with various fillings like chocolate mousse, whipped coconut cream, or even fruit preserves.
Conclusion
Wrapping up a gorgeous Red Velvet Cake Roll is a delightful way to satisfy sweet cravings and impress your guests. With its striking appearance and cream-filled indulgence, this dessert offers a perfect balance of flavors and textures. Dive into this baking adventure, and cherish the sweet moments it brings to your table!

Red Velvet Cake Roll
Ingredients
Method
- Preheat the oven to 350°F (175°C) and prepare a 10x15 jelly roll pan by greasing it and lining it with parchment paper.
- In a mixing bowl, combine melted butter and sugar until creamy in texture.
- Incorporate eggs, adding one at a time, ensuring thorough mixing after each addition.
- Mix in buttermilk, red food coloring, and white vinegar until fully integrated.
- In a separate bowl, whisk together flour, cocoa powder, baking powder, baking soda, and salt.
- Gradually add the dry mixture to the wet ingredients, mixing until smooth.
- Transfer the batter into the prepared pan and spread it evenly.
- Bake for 10-11 minutes or until a toothpick inserted in the center comes out clean.
- Remove the pan from the oven and cover it with another baking pan or foil to retain moisture.
- While the cake is still warm, carefully roll it from the short edge and wrap it in foil to maintain its shape.
- Allow the rolled cake to cool for approximately one hour.
- In a separate bowl, whip together cream cheese, powdered sugar, vanilla extract, and butter until creamy.
- Unroll the cooled cake and spread the cream cheese filling evenly, leaving a small border.
- Carefully roll the cake back up, starting from the edge with the filling, ensuring it’s tight but not too forceful.
- Wrap the rolled cake tightly in plastic wrap and refrigerate overnight.
- Before serving, sprinkle the cake with powdered sugar, slice into pieces, and enjoy.