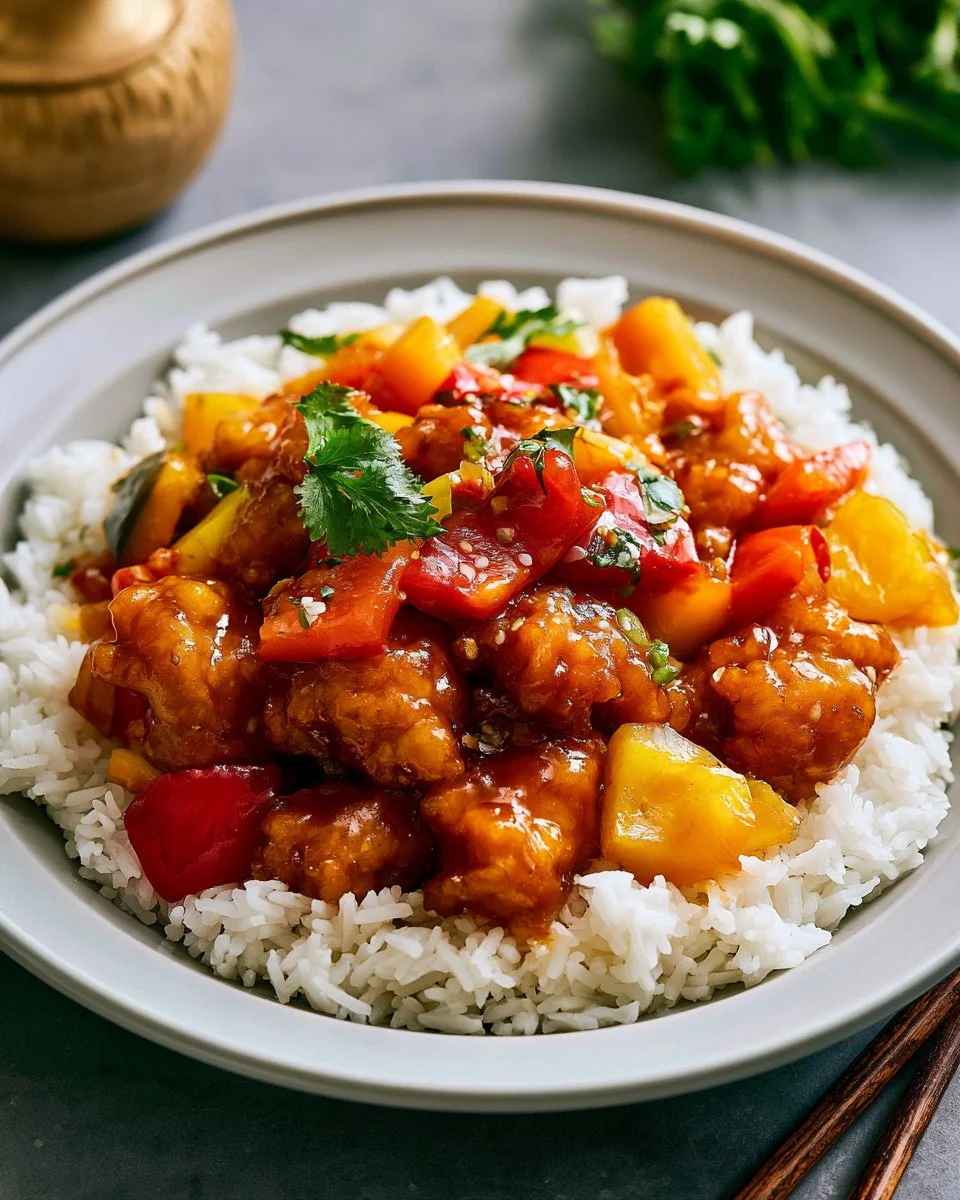
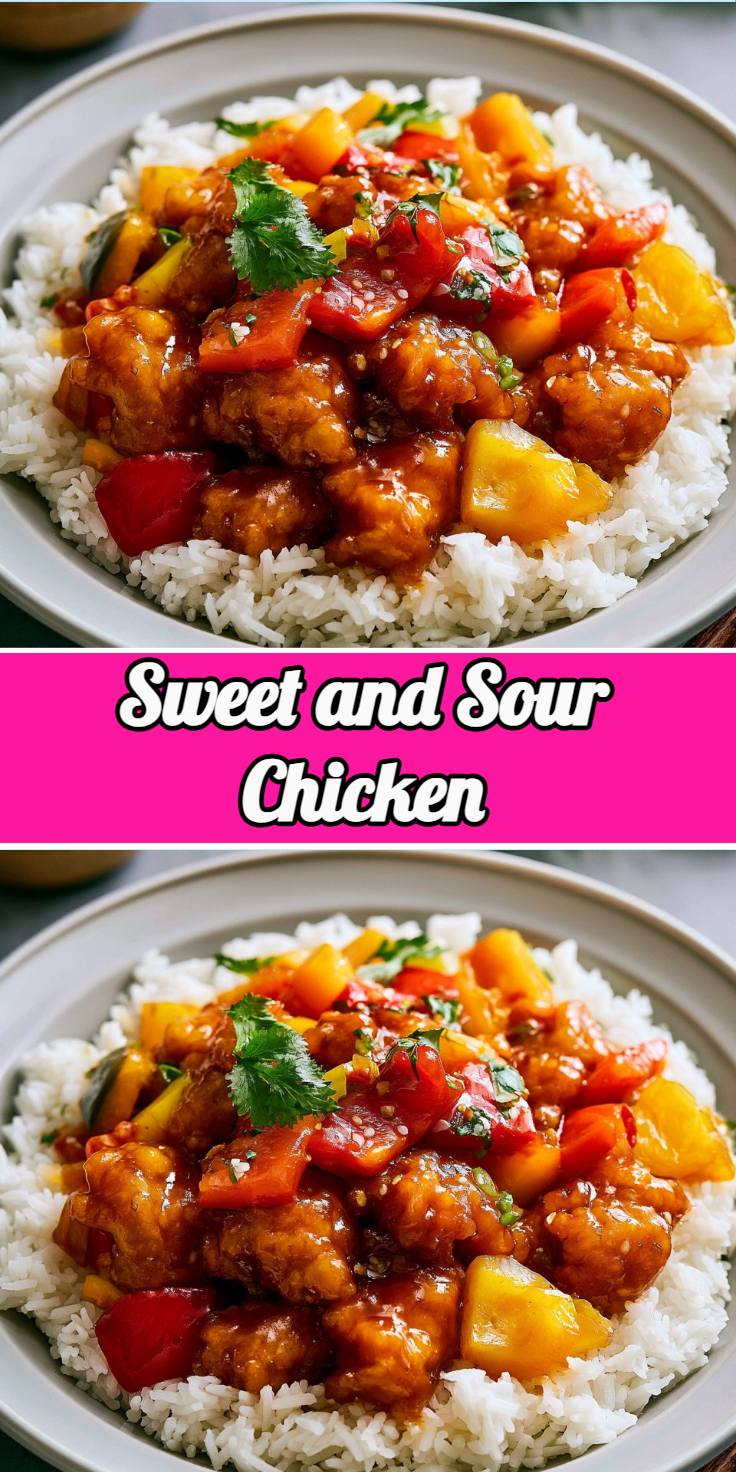
Sweet and Sour Chicken
Imagine a dish that perfectly balances the tantalizing tastes of sweet and tangy, with crispy chicken wrapped in a vibrant, glossy sauce. The moment you serve this delightful meal, your kitchen fills with an irresistible aroma, making it hard to resist diving in right away. This recipe is not just about flavor; it’s about creating memorable family dinners where everyone cherishes every bite. Whip up this delicious creation any night of the week, and watch your loved ones gather around the table, eager for a taste of that heavenly blend. Whether you need an easy dinner idea for a busy weeknight or want to impress guests during an intimate gathering, this dish will deliver both comfort and satisfaction. So grab your apron and prepare to be the star of your kitchen with this crowd-pleaser that brings together the best of homemade recipes and unforgettable taste.
Why You’ll Love This Recipe
One of the standout features of this dish is how it effortlessly marries simplicity with flavor. It’s approachable enough for novice cooks yet packed with bold elements that will wow even the most discerning palates. The juicy pieces of chicken fried to a golden crisp create a delightful texture, while the vibrant vegetables add crunch and color. Combine all of this with the tangy-sweet sauce, and you have a perfect harmony of taste that dances on your taste buds. Plus, this recipe adapts well to meal prep, ensuring that you can enjoy this comforting dish multiple times throughout the week. With its versatility, it can easily fit into any dietary plan, making it a go-to for quick family meals.
What Makes This Recipe Special
What sets this recipe apart from the rest is the attention to detail in flavor layering. The combination of apple cider vinegar and brown sugar creates a balanced sauce with sweet undertones and a slight tanginess that perfectly complements the fried chicken. Each bite bursts with freshness from the sautéed onions, bell peppers, and pineapple chunks, creating a delightful medley that enhances the overall experience. This dish is also incredibly customizable, allowing you to incorporate your favorite vegetables or protein variations. Making this recipe at home is not only satisfying, but it also offers a healthier, homemade alternative to takeout, making it a wholesome choice for your family.
Ingredients
boneless skinless chicken breast or thighs: The main protein source, providing juicy, tender bites.
Salt/Pepper: Basic seasonings essential for enhancing the flavor of the chicken.
eggs: Help bind the ingredients together and add richness.
cornstarch: Provides a crispy coating for frying the chicken.
vegetable oil: Used for frying, giving the chicken a golden and crispy exterior.
sugar: Adds sweetness to balance the savory and tangy flavors.
apple cider vinegar: Incorporates a tangy punch that brightens the overall flavor.
brown sugar: Offers a rich, caramelized sweetness that complements the sauce.
ketchup: Adds a touch of sweetness and depth to the sauce’s flavor profile.
reserved pineapple juice: Enhances the sauce with a fruity essence and sweetness.
soy sauce: Contributes umami and saltiness to the dish.
mustard powder: Adds a hint of tang and complexity to the sauce.
garlic powder: Infuses the dish with aromatic and savory notes.
yellow onion: Provides sweetness and texture when sautéed.
red bell pepper: Adds vibrant color and a sweet crunch.
orange bell pepper: Offers additional sweetness and aesthetic appeal.
pineapple chunks: Adds a tropical fruity burst and texture contrast.
Green Onions: For garnishing, enhancing visual appeal and freshness.
How to Make Sweet and Sour Chicken
STEP 1. Preheat the oven. Set your oven to 350°F (175°C) to prepare for baking.
STEP 2. Whisk the sauce ingredients. Combine the sugar, apple cider vinegar, brown sugar, ketchup, reserved pineapple juice, soy sauce, mustard powder, and garlic powder in a bowl and set aside.
STEP 3. Cut the chicken. Slice the boneless chicken into 2-inch pieces and season generously with salt and pepper.
STEP 4. Prepare the egg wash. Whisk the eggs in a bowl until well combined.
STEP 5. Coat the chicken. Toss the seasoned chicken pieces in the whisked eggs until evenly coated.
STEP 6. Heat the oil. In a skillet, heat vegetable oil over medium-high heat until it reaches 365°F (185°C).
STEP 7. Coat with cornstarch. Dust the egg-coated chicken pieces with cornstarch to create a light coating.
STEP 8. Fry the chicken. Fry the chicken in batches for about 3-4 minutes per side, or until golden brown and cooked through.
STEP 9. Cool the chicken. Remove the fried chicken and place on a cooling rack to let excess oil drain off.
STEP 10. Sauté the vegetables. In the same skillet, remove excess oil, then sauté the onions, red and orange bell peppers, and pineapple for 4-5 minutes until tender.
STEP 11. Add the sauce. Pour the sauce mixture into the skillet and bring it to a boil.
STEP 12. Simmer the sauce. Reduce heat and let the sauce simmer for several minutes to thicken slightly.
STEP 13. Toss the chicken in the sauce. Add the fried chicken pieces to the skillet with the sauce and toss to coat well.
STEP 14. Bake the dish. Transfer the coated chicken to a baking dish and bake in the preheated oven for 10 minutes.
STEP 15. Toss again. After 10 minutes, remove the dish, toss the chicken, and spoon additional sauce over the top.
STEP 16. Finish baking. Bake for another 10 minutes to allow the flavors to meld together.
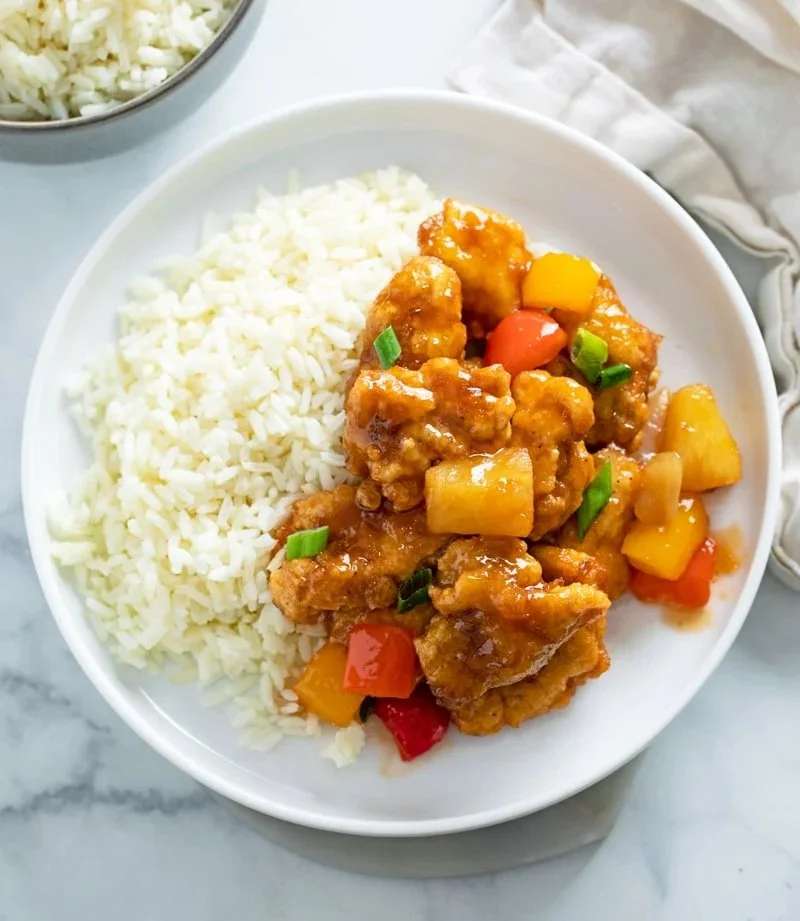
STEP 17. Garnish and serve. Remove from the oven, garnish with chopped green onions, and serve hot with rice.
Pro Tips
To ensure perfect sweet and sour chicken, remember to keep your oil hot enough for frying; a temperature of 365°F creates the desired crispy texture. Avoid overcrowding the pan when frying the chicken, as this can lower the oil temperature and result in soggy pieces. For a healthier alternative, consider using an air fryer for a lower oil version that still maintain crispiness. Be patient in the simmering phase; letting the sauce develop its flavors is key to a rich finish. Lastly, if you like a thicker sauce, simply let it simmer longer or cornstarch slurry can be added to achieve the desired consistency.
Common Mistakes to Avoid
One common mistake when making sweet and sour chicken is cutting the chicken pieces unevenly, which can lead to inconsistent cooking. Make sure to cut them into uniform sizes for even frying. Another pitfall is not drying the chicken before coating, which can prevent the cornstarch from adhering well and result in a soggy coating. Pay attention to oil temperature; if it’s too low, the chicken will absorb excess oil rather than crisp up. Additionally, don’t skip on the garnishing step; fresh green onions not only enhance visual appeal but also add an extra layer of flavor. Lastly, make sure to set aside plenty of sauce for serving, as it elevates the dish even further.
Variations
• Swap the chicken for shrimp or tofu for a different protein option.
• Add broccoli florets or snap peas for extra vegetables.
• Use gluten-free soy sauce for a gluten-free version of the recipe.
• Spice it up with red pepper flakes or Sriracha for added heat.
• Substitute mango chunks for pineapple for a tropical twist.
• Serve the dish over quinoa or cauliflower rice for a healthier grain alternative.
Serving Ideas
Sweet and sour chicken pairs beautifully with fluffy white rice or steamed jasmine rice, which soaks up the flavorful sauce. You can also serve it alongside crispy fried rice or even opt for noodle accompaniment like lo mein for a heartier meal. For a lighter option, consider a mixed greens salad topped with sesame dressing to balance the richness of the dish. Don’t forget to offer crunchy vegetable spring rolls on the side for an extra bite of flavor and texture.
Meal Prep & Storage
For easy meal prep, you can prepare the chicken, sauce, and vegetables ahead of time. Store the coated chicken in an airtight container in the refrigerator for up to two days before frying; this also helps the flavors to meld. The sauce can be made in advance and stored separately in a jar for up to a week. When ready to enjoy, simply fry the chicken, sauté the vegetables, and combine everything for a quick weeknight dinner. Leftovers can be stored in the refrigerator for up to 3-4 days. To reheat, simply microwave or warm on the stovetop—add a splash of water to loosen the sauce if necessary.
FAQs
Can I use chicken thighs instead of breasts?
Absolutely! Chicken thighs are juicy and flavorful, making them an excellent choice for this recipe.
Can I make this dish in an air fryer?
Yes, you can! Coat the chicken as directed and air fry at 375°F until crispy and cooked through, about 10-15 minutes, depending on the size of the pieces.
How spicy is this dish?
This sweet and sour chicken is not spicy, but you can add red pepper flakes for a spicy kick if desired.
Can I use frozen chicken?
While fresh chicken is best, you can use thawed frozen chicken. Ensure it’s fully thawed before cooking for even frying.
What can I serve this with?
It’s delicious with rice, fried rice, or crispy noodles. You can also pair it with a fresh salad for a lighter meal.
How do I store leftovers?
Store leftovers in an airtight container in the refrigerator for up to 4 days. Reheat thoroughly before serving.
Conclusion
Creating delightful meals that are both simple and satisfying doesn’t have to be a hassle. With this stellar recipe, you can whip up a vibrant dish that delights the senses and nourishes the soul without spending hours in the kitchen. Make sweet and sour chicken a regular addition to your family’s dinner table for an enjoyable dining experience that everyone will love!