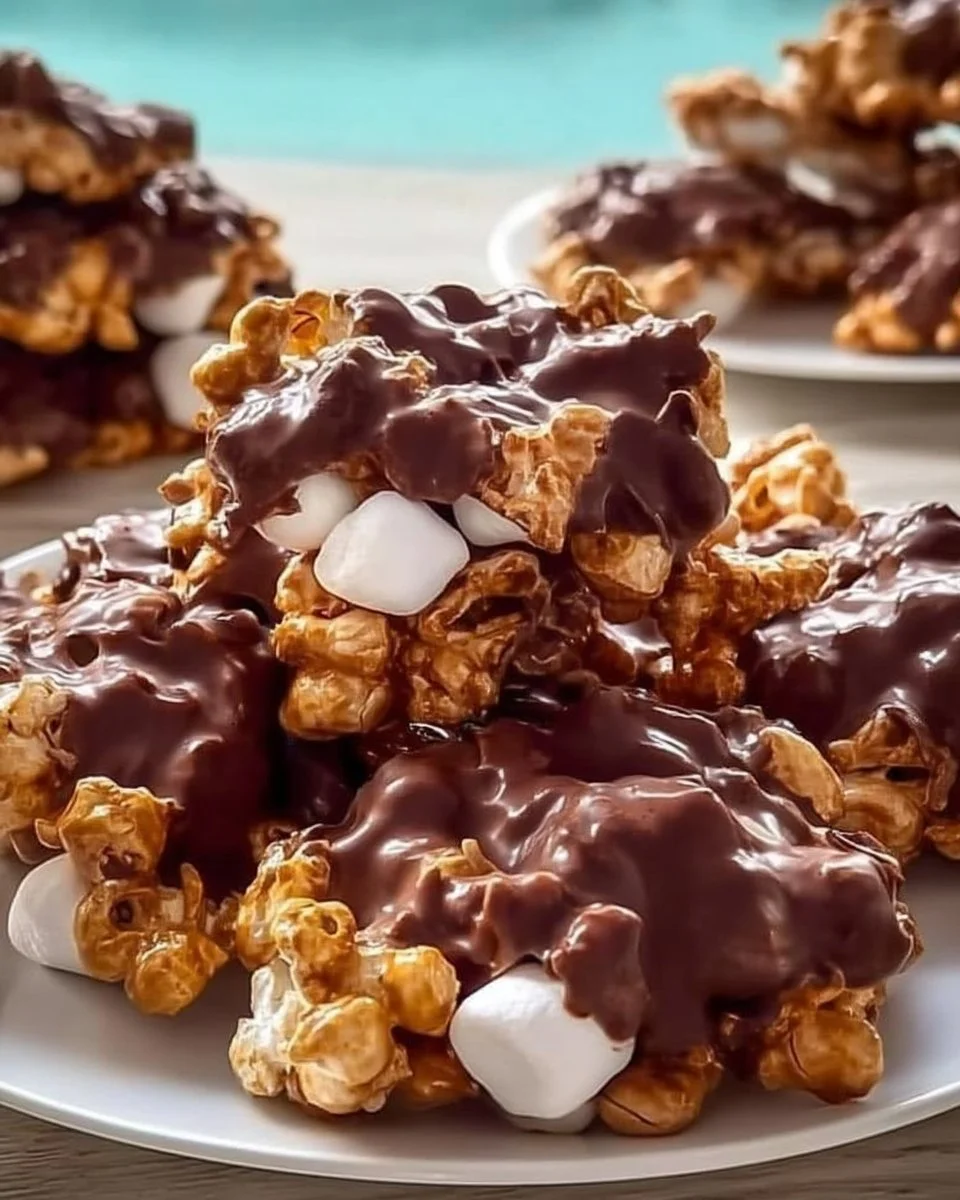
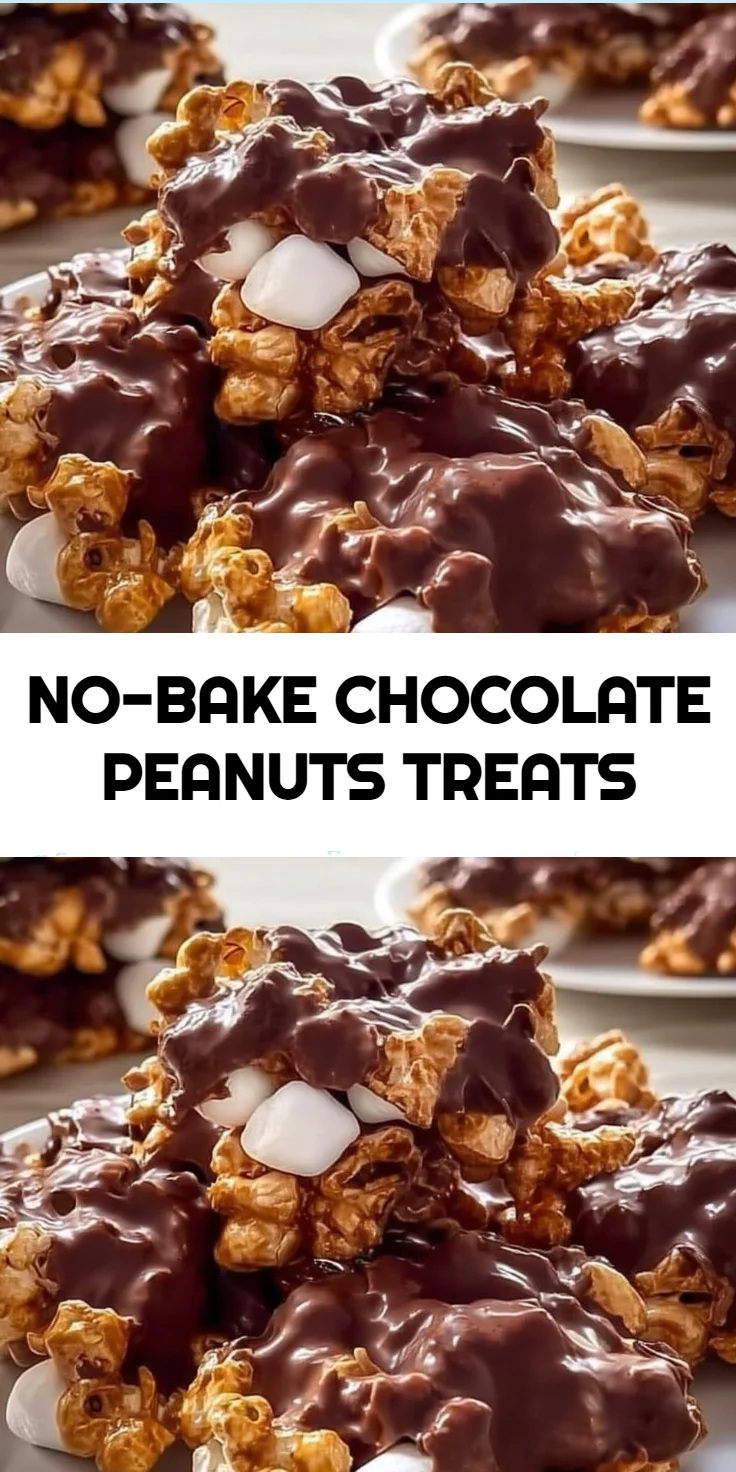
Making treats that satisfy cravings while fitting into your busy lifestyle can be a challenge. If you’ve ever faced the dilemma of cooking fatigue or trying to find satisfying snacks that are also budget-friendly, you’re not alone. Enter No-Bake Chocolate Peanuts Treats—a simple solution that marries indulgence with ease. These treats are perfect for keeping the family happy while remaining calorie-conscious and protein-packed.
Kitchen Frustration That Makes This Recipe a Lifesaver
There’s something bittersweet about being in the kitchen, juggling responsibilities while craving something sweet. Many of us know that feeling, especially when it seems there’s never enough time. You might remember the days when making desserts felt effortless—rustling up something delicious without sacrificing half your day.
That’s where our No-Bake Chocolate Peanuts Treats come into play. With just a handful of ingredients and no baking required, this recipe becomes a lifesaver. It’s a nostalgic nod to simpler times and is perfect for busy days when you want to prepare something quickly. Plus, it’s a great way to use up pantry staples without breaking the bank. If you’re looking for a practical tip: gather your ingredients ahead of time, so you can whip these up when the craving strikes!
Why This No-Bake Chocolate Peanuts Treats Works So Well
Quick Answer: These treats combine crunchy peanuts, fluffy mini marshmallows, and melty chocolate, creating a delightful texture and flavor in no time.
The beauty of No-Bake Chocolate Peanuts Treats lies in its simplicity. They boast a satisfying crunch from peanuts, a soft chew from marshmallows, and a rich chocolate finish. This combination not only tantalizes the taste buds but also caters to those looking for a quick snack or dessert.
With only a few steps required, this recipe appeals to health-conscious individuals as it allows for portion control, making it great for families. If you’re monitoring your nutrition goals, these treats can easily fit into a meal plan as they provide essential protein and can be enjoyed without the guilt of heavy baking.
Ingredients, Substitutions & Foolproof Tips
- 1 cup crunchy peanuts: Adds texture and a savory contrast to the sweetness.
- 2 cups mini marshmallows: Provides sweetness and chewiness; choose sugar-free for a healthier option.
- 1 cup chocolate chips: Use dark chocolate for a richer flavor and better health benefits.
- 1 tablespoon butter: Helps to melt the chocolate smoothly; coconut oil can serve as a dairy-free substitute.
- 1 teaspoon vanilla extract: Enhances the overall flavor profile; opt for pure vanilla for a more natural taste.
Step-by-Step Directions
- Combine Peanuts and Marshmallows: In a large bowl, mix the crunchy peanuts and mini marshmallows until evenly distributed. This forms the base of your treats.
- Melt Chocolate and Butter: In a saucepan over low heat, melt the chocolate chips and butter together, stirring constantly until smooth. This should take about 2-3 minutes. The aroma of melting chocolate fills the kitchen, a sure sign you’re on the right track.
- Add Vanilla Extract: Remove from heat and stir in the vanilla extract. The addition of vanilla elevates the chocolate flavor beautifully.
- Mix with Peanut and Marshmallow Mixture: Pour the chocolate mixture over the peanut and marshmallow mixture, and stir until everything is well coated. Make sure every marshmallow and peanut is wrapped in that delicious chocolate!
- Spread and Press Down: Spread the mixture into a greased baking dish and press down firmly. This step ensures that your treats will hold together once set.
- Refrigerate: Place them in the refrigerator for at least 1 hour until set. Use this time to clean up your kitchen or plan your next meal!
- Cut and Serve: Once set, cut them into squares and serve. These are perfect for family gatherings, or as a snack on busy days.
Common Mistakes to Avoid & Pro Tips
- Mistake: Not melting the chocolate slowly.
- Fix: Always use low heat and stir constantly to avoid burning.
- Mistake: Skipping refrigeration time.
- Fix: Be patient! Refrigeration is crucial for holding the treats together.
- Mistake: Overpacking the mixture in the dish.
- Fix: Press down firmly, but don’t compress too tight, as it can affect texture.
Pro Tips:
- For added flavor, sprinkle some sea salt on top before refrigerating.
- Use festive cookie cutters to create fun shapes for parties.
Serving, Storage & Freezer Guide
How to Serve No-Bake Chocolate Peanuts Treats
These treats can be enjoyed any time of day. Serve them as an afternoon snack, a kid-friendly dessert, or even pack them in lunchboxes for a delicious surprise. They’re sure to satisfy those post-dinner sweet cravings or be the perfect addition to family gatherings.
How to Store No-Bake Chocolate Peanuts Treats
Store any leftovers in an airtight container in the refrigerator for up to one week. This will keep them fresh while ensuring you can enjoy them later without sacrificing texture or taste.
Can You Freeze No-Bake Chocolate Peanuts Treats?
Yes! These treats are freezer-friendly. Simply wrap them tightly in plastic wrap or place them in a freezer-safe container, and they can be stored for up to three months. When you’re ready to indulge, allow them to thaw in the refrigerator for a few hours.

Frequently Asked Questions
What can I substitute for crunchy peanuts?
You can use any variety of nuts such as almonds or pecans, or even seeds like sunflower seeds for a nut-free alternative.
Can I use other types of chocolate?
Absolutely! Feel free to use white chocolate, milk chocolate, or even a mix of different types for a unique flavor profile.
How do I know when the treats are set?
The treats will be firm to the touch after cooling in the refrigerator. They should hold their shape when lifted from the dish.
Is there a way to make them healthier?
Consider using sugar-free chocolate chips and replacing some of the marshmallows with additional peanuts or dried fruit to cut back on sugar.
Conclusion
Enjoy the delightful experience of making and sharing No-Bake Chocolate Peanuts Treats that bring back fond memories while fitting seamlessly into our busy lives. Whether you’re needing a quick snack for the family or a sweet treat to share, this recipe is the answer. If this recipe reminds you of someone you love, share it with them. Your memories keep recipes alive.

No-Bake Chocolate Peanuts Treats
Ingredients
Method
- In a large bowl, mix the crunchy peanuts and mini marshmallows until evenly distributed.
- In a saucepan over low heat, melt the chocolate chips and butter together, stirring constantly until smooth.
- Remove from heat and stir in the vanilla extract.
- Pour the chocolate mixture over the peanut and marshmallow mixture, and stir until everything is well coated.
- Spread the mixture into a greased baking dish and press down firmly.
- Place in the refrigerator for at least 1 hour until set.
- Once set, cut them into squares and serve.