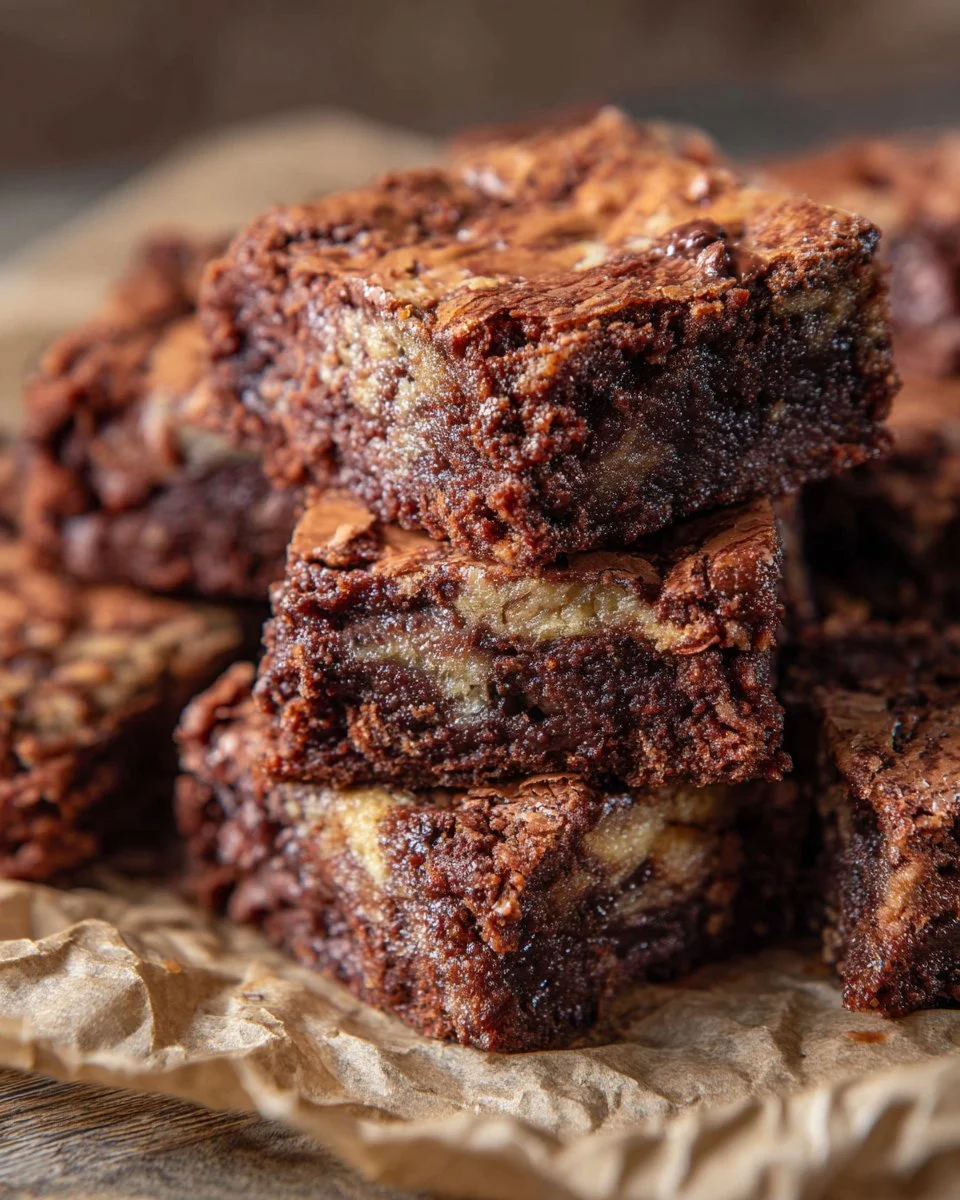
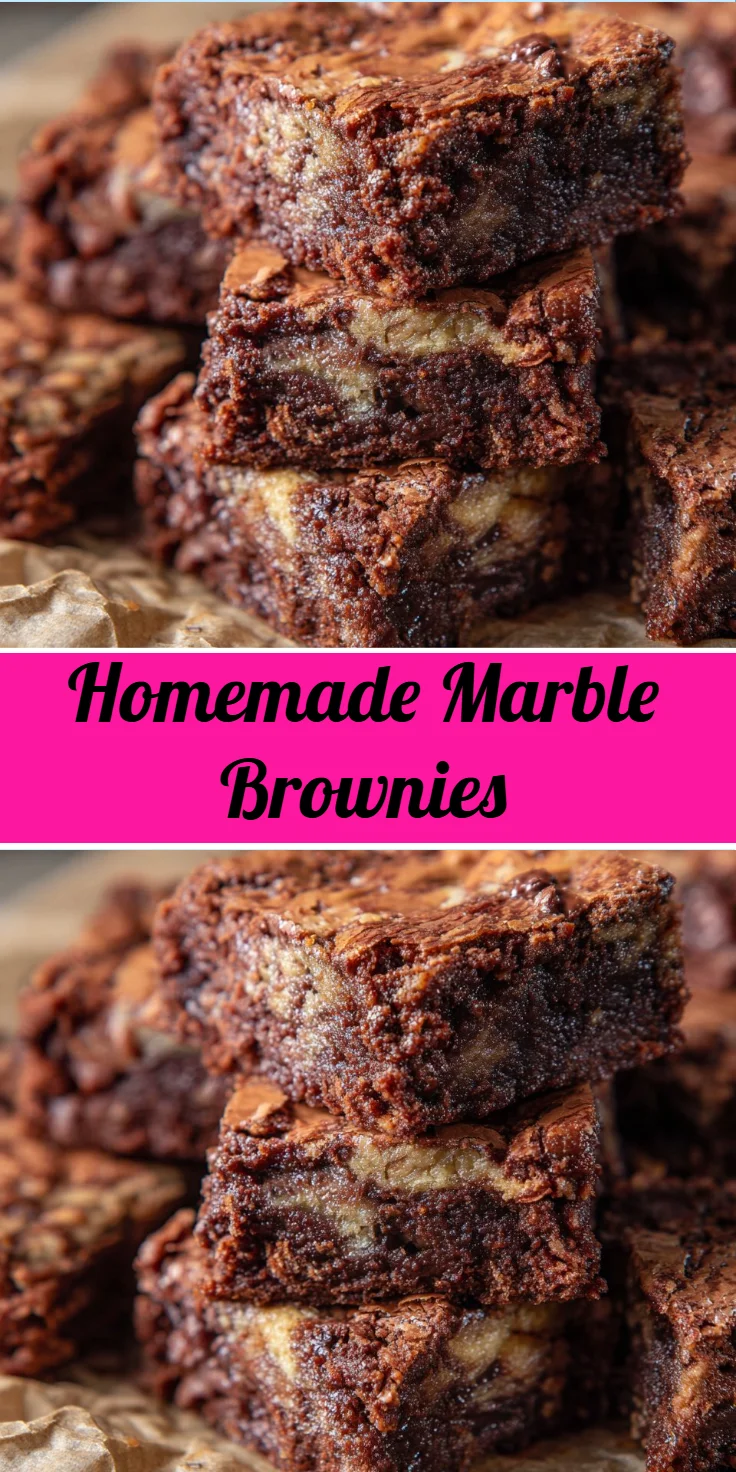
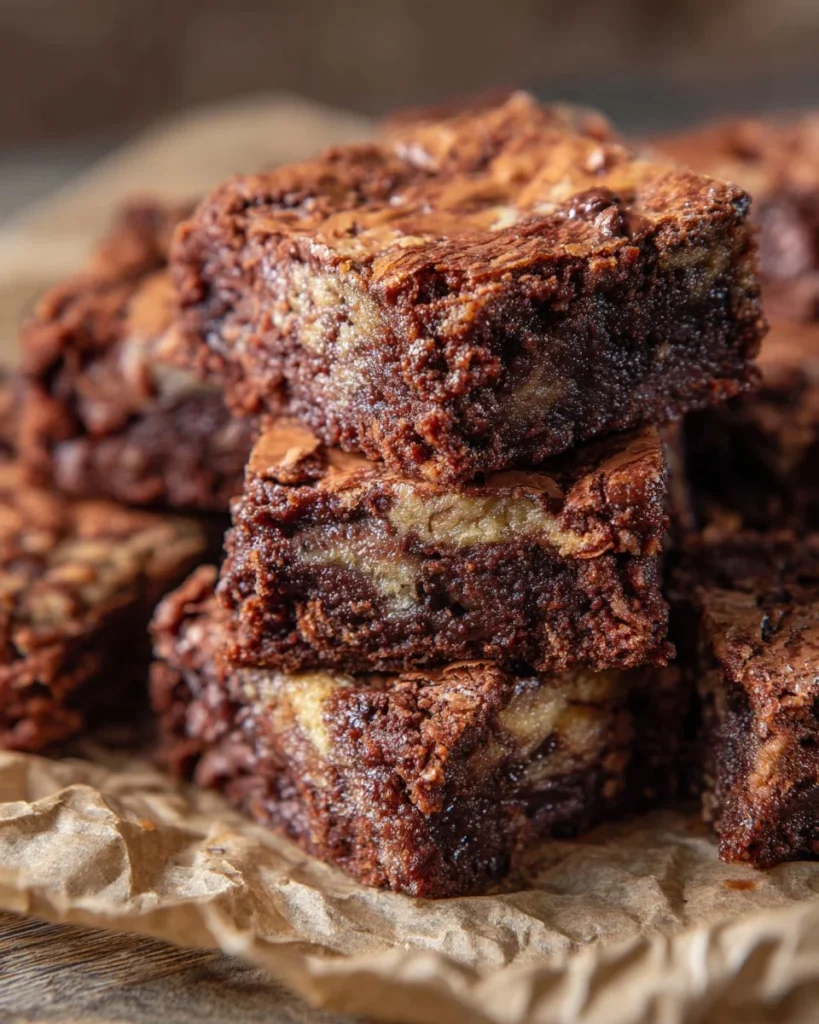
Imagine sinking your teeth into a deliciously rich brownie, where the deep, dark chocolate coexists beautifully with swirls of creamy white chocolate. The contrast of flavors and textures creates a decadent treat that’s impossible to resist. Homemade brownies can evoke a wave of nostalgia, reminiscent of afternoons spent in the kitchen with family or friends, indulging in the sweet aromas of baked goods. The beauty of these homemade marble brownies lies not only in their inviting appearance but also in their delightful taste and texture. With each bite, you experience the fudgy depth of dark chocolate paired with light and airy hints of white chocolate, making them an ideal dessert for any occasion. Whether you’re hosting a gathering or simply treating yourself, these brownies deliver that perfect balance of flavors that will have everyone coming back for seconds.
Why You’ll Love This Recipe
This recipe is a dream for chocolate lovers and novice bakers alike. Its straightforward method ensures that even those with little experience in the kitchen can achieve bakery-quality results at home. You’ll appreciate how quickly the brownies come together, making this a go-to for those last-minute gatherings or a cozy night in. The decadent marble effect not only appeals to the eyes but also gives each bite a delightful surprise with varying textures and flavors. Plus, these brownies can easily be customized for different palates, making them versatile for any dessert table. The blend of dark and white chocolate means there’s something for everyone, making them perfect for sharing with friends, family, or even impressing guests at a dinner party.
What Makes This Recipe Special
What sets this homemade treat apart is the unique marble effect—a stunning visual feature that also creates a delightful flavor journey. The use of both dark and white chocolate offers a depth that elevates a simple brownie to an artisanal dessert. The fudgy texture, achieved through the perfect balance of ingredients, ensures that every bite is a rich experience. Additionally, the method of melting and cooling the chocolates separately allows for nuanced layers of flavor, ensuring that your brownies are not just delicious but memorable. The ease of preparation complements the extraordinary finale of flavors, which will have both seasoned bakers and beginners wondering how something so simple can taste so extravagant. It’s an enchanting recipe that combines comfort with a touch of elegance.
Ingredients
dark chocolate: Forms the rich, fudgy base of the brownies, infusing them with a deep flavor.
white chocolate: Adds a creamy sweetness that perfectly balances the richness of dark chocolate.
butter: Brings moisture and a luscious texture that makes the brownies soft and chewy.
granulated sugar: Sweetness is essential for balancing the intense cocoa flavor and enhancing texture.
eggs: Provide structure and help bind the ingredients together, contributing to a delectable texture.
vanilla extract: Adds a warm undertone that complements the chocolates beautifully.
all-purpose flour: Gives structure to the brownies, ensuring they hold together while remaining fudgy.
salt: Enhances and balances the sweetness, rounding out the flavor profile.
How to Make Homemade Marble Brownies
STEP 1. Preheat the oven. Set your oven to 350°F / 180°C to ensure it’s ready for baking.
STEP 2. Prepare the pan. Grease and flour an 8-inch square pan, or line it with parchment paper for easy removal.
STEP 3. Melt the chocolate. Melt dark and white chocolate separately over a double boiler, then let them cool to lukewarm.
STEP 4. Cream butter and sugar. In a mixing bowl, beat softened butter and granulated sugar together until fluffy, about 2-3 minutes.
STEP 5. Add eggs. Add the eggs one at a time, mixing well after each, and then mix in the vanilla extract.
STEP 6. Mix in dry ingredients. Stir in all-purpose flour and salt using a wooden spoon or spatula until just combined.
STEP 7. Create chocolate batters. Divide the batter in half; mix melted dark chocolate into one half and melted white chocolate into the other.
STEP 8. Layer the batters. Spread half of the dark chocolate batter in the prepared pan, and drop spoonfuls of the white chocolate batter on top, spreading gently.
STEP 9. Spoon the remaining batter. Spoon the rest of the dark chocolate batter on top, then swirl gently with a knife for a marbled effect.
STEP 10. Bake the brownies. Bake for 20-25 minutes, until the edges pull away from the pan. A toothpick should come out with moist crumbs attached.
STEP 11. Cool and slice. Allow the brownies to cool in the pan on a wire rack before cutting them into 16 squares.
Pro Tips
To elevate your marble brownies, try using high-quality chocolate for deeper flavors. Ensure that your butter is at room temperature for proper incorporation, resulting in a smoother batter. This recipe can yield the best texture when the eggs are also at room temperature, so let them sit out for about 30 minutes before use. When swirling, be gentle to avoid overmixing the batters, which can lead to less defined marbling. To prevent the brownies from becoming too dry, keep an eye on the baking time and always check for the toothpick test for doneness. If you prefer an extra flourish, feel free to sprinkle some sea salt on top right before baking for a delightful contrast.
Common Mistakes to Avoid
One common mistake is over-mixing the batter, which can create a tough texture. Mix only until ingredients are just combined. Another pitfall is using cold ingredients; make sure your butter and eggs are at room temperature for optimal creaming and emulsifying. When melting chocolate, avoid overheating it, as it can lead to a grainy texture; you want it melted and smooth, not burned. Additionally, be vigilant about the baking time; brownies can go from perfect to dried out quickly. Always start testing a few minutes before the suggested baking time. Lastly, cutting the brownies while they’re still warm can result in a mess; allow them to cool properly for clean cuts.
Variations
• Add a sprinkle of nuts for added crunch.
• Incorporate a swirl of caramel for extra richness.
• Use peppermint extract for a refreshing twist.
• Substitute dark chocolate for milk chocolate for a sweeter flavor.
• Enhance with chocolate chips for extra gooeyness.
Serving Ideas
These delectable brownies can be served warm with a scoop of vanilla ice cream for an indulgent a la mode experience. For a delightful coffee break, pair them with your favorite brew. Consider dusting them with powdered sugar or drizzling melted chocolate on top for a fancy touch. They also make fantastic party treats when cut into smaller squares, perfect for snacking. Don’t forget to offer whipped cream or fresh berries as a side to showcase their versatility.
Meal Prep & Storage
To keep your homemade marble brownies fresh, store them in an airtight container at room temperature for up to five days. For longer storage, you can wrap them tightly in plastic wrap and place them in a freezer-safe bag; they can be frozen for up to two months. When ready to enjoy, thaw them overnight in the fridge or at room temperature for a few hours. For best results, reheat them gently in the microwave for a few seconds to restore their gooeyness. This easy meal prep means you’ll always have a delightful treat on hand for unexpected guests or yourself!
FAQs
1. Can I use cocoa powder instead of chocolate?
Using cocoa powder will alter the texture and flavor of the brownies significantly. It’s best to stick with melted chocolate for the fudgiest consistency.
2. How do I know when brownies are done?
Perform the toothpick test; you want moist crumbs sticking to it, not wet batter. The edges should start pulling away from the pan.
3. Can I make these brownies gluten-free?
Yes! Substitute all-purpose flour with a gluten-free flour blend. Just ensure the blend is suitable for baking.
4. What should I do if my brownies are too dry?
This could be due to overbaking. Keep an eye on them during the last few minutes and ensure proper ingredients’ measurement for moisture.
5. How many servings does this recipe yield?
This recipe will yield approximately 16 brownie squares, perfect for sharing or keeping to indulge yourself!
Conclusion
Baking homemade marble brownies brings together the intricate dance of rich and sweet flavors, creating a delightful treat that everyone can enjoy. This simple recipe not only satisfies your sweet tooth but also provides a rewarding baking experience. Whether indulging solo or sharing with others, you’ll find these brownies are impossible to resist. So gather your ingredients today and uncover the joy of creating your own homemade masterpiece!
Marble Brownies
Ingredients
Method
- Preheat the oven to 350°F (180°C).
- Grease and flour an 8-inch square pan, or line it with parchment paper.
- Melt dark and white chocolate separately over a double boiler and let cool to lukewarm.
- In a mixing bowl, beat softened butter and granulated sugar together until fluffy, about 2-3 minutes.
- Add the eggs one at a time, mixing well after each, followed by the vanilla extract.
- Stir in all-purpose flour and salt using a wooden spoon or spatula until just combined.
- Divide the batter in half; mix melted dark chocolate into one half and melted white chocolate into the other half.
- Spread half of the dark chocolate batter into the prepared pan.
- Drop spoonfuls of the white chocolate batter on top, spreading gently.
- Spoon the remaining dark chocolate batter on top and swirl gently with a knife for a marbled effect.
- Bake for 20-25 minutes, until the edges pull away from the pan and a toothpick comes out with moist crumbs.
- Allow the brownies to cool in the pan on a wire rack before cutting them into 16 squares.