Apple Crisp
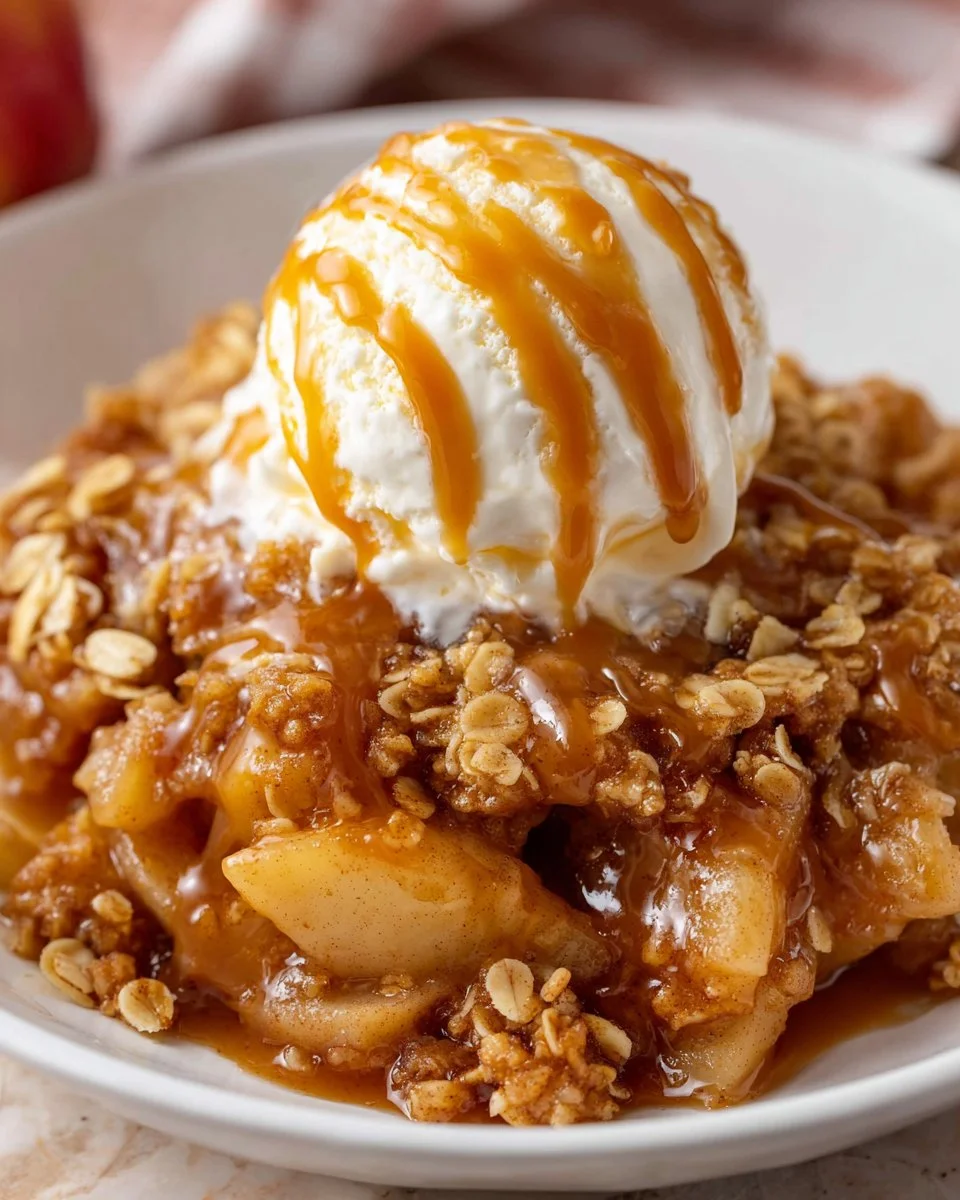
When the air turns crisp and the leaves begin to dance in hues of orange and gold, there’s nothing quite like the smell of freshly baked apple crisp wafting through the kitchen. This delightful dessert embraces the essence of fall, enveloping tender, juicy apples under a blanket of crispy, buttery topping. The warmth and sweetness of the cinnamon meld perfectly with the tartness of the apples, creating a comforting hug in every bite. Imagine gathering around the table with loved ones, scooping up spoonfuls of this delectable treat, paired with a scoop of creamy vanilla ice cream. Each mouthful is a symphony of textures—soft fruit, crunchy topping, and the cool creaminess of ice cream that melts into the warm dessert. It’s a heavenly combination that not only satisfies your sweet tooth but also ignites cherished memories of family gatherings. Whether you’re serving it after a hearty dinner or enjoying it as an afternoon treat, this classic dessert promises to warm your heart and soul.
Why You’ll Love This Recipe
There’s something inherently satisfying about baking, and this apple crisp recipe is no exception. It’s wonderfully easy to make, making it an ideal project for both novice bakers and seasoned chefs. With just a handful of simple ingredients, you can create a dessert that’s packed with flavor and comfort. The variations are endless, allowing you to customize it to your preference or dietary needs. You can easily make this classic treat gluten-free or add nuts for an extra crunch. Plus, its hearty, warm nature makes it an incredible comfort food that brings people together. Not only does it evoke nostalgia, but it’s also a fantastic way to use up a bounty of apples during apple season. Simple to prepare, delicious to eat, and a true crowd-pleaser—this recipe will surely become a staple in your kitchen.
What Makes This Recipe Special
The magic of this apple crisp lies in its combination of textures and flavors. The juicy apple filling, seasoned just right, contrasts beautifully with the crisp, crumbly topping that has a delightful crunch. The addition of oats provides a wholesome touch, making the topping satisfyingly chewy while still crisping up beautifully in the oven. The use of brown sugar adds depth and richness, enhancing the overall flavor without overwhelming the natural sweetness of the apples. Choosing the right variety of apples is crucial; a mix of tart and sweet apples will create layers of flavor as they bake down, resulting in an irresistibly delicious filling. What truly sets this recipe apart is how accessible it is—easy to prepare with readily available ingredients, yet it feels indulgent enough to make any occasion feel special. You won’t just be baking; you’ll be creating a delightful experience that wraps comfort and joy in every slice.
Ingredients
all purpose flour: Provides structure to the crisp topping, creating a perfect balance between crunch and tenderness.
old fashioned oats: Adds heartiness to the topping, giving it a delicious chewiness and rustic texture.
light brown sugar: Sweetens the topping while adding a hint of caramel-like flavor that contrasts beautifully with the apples.
salt: Enhances all the flavors, ensuring the dessert isn’t overly sweet and balances the sweetness of the apples.
ground cinnamon: Infuses warm, spicy notes that complement the apples and enhance the cozy, homestyle feel of the dish.
unsalted butter: Brings richness to the topping, helping to achieve that perfect crispy texture while allowing the other flavors to shine.
apples: The star of the dish, providing juicy sweetness and tartness; they should be peeled and thinly sliced for optimal baking.
apple juice: Adds moisture and a touch of sweetness to the apple filling, enhancing the overall flavor profile.
granulated sugar: Sweetens the apple filling to balance the tartness of the apples, making it more palatable and delicious.
pure vanilla extract: Adds a warm aromatic note that elevates the overall flavor of the apple filling, making it more irresistible.
vanilla ice cream: Creamy and indulgent, perfect for serving alongside the warm apple crisp for an ultimate comfort food experience.
caramel sauce: A delightful drizzle that adds an extra layer of sweetness and decadence when served with the crisp.
How to Make Apple Crisp
STEP 1. Preheat the oven. Set your oven to 350°F to prepare for baking.
STEP 2. Prepare the baking dish. Grease a 9-inch deep dish pie plate or a 9×9 square baking dish and set aside.
STEP 3. Make the topping. In a bowl, combine flour, oats, brown sugar, salt, and cinnamon. Add melted butter and stir until well mixed.
STEP 4. Chill the topping. Place the topping mixture in the refrigerator while you prepare the apple filling.
STEP 5. Prepare the filling. In a large bowl, combine sliced apples, apple juice, granulated sugar, flour, cinnamon, and vanilla extract. Stir gently until fully mixed.
STEP 6. Assemble the crisp. Transfer the apple mixture into the prepared baking dish, spreading it into an even layer.
STEP 7. Add the topping. Crumble the chilled topping mixture over the apple filling, pressing some together to form clumps for better texture.
STEP 8. Cover and bake. Loosely cover the dish with a piece of foil sprayed with nonstick spray and bake for 20 minutes.
STEP 9. Uncover and continue baking. Remove the foil and bake for an additional 25-30 minutes, or until the topping is golden brown and the filling is bubbling.
STEP 10. Cool slightly. Allow the apple crisp to rest for a few minutes—the juices will thicken as it cools.
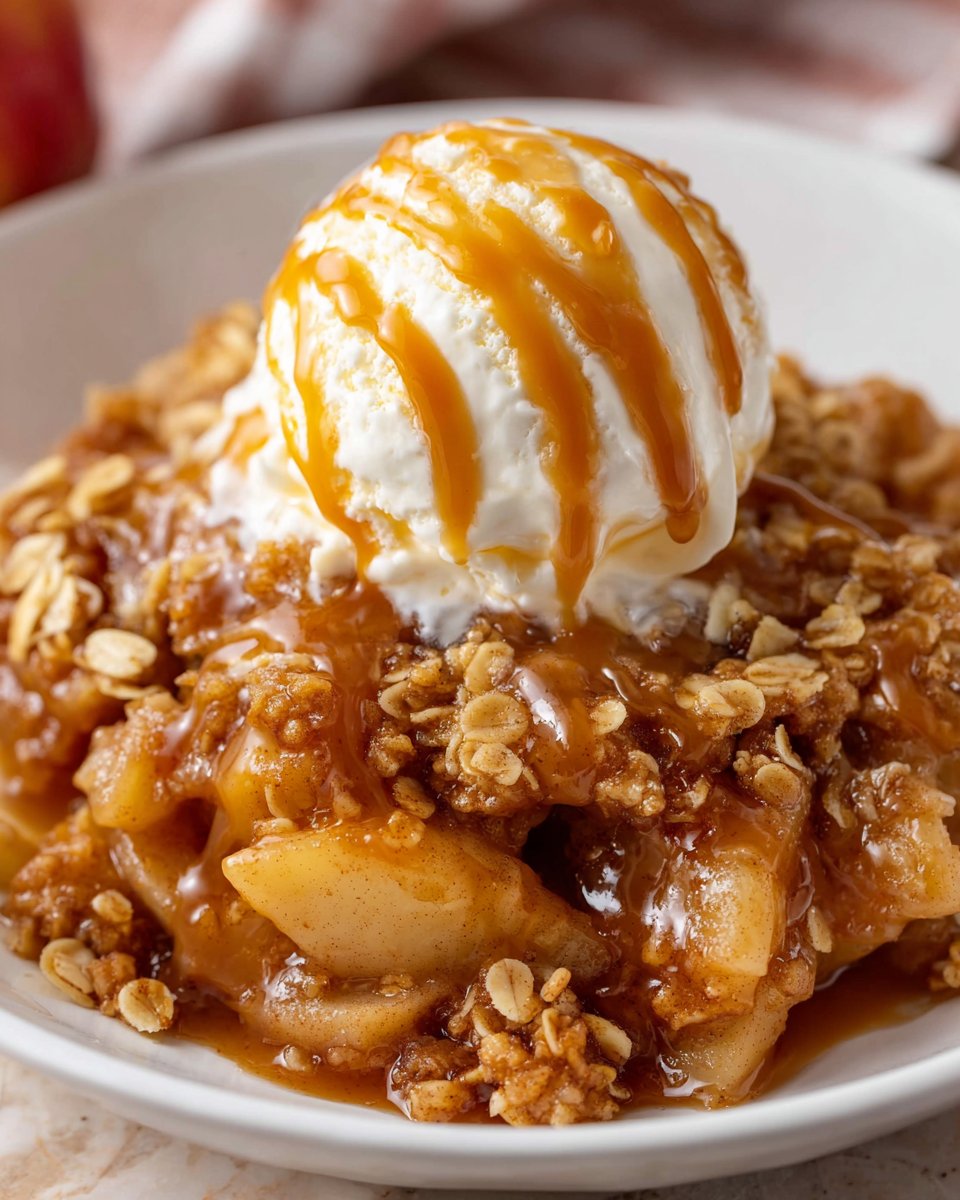
STEP 11. Serve. Dish out warm and enjoy with a scoop of vanilla ice cream on top.
Pro Tips
To ensure your apple crisp turns out perfectly every time, here are some helpful tips. First, always choose a variety of apples for the filling; a mix of sweet and tart apples gives depth of flavor and texture. Some great choices include Granny Smith, Honeycrisp, or Fuji. Cut them into even, thin slices for uniform cooking. Don’t skip the chilling step for the topping—this helps create a crispier texture. Additionally, for an extra flavor boost, consider adding nuts or a touch of maple syrup to the topping. If you’re in a rush, feel free to prepare the apple filling ahead of time and assemble just before baking. Lastly, serve your apple crisp warm, as the comforting warmth enhances the dish’s appeal, particularly when paired with the coolness of ice cream.
Common Mistakes to Avoid
To create the perfect apple crisp, be aware of these common pitfalls. One common mistake is over-mixing the topping; ensure you just combine the ingredients until they are mixed to avoid a tough texture. Additionally, using only one type of apple can result in a flat flavor; a mix improves overall taste. Avoid undercooking the apples by making sure they are tender before serving—this enhances the texture contrast with the crisp topping. Make sure you do not skip the cooling time after baking; this allows the juices to thicken and makes serving easier. Finally, remember to serve the dish warm for the best flavor experience, as well as to pair it with ice cream to elevate the dessert.
Variations
• Add pears for a fruity twist.
• Use gluten-free flour to make it gluten-free.
• Toss in some chopped nuts for added crunch.
• Drizzle honey on top instead of sugar for natural sweetness.
• Experiment with different spices like nutmeg for a unique flavor.
• Add a splash of bourbon or rum to the apple mixture for a mature flavor.
Serving Ideas
Apple crisp is a wonderfully versatile dessert that pairs nicely with a variety of delicious accompaniments. For a classic touch, serve it warm alongside a generous scoop of vanilla ice cream, which creates a delightful contrast of temperatures. For those looking to elevate their dessert game, consider adding a drizzle of rich caramel sauce or a sprinkle of toasted nuts to enhance texture and flavor. A dollop of freshly whipped cream also makes for a light and airy addition, perfect for balancing the richness of the crisp. If you’re aiming for a breakfast twist, try serving it over yogurt for a delightful brunch idea that feels indulgent yet wholesome.
Meal Prep & Storage
Meal prepping apple crisp is straightforward and can save time during the busy fall season. You can prepare the apple filling ahead of time and store it in the refrigerator for up to a day before baking. The topping can also be made in advance; simply store it in an airtight container in the fridge until you’re ready to use it. Once baked, any leftover apple crisp can be stored in the refrigerator for up to a week. Reheat individual portions in the microwave, or place it back in the oven for a few minutes to restore the crispiness of the topping. For longer storage, consider freezing the unbaked apple crisp; simply cover it tightly and freeze for up to three months. When you’re ready to enjoy it, bake straight from the freezer, extending the cooking time slightly to ensure it’s heated through.

FAQs
Q: Can I use any type of apple for this recipe?
A: While you can use any apple, a combination of sweet and tart varieties like Honeycrisp and Granny Smith is ideal for a balanced flavor.
Q: How do I know when the apple crisp is done?
A: Your apple crisp is ready when the topping is golden brown, the apples are tender, and the juices are bubbling around the edges.
Q: Can I make this recipe vegan?
A: Yes, substitute the butter with coconut oil or vegan butter, and ensure the ice cream is dairy-free.
Q: How can I reheat leftovers?
A: To reheat, microwave individual portions or place the entire crisp back in a preheated oven until warm, ensuring the topping stays crisp.
Q: Can I add other fruits to the filling?
A: Absolutely! Feel free to experiment with fruits like blueberries, raspberries, or pears to create a delightful multi-fruit crisp.
Conclusion
Baking a comforting apple crisp is not just a way to satisfy your sweet cravings; it’s about creating memories and indulgences that bring joy to the table. With its crispy topping and juicy apple filling, this treat embodies the essence of home and family. So gather your loved ones, embrace the aromas filling your kitchen, and enjoy a slice of this heartwarming dessert topped with melting ice cream. You’ll find that each forkful is filled with love, warmth, and the irresistible flavors of home baking. Enjoy!