Easy Apple Crisp
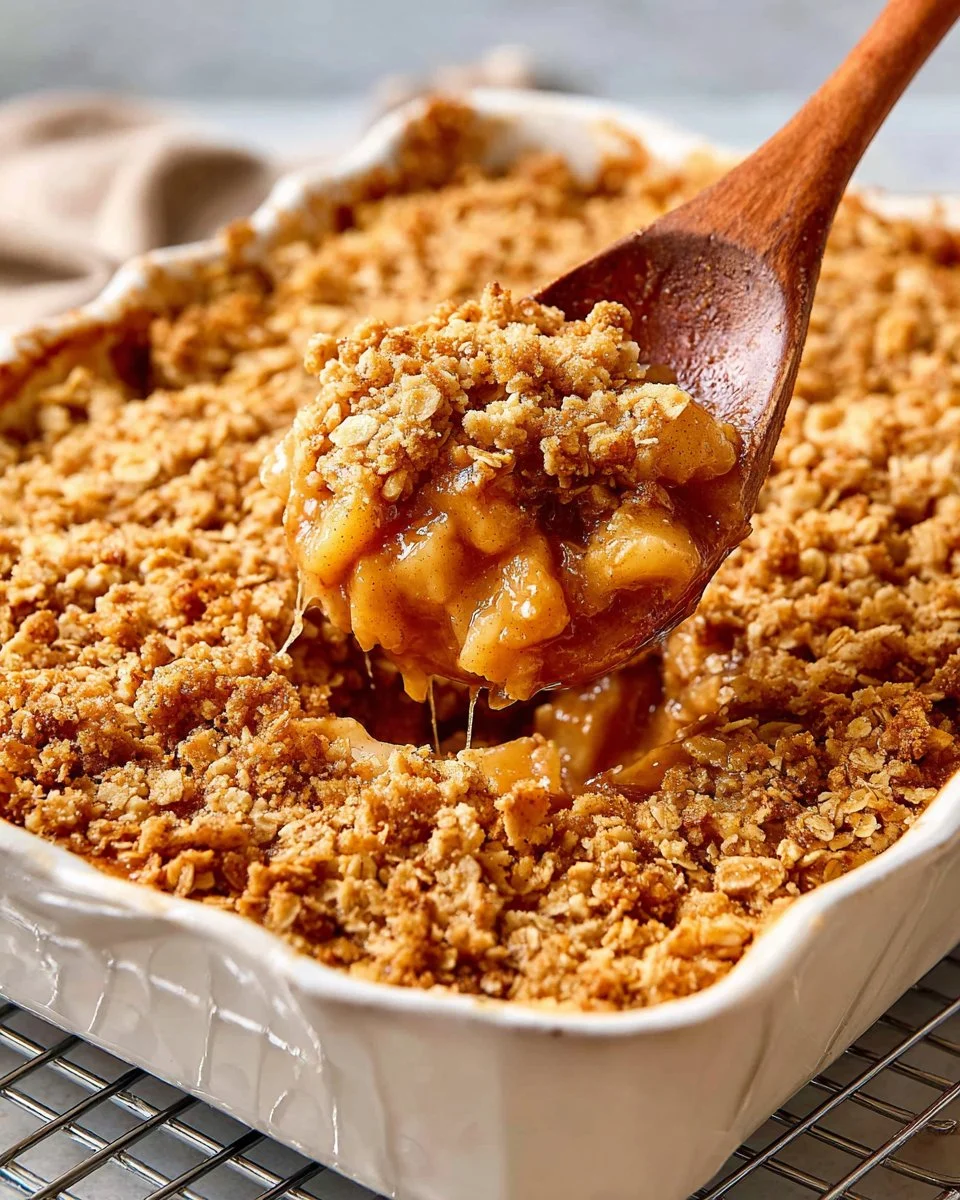
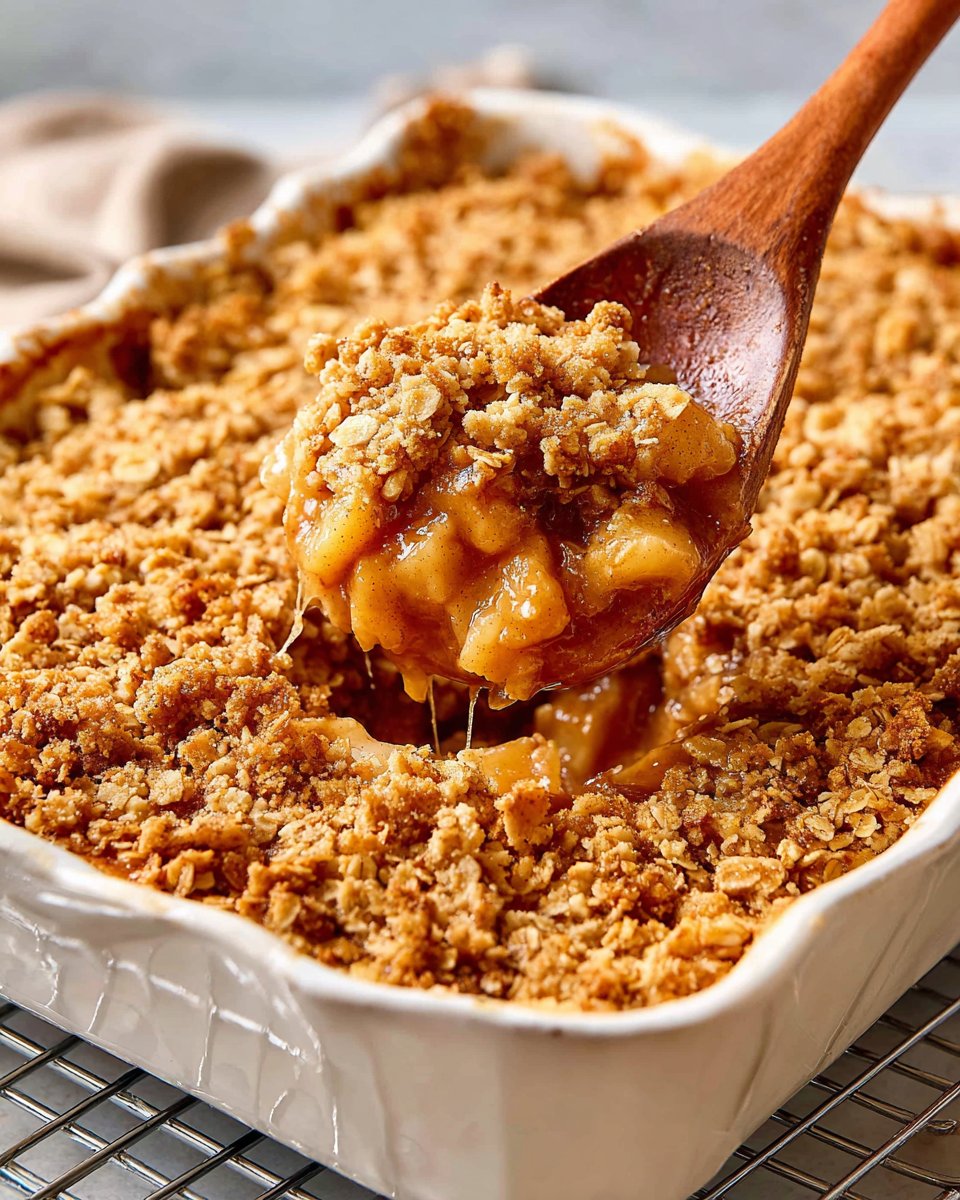
When autumn rolls around, the crispness in the air reminds us of cozy evenings spent with loved ones and comfort foods that warm the soul. There’s something incredibly alluring about the smell of fresh apples baking with a sweet, buttery topping. An easy apple crisp is the embodiment of seasonal warmth, a delightful dessert that invites nostalgia and festive gatherings around the table. Imagine each bite revealing tender, juicy apples intermingled with a crispy topping that adds just the right amount of crunch. Serve it warm, perhaps with a scoop of vanilla ice cream melting on top, and you have a dessert that not only pleases the taste buds but also warms the heart.
This dish showcases the rustic charm of apples and offers an uncomplicated way to create something truly comforting and satisfying. Perfect for family gatherings, potlucks, or simply a weekday treat, this recipe is designed to be made with ease. Let the gentle spices and sweet notes foster a delightful experience, making this easy apple crisp a recipe you’ll keep coming back to year after year.
Why You’ll Love This Recipe
This delightful dessert encapsulates everything you love about fall in one simple dish. First and foremost, it’s incredibly straightforward to prepare, making it a perfect choice for beginners and culinary enthusiasts alike. With just a handful of pantry staples and some fresh apples, you can whip up a deliciously comforting dessert in no time.
The textural contrast between the soft, juicy apples and the crunchy topping is simply irresistible, providing a satisfying bite with every forkful. Not only is it a delicious sweet treat, but it also embraces a wholesome fruit, making it a tad more guilt-free. Whether you enjoy it right out of the oven or chilled the next day, there’s no denying it brings joy and flavor to any occasion.
What Makes This Recipe Special
What truly sets this easy apple crisp apart is its versatility and the balance of flavors. You can personalize it with your favorite spices, such as nutmeg or ginger, to create a signature dessert that reflects your taste. The lemon zest and juice offer a refreshing brightness that complements the sweetness of the apples, ensuring every bite is well-rounded.
Moreover, the topping is satisfyingly rich yet light, effortlessly maintaining its crispness, even after baking. It’s a nostalgic dish that evokes fond memories of home kitchens, making it not just a dessert but a heartfelt experience. The blend of textures and flavors not only satisfies but also nurtures, making this apple crisp truly special.
Ingredients
flour: Provides structure and a base for the crisp topping.
brown sugar: Adds sweetness and a rich, caramel flavor.
ground cinnamon: Infuses warmth and spiciness that complements the apples.
salt: Enhances all the flavors and balances sweetness.
oats: Contributes a chewy texture and hearty flavor to the topping.
butter: Makes the topping rich and helps it crisp when baked.
apples: The star of the dish, providing sweetness and a juicy texture.
lemon zest: Brightens the flavors and enhances the overall taste.
lemon juice: Adds acidity that balances the sweetness of the apples.
more brown sugar: Adjusts sweetness based on the apple variety used.
more ground cinnamon: Offers an extra warm spice note if desired.
more salt: Can be added for better flavor balance.
flour: Coats the apples for a slightly thickened filling.
How to Make Easy Apple Crisp
STEP 1. Preheat the oven. Set the oven to 350° F (177 °C) and lightly grease a 9×13-inch baking pan with softened butter.
STEP 2. Prepare the topping. Whisk together flour, brown sugar, cinnamon, and salt in a bowl, then mix in oats.
STEP 3. Add melted butter. Stir in melted butter until the mixture is fully combined with no dry spots and set aside.
STEP 4. Prepare the filling. In a separate bowl, mix sliced apples with lemon zest and juice, brown sugar, cinnamon, and salt.
STEP 5. Taste the mixture. Check sweetness and add more brown sugar as needed.
STEP 6. Coat the apples. Sprinkle in flour and stir until all apple slices are evenly coated.
STEP 7. Assemble the dish. Spread the apple mixture into an even layer in the prepared pan and sprinkle the topping evenly over the apples.
STEP 8. Bake the crisp. Place the pan in the oven and bake until the filling bubbles, about an hour.
STEP 9. Cool before serving. Remove the pan from the oven and let the apple crisp cool for about 15 minutes before serving.
STEP 10. Store leftovers. Cover and store leftover apple crisp in the refrigerator for up to four days, reheating briefly in the microwave on low heat before serving.
Pro Tips
For a successful apple crisp, choose the right kind of apples. Tart varieties like Granny Smith or Honeycrisp work best, balancing the sweetness of the topping with a punchy flavor. Ensure even coating of apples by thoroughly mixing them with the flour and spices, which helps prevent them from becoming too watery during baking.
Controlling how much sugar you add can also elevate the dish—taste the apple mixture before adding the extra sweetness. Additionally, don’t skimp on letting the crisp cool for a bit after baking; this will help the juices settle, resulting in a more cohesive filling. You can also enhance texture by adding chopped nuts to the topping for an extra crunchy bite.
Common Mistakes to Avoid
One of the most common mistakes is using overly ripe or mealy apples, which can turn mushy when baked. Always opt for firm, crisp varieties for the best results. Another error is neglecting to mix the topping thoroughly—it should be clumpy and cohesive for maximum crispness.
Don’t rush the cooling process; serving straight out of the oven, while tempting, can lead to a messy presentation. Also, be mindful of baking time; opening the oven too early could affect the baking, which may lead to a soggy bottom. Finally, be sure not to skip the spices; they add depth to the dish that enhances the overall flavor.
Variations
• Add nuts for a crunchy topping.
• Incorporate other fruits like peaches or berries for added flavor.
• Use gluten-free flour for a gluten-free version.
• Drizzle with caramel sauce before serving for an indulgent treat.
• Substitute coconut oil for butter for a dairy-free option.
Serving Ideas
Easy apple crisp shines as a standalone dessert, but pairing it with additional delights can elevate the experience. Serve it warm alongside a scoop of creamy vanilla ice cream, allowing it to melt slightly and add a luscious creaminess.
Alternatively, offer a dollop of whipped cream on top for a lighter contrast. For a touch of gourmet flair, drizzle with warm caramel sauce or sprinkle with toasted nuts. Create a full dessert table by pairing with coffee or cider for a cozy gathering atmosphere.
Meal Prep & Storage
Preparing easy apple crisp in advance is a breeze. You can assemble the dish up to a day ahead, cover it with plastic wrap, and refrigerate until ready to bake. This is perfect for busy weekdays or holiday gatherings.
Once baked, this dessert can be stored in the refrigerator for up to four days. Just ensure it’s covered to maintain moisture. Reheating is simple—just pop individual servings in the microwave for around 30 seconds on low heat until warmed through, and enjoy that delightful aroma coming back!

FAQs
Can I use frozen apples for this recipe?
Absolutely! If using frozen apples, let them thaw and drain excess liquid before mixing them with the other ingredients to avoid a soggy crisp.
What kind of apples are best for apple crisp?
Ideal apple choices include Granny Smith, Honeycrisp, and Fuji, as they maintain their structure and offer a pleasing balance of sweet and tart.
How do I make the topping more flavorful?
Consider adding a pinch of nutmeg or vanilla extract to the topping for additional depth of flavor.
Can I make this recipe in advance?
Certainly! You can prepare the assembly the night before and bake it fresh the next day for an effortless dessert.
What can I serve apple crisp with?
It pairs wonderfully with vanilla ice cream, whipped cream, or a drizzle of caramel sauce for added decadence.
Conclusion
Indulging in this delightful dessert is not just about satisfying a sweet tooth; it’s about creating cherished moments. With its comforting warmth and deliciously crispy topping, it’s bound to become a beloved recipe in your home for years to come. Gather your ingredients, embrace the aromas of baking, and enjoy a slice of this simple yet extraordinary treat.
Easy Apple Crisp
Ingredients
Method
- Preheat the oven to 350° F (177 °C) and lightly grease a 9x13-inch baking pan with softened butter.
- In a bowl, whisk together flour, brown sugar, cinnamon, and salt for the topping, then mix in oats.
- Stir in melted butter until the mixture is fully combined with no dry spots and set aside.
- In a separate bowl, mix sliced apples with lemon zest and juice, brown sugar, cinnamon, and salt for the filling.
- Taste the apple mixture and add more brown sugar if needed.
- Sprinkle in flour and stir until all apple slices are evenly coated.
- Spread the apple mixture into an even layer in the prepared pan and sprinkle the topping evenly over the apples.
- Place the pan in the oven and bake until the filling bubbles, about 1 hour.
- Remove the pan from the oven and let the apple crisp cool for about 15 minutes before serving.
- Cover and store leftover apple crisp in the refrigerator for up to four days, reheating briefly in the microwave before serving.