Best-Ever Fudgy (Shiny-Topped!) Homemade Brownies
There’s something undeniably magical about the rich aroma of fresh brownies wafting through your kitchen. These are not just any brownies; they promise a perfect balance of fudgy goodness and shiny tops, making them simply irresistible. The moment you cut into them, the deep chocolatey flavor seems to envelop you, offering a satisfying texture that is both chewy and decadent. Imagine sinking your teeth into a warm brownie, the outer edges slightly crisp while the center remains deliciously moist. Whether enjoyed on their own or paired with a scoop of vanilla ice cream, these brownies will quickly become your go-to recipe for special occasions or even a simple treat to satisfy your sweet tooth. Prepare for the unmistakable joy these homemade brownies will bring to your dessert table!
Quick Answer
These Best-Ever Fudgy (Shiny-Topped!) Homemade Brownies are easy to make, require simple ingredients, and yield a rich, moist texture that chocolate lovers will adore.
Why You’ll Love This Recipe
Tantalizing fudge brownies are a beloved classic, celebrated for their delightful texture and sumptuous flavor. Here’s why you’ll fall in love with this recipe:
- Simple ingredients make for an easy baking experience.
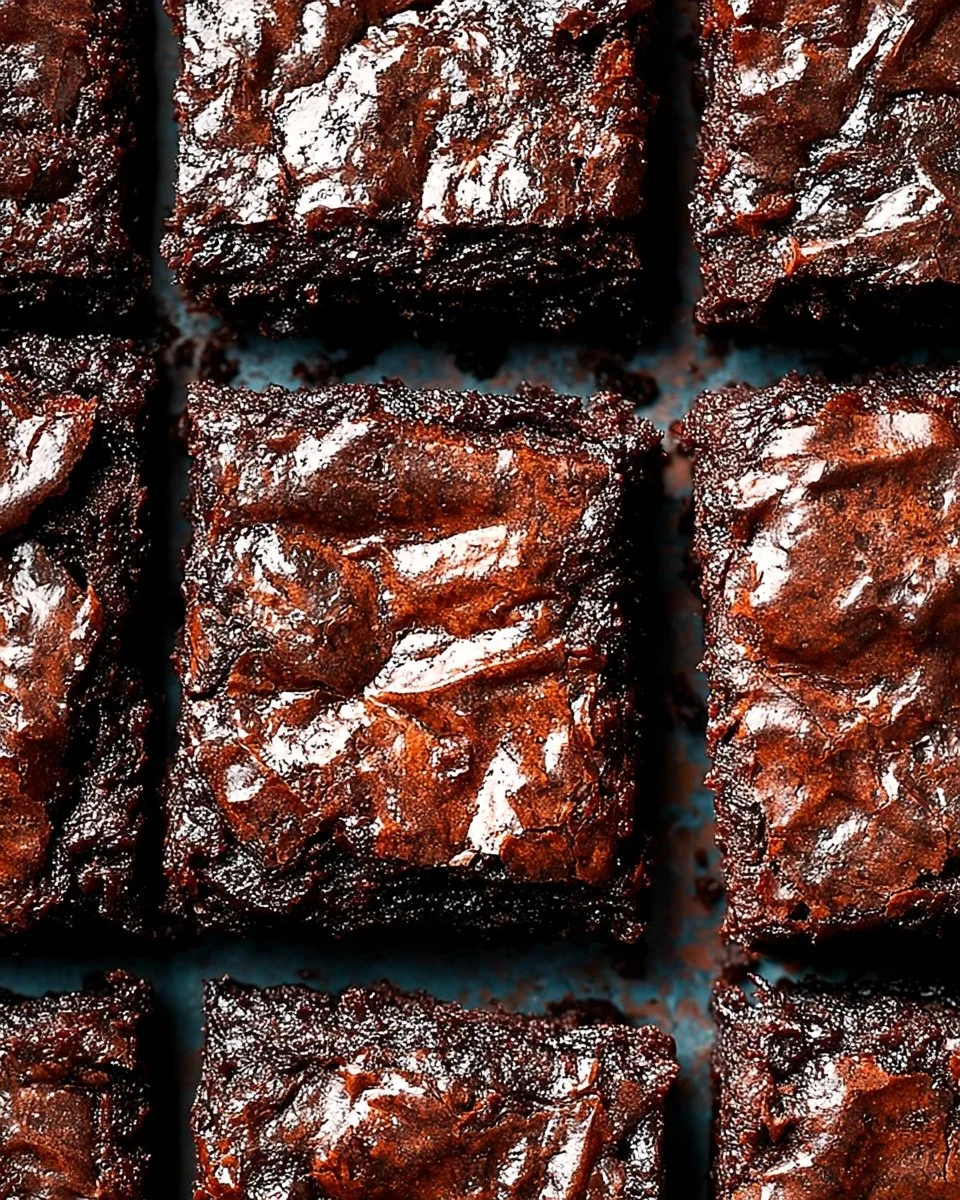
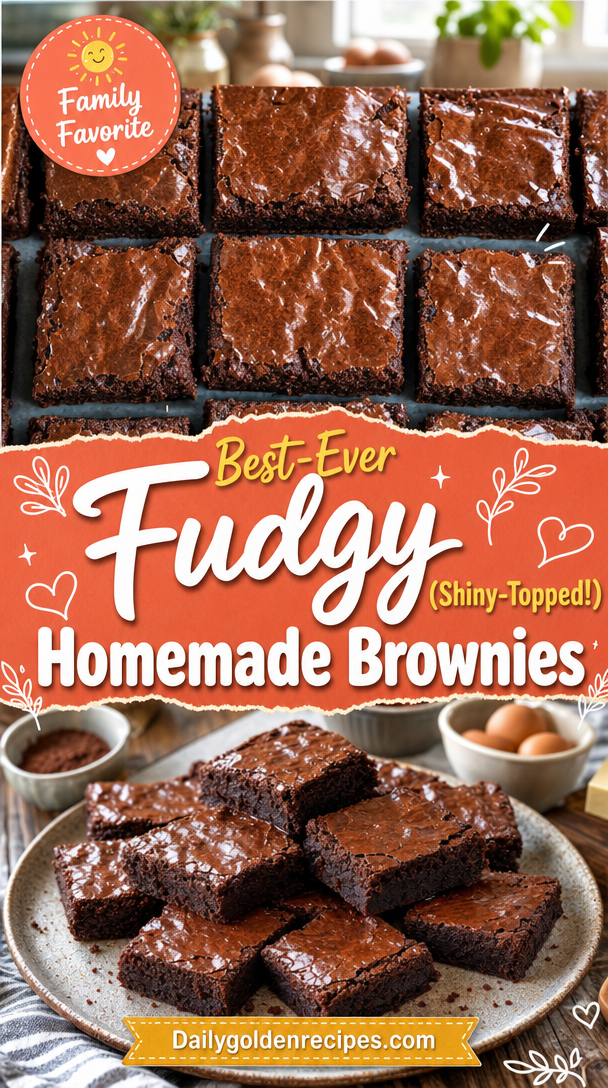
- Achieves a shiny top that offers a mouthwatering finish.
- Fudgy interior keeps the brownies moist and rich.
- Ideal for gatherings or cozy nights in.
- Perfectly pairs with ice cream or whipped cream for a decadent dessert.
- Can be made ahead and stored easily!
- Family-friendly recipe that kids and adults will adore.
What Makes This Recipe Special
This brownie recipe stands out due to its unique method of mixing, which involves emulsifying melted butter and sugar before incorporating them into the eggs. This technique not only lends itself to that coveted shiny top but also ensures a fudgy texture throughout. The balance of dry ingredients, including high-quality cocoa powder and all-purpose flour, contributes to a rich chocolate flavor without becoming dry. The addition of eggs enhances the structure, while the right amount of salt pulls all the flavors together, creating an unforgettable dessert experience.
Kitchen Tools You’ll Need
- 9-inch square baking pan – Perfect size for a thick batch of brownies.
- Aluminum foil – Ensures an easy release from the pan.
- Medium saucepan – For melting butter and mixing ingredients.
- Whisk – Essential for beating eggs and combining wet ingredients.
- Mixing bowls – To separate and combine dry and wet ingredients efficiently.
- Toothpick – For testing the doneness of the brownies.
Ingredients
- unsweetened cocoa powder: Provides a rich chocolate flavor that’s essential for fudgy brownies.
- unbleached all-purpose flour: Offers structure and stability to support the brownies’ fudgy texture.
- baking powder: Helps the brownies rise slightly, contributing to a balanced texture.
- salt: Enhances flavor and balances the sweetness of the sugar.
- eggs: Create structure and richness while helping bind the ingredients together.
- butter: Adds moisture and a rich, creamy texture to the brownies for melt-in-your-mouth goodness.
- granulated sugar: Sweetens the brownies and aids in achieving the glossy top.
- pure vanilla extract: Enriches the overall flavor with a warm aromatic note.
Ready to cook? Scroll to the recipe card below for exact measurements.
How to Make Best-Ever Fudgy (Shiny-Topped!) Homemade Brownies
Phase 1 – Prep
STEP 1. Preheat oven. Set the oven to 350°F and position a rack in the center.
STEP 2. Prepare the pan. Line a 9-inch square baking pan with aluminum foil and butter the foil.
STEP 3. Mix dry ingredients. In a large bowl, whisk together the cocoa powder, flour, baking powder, and salt.
Phase 2 – Cook
STEP 4. Beat eggs. In another large bowl, beat the eggs until foamy and thick — about 1 minute of vigorous whisking.
STEP 5. Melt butter. In a medium saucepan, melt the butter over medium heat until hot and bubbling lightly.
STEP 6. Combine butter and sugar. Add the sugar to the melted butter and whisk until well combined, forming a mixture that resembles wet sand.
STEP 7. Mix ingredients. Pour the butter-sugar mix into the eggs, whisking constantly until well combined and scraping the bottom of the pot.
STEP 8. Add vanilla. Stir in the vanilla extract until incorporated.
STEP 9. Combine wet and dry. Add the dry ingredients to the wet mixture and whisk until smooth.
STEP 10. Bake. Spread the batter into the prepared pan and bake for approximately 37-40 minutes, until a toothpick comes out clean or with just a few moist crumbs.
Phase 3 – Serve
STEP 11. Cool. Let cool completely in the pan on a rack for at least 30 minutes before cutting into squares.
Why This Recipe Works
Each element in this recipe contributes to the ultimate brownie experience. The combination of butter and sugar creates a glossy topping that is visually appealing and texturally delightful. The cocoa powder infuses the batter with deep chocolate flavor, while the precise balance of flour ensures the brownies remain fudgy rather than cakey. As they bake, the brownies achieve a slightly crispy outer layer while the inside stays soft and gooey, hitting that perfect nostalgia sweet spot. This attention to detail in ingredient interaction makes these brownies a must-try.
Pro Tips
To take your brownie game to the next level, always use high-quality cocoa powder for a more intense chocolate flavor. Allow your eggs to reach room temperature before beating for better incorporation and rise. When combining the melted butter with sugar, ensure the mixture is hot enough to create that shiny crust. Be gentle when mixing dry ingredients with the wet ones to avoid overmixing, which can lead to tougher brownies. Lastly, for maximum flavor, let the brownies cool completely before cutting; this will enhance their fudginess and allow the flavors to settle in.
Common Mistakes to Avoid
Mistake: Underbaking the brownies.
Why it happens: Not allowing enough baking time or using too low of a temperature.
How to fix it: Insert a toothpick into the center; if it comes out with wet batter, continue baking for a few minutes more.
Mistake: Overmixing the batter.
Why it happens: Whisking too vigorously after adding the dry ingredients.
How to fix it: Mix just until combined to maintain a fudgy texture.
Mistake: Not cooling before cutting.
Why it happens: Impatience or excitement to taste.
How to fix it: Allow at least 30 minutes of cooling time for cleaner cuts and better texture.
Variations
- Add nuts for extra crunch and flavor.
- Swirl in peanut butter or Nutella for a delightful twist.
- Incorporate chocolate chips for added gooeyness.
- Try adding a touch of espresso powder to enhance the chocolate flavor.
- Make them mint chocolate brownies by adding mint extract.
Nutrition Highlights
| Nutrient | Role |
|---|---|
| Protein | Helps support satiety and balanced meals. |
| Fat | Contributes to flavor and a satisfying texture. |
| Carbohydrates | Provides a quick source of energy, perfect for a sweet treat. |
Serving Ideas
These brownies are delicious on their own, but you can elevate them to a whole new level! Serve them warm with a scoop of vanilla ice cream or a dollop of whipped cream for an indulgent dessert. They can also be paired with fresh berries for a fruity contrast or dusted with powdered sugar for a classy touch. For celebrations, consider cutting them into bite-sized pieces and serving on a dessert platter for a delightful treat everyone can enjoy!
Best Occasions for This Recipe
These brownies are perfect for a variety of occasions, from casual weeknight desserts to festive gatherings. Whether you’re hosting a birthday party, holiday celebration, or a cozy movie night, they are sure to be a crowd-pleaser. Their ease of preparation makes them ideal for bake sales or potlucks, allowing you to whip up a batch in no time. And, of course, they make a great gift for chocolate lovers on any occasion!
Meal Prep & Storage
Meal Prep
These brownies can be made in advance and stored for a satisfying treat later. They hold up well, making them a great option for meal prep. Just be sure to let them cool completely before storing.
Refrigeration
Store brownies in an airtight container in the refrigerator for up to three days. Chilling them will help them firm up nicely, making cutting easier.
Freezing
For longer storage, brownies freeze beautifully! Wrap them tightly in plastic wrap followed by aluminum foil, or place them in a freezer-safe container. They can be frozen for up to three months.
Reheating
When you’re ready to enjoy frozen brownies, simply thaw them in the refrigerator overnight. For a warm treat, microwave them for a few seconds to bring back that gooey texture. Enjoy them as they are or with your favorite toppings!
FAQs
How long do the brownies last in the fridge?
Brownies can last up to three days in the refrigerator when stored properly in an airtight container.
Can I substitute unsweetened cocoa powder?
Yes, you can use Dutch-processed cocoa powder, but it may slightly alter the flavor and texture.
What can I do if my brownies turned out cakey?
This often happens from overmixing or baking too long. Ensure you mix just until combined and check doneness earlier.
Can I use a glass pan instead of a metal pan?
Yes, but keep an eye on the baking time, as glass pans can alter cooking times slightly.
How do I know when brownies are done?
The brownies are done when a toothpick inserted into the center comes out with a few moist crumbs.
Save This Recipe for Later
If you loved this brownie recipe, be sure to save it for later to impress your friends and family whenever you’re in need of a chocolate fix!
Conclusion
Indulging in a batch of homemade brownies is a sweet experience that everyone deserves. With their perfectly fudgy texture and glossy top, these brownies strike the ultimate balance of flavors and textures you crave. They are simple to prepare, making them the perfect addition to your day-to-day cooking or a show-stopping dessert for special occasions. Don’t forget to bookmark this recipe or pin it for future reference—you’ll want to make these time and time again!