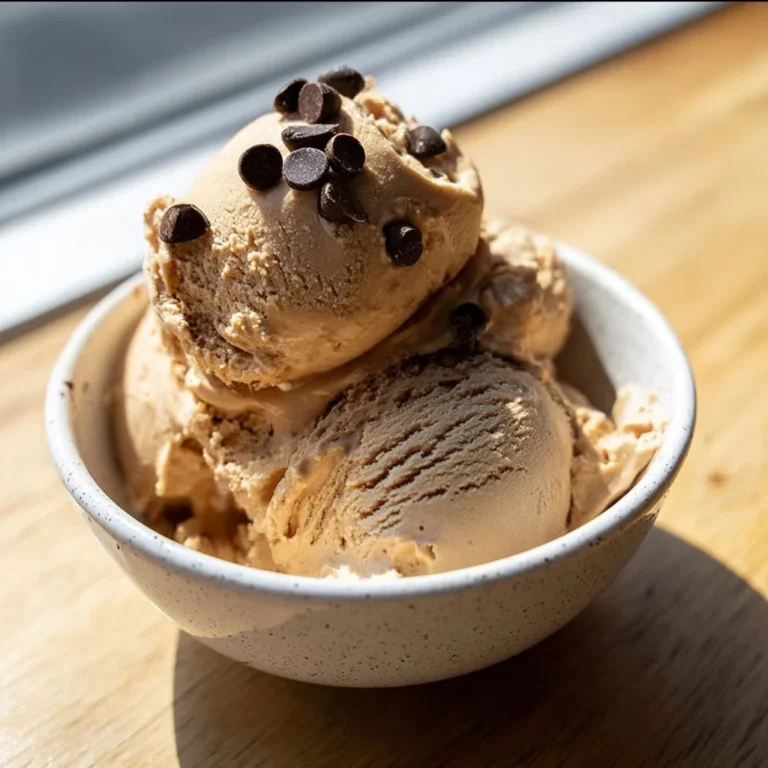
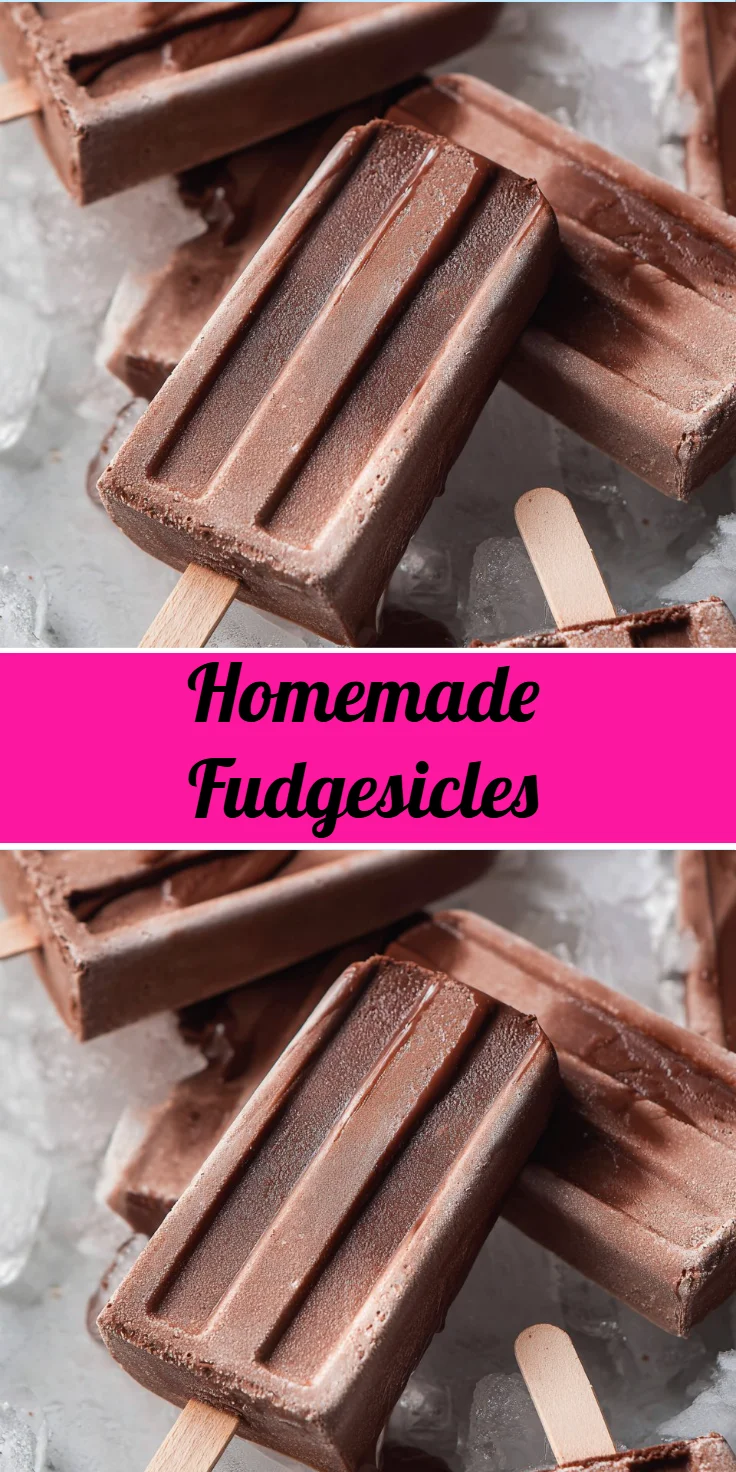
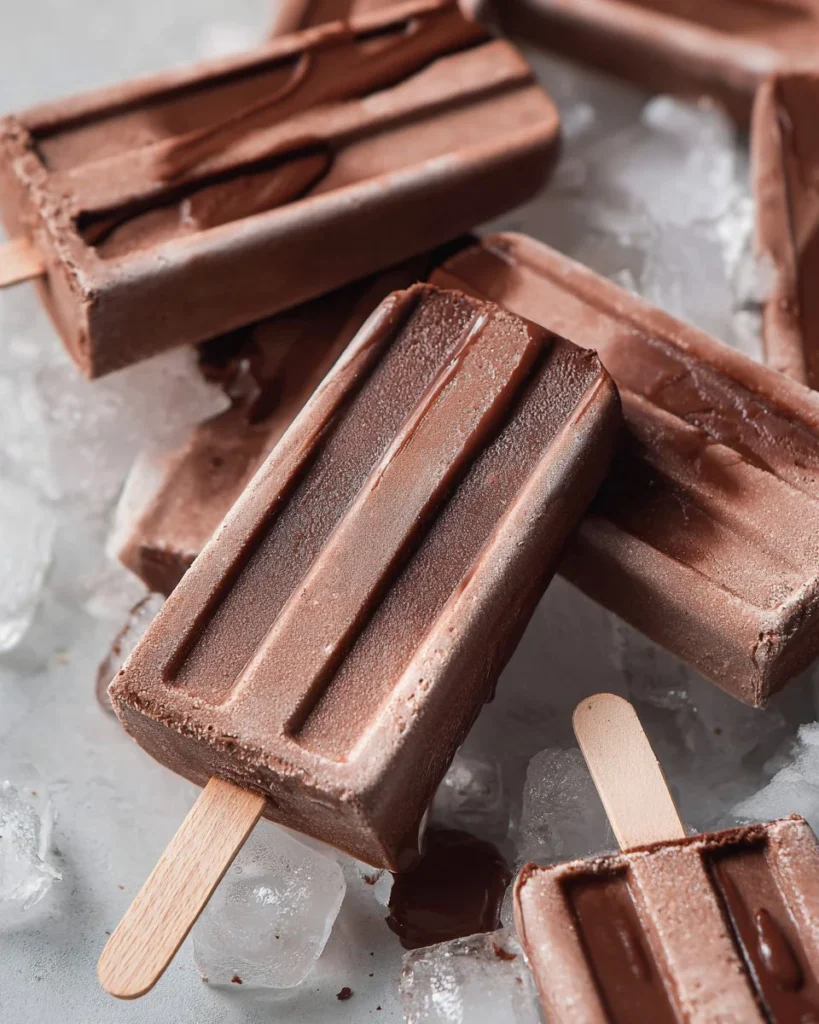
Homemade Fudgesicles
When the heat of summer starts to rise, there’s nothing quite as refreshing as a cold treat to help you cool down. Imagine biting into a luscious chocolate fudgesicle, where the rich cocoa flavor melts smoothly in your mouth, creating a satisfying experience. The smooth blend of creaminess with a dark chocolate kick delivers both nostalgia and indulgence. These homemade delights transport you back to childhood adventures at the local ice cream truck but with a grown-up twist that is easy to make in your own kitchen. Simple, sweet, and oh-so-satisfying, these fudgesicles promise summer bliss with every bite. Plus, preparing them in your own space means you can tailor them to be as rich or light as you desire. Perfect for sharing at gatherings or enjoying solo, you’ll want to make a batch for every sunny day ahead.
Why You’ll Love This Recipe
This homemade treat is not just a dessert; it embodies joy, comfort, and a touch of nostalgia that everyone can appreciate. With just a handful of ingredients, you can whip up creamy fudgesicles that are far superior to store-bought versions. You can tweak the flavors to fit your preferences—add a hint of peppermint for a refreshing twist or swirl in some peanut butter for added richness. Each bite is a chocolate lover’s dream, combining a smooth texture with the deep flavor of dark chocolate. Plus, they’re free from preservatives and artificial ingredients, making them a healthier option for satisfying your sweet tooth. As a simple recipe, it’s perfect for anyone, regardless of baking experience, allowing you to make delightful memories in the kitchen.
What Makes This Recipe Special
What truly sets this recipe apart is its simplicity and flexibility. With basic ingredients typically found in your pantry, you can create rich, decadent fudgesicles that rival any gourmet dessert. The method allows for customization, whether you want to increase the creaminess or incorporate different flavor profiles. Sifting the cocoa and cornstarch first ensures a smooth mixture, avoiding any lumps that can detract from the final product. The addition of chopped dark chocolate not only deepens the flavor but also creates that satisfying richness that makes every bite a delightful experience. Furthermore, these treats can be prepped ahead of time making them an ideal choice for quick family meals or summer gatherings.
Ingredients
whole or 2 percent milk: Adds creaminess and creates a smooth texture.
heavy or whipping cream: Enhances richness and provides a velvety mouthfeel.
granulated sugar: Sweetens the mixture, balancing the rich cocoa flavor.
unsweetened Dutch processed cocoa: Delivers deep chocolate flavor with a smoother finish.
cornstarch: Acts as a thickener, helping the mixture achieve a creamy consistency.
salt: Enhances and balances the sweetness and chocolate flavor.
dark chocolate: Offers rich chocolate taste and a smooth, indulgent texture.
How to Make Homemade Fudgesicles
STEP 1. Sift dry ingredients. In a small bowl, sift together the cocoa and cornstarch before whisking it into the milk mixture.
STEP 2. Heat milk and cream. In a saucepan, heat the milk and cream until hot, making sure it doesn’t boil.
STEP 3. Add sweeteners and dry mix. Whisk in the sugar, cocoa, cornstarch, and a pinch of salt until fully combined.
STEP 4. Incorporate chocolate. Add the chopped dark chocolate pieces to the pan and stir until completely melted and smooth.
STEP 5. Cool the mixture. Let the mixture cool slightly before giving it another stir or a quick blend if needed.
STEP 6. Pour into molds. Carefully pour the chocolate mixture into popsicle molds, filling each cavity.
STEP 7. Freeze the fudgesicles. Place the filled molds in the freezer for approximately 4-5 hours or overnight until completely frozen.
STEP 8. Store properly. Once frozen, keep the fudgesicles in molds for up to one week, or wrap each one in plastic wrap for longer storage in a freezer bag for up to four weeks.
STEP 9. Enhance creaminess (optional). For a creamier texture, increase the cream-to-milk ratio or consider adding some condensed milk.

Pro Tips
To ensure your fudgesicles have the ideal texture, make sure your milk and cream mixture is hot enough to properly dissolve the cocoa powder and cornstarch without boiling. This balance will yield a smoother consistency. Stir the mixture well after adding the chocolate to ensure it melts evenly for a luscious fudgesicle. If you’re looking to experiment, try blending in a splash of vanilla extract for an added depth of flavor. For optimal freezing, ensure that the molds are filled to the top for best results. Always remember to let the fudgesicles sit out at room temperature for a few minutes before attempting to remove them from the molds; this makes for an easy release.
Common Mistakes to Avoid
One common mistake is not sifting the cocoa and cornstarch before mixing them with the liquid ingredients. This can lead to unsightly lumps in your fudgesicles. Additionally, overheating the milk and cream can cause them to scorch, ruining the flavor. Make sure to monitor the heat carefully to avoid boiling. Also, don’t skimp on the cooling step; letting the mixture cool a bit before pouring it into molds is crucial for the best texture. If you skip this, you might end up with fudgesicles that are too soft or have improper layering. Lastly, be cautious about how you store them; failing to wrap each fudgesicle properly can lead to freezer burn, affecting their taste and texture.
Variations
• Add vanilla extract for a warm, aromatic flavor.
• Blend in peanut butter for a nutty twist.
• Try using coconut milk for a tropical vibe.
• Incorporate fruit purees for added sweetness and flavor.
Serving Ideas
These fudgesicles are an excellent standalone treat, but they can also be served alongside a scoop of vanilla ice cream for the ultimate dessert experience. Add some fresh berries on the plate for a colorful presentation and added freshness. For gatherings, create a fun DIY bar where guests can dip their fudgesicles in melted chocolate and sprinkle their favorite toppings like nuts, sprinkles, or shredded coconut. They’re also a fantastic treat to bring to picnics or barbecues, providing a delightful dessert to cool down after a hearty meal.
Meal Prep & Storage
One of the best aspects of these fudgesicles is their prep-friendly nature. You can make a large batch over a weekend and keep them on hand for a quick snack during the week. Store the fudgesicles in their molds for up to one week, but for longer-term storage, wrap them individually in plastic wrap and place them in a freezer bag. This ensures they maintain their quality and flavor. If you prefer to enjoy them throughout the month, this wrapping method will prevent freezer burn and keep those fudgesicles as delicious as the day you made them. For an even creamier version, consider preparing a batch with more heavy cream or adding sweetened condensed milk before freezing.
FAQs
Can I use non-dairy milk instead of regular milk?
Yes, you can use non-dairy alternatives like almond milk, soy milk, or oat milk for a dairy-free version of fudgesicles. Just be aware that the flavor and texture may vary slightly.
How do I prevent ice crystals from forming?
To minimize ice crystal formation, ensure that your fudgesicle mixture is well-blended and that it cools before freezing. Using a higher cream-to-milk ratio can also help achieve a creamier texture.
Can I add flavors to the recipe?
Absolutely! You can incorporate various flavors by adding extracts like mint, almond, or even spices such as cinnamon to the mixture before freezing for a unique twist.
How long can I store these fudgesicles?
If properly stored, these fudgesicles can last in their molds for up to one week or wrapped individually and placed in a freezer bag for up to four weeks.
What should I do if my fudgesicles are too soft?
If the fudgesicles turn out too soft, try reducing the amount of milk or increasing the cream. This will give them a firmer texture. You could also add a bit of powdered sugar to help stabilize the mixture.
Conclusion
This chocolate indulgence is not just a treat; it’s an experience that will bring joy to any summer day. Homemade fudgesicles are a delightful way to connect with your sweet tooth while enjoying the benefits of making something from scratch. So gather your basic ingredients, follow this easy recipe, and relish the feel of summer as you enjoy each delicious bite.
Chocolate Fudgesicles
Ingredients
Method
- In a small bowl, sift together the cocoa and cornstarch before whisking it into the milk mixture.
- In a saucepan, heat the milk and cream until hot, making sure it doesn’t boil.
- Whisk in the sugar, cocoa, cornstarch, and a pinch of salt until fully combined.
- Add the chopped dark chocolate pieces to the pan and stir until completely melted and smooth.
- Let the mixture cool slightly before giving it another stir or a quick blend if needed.
- Carefully pour the chocolate mixture into popsicle molds, filling each cavity.
- Place the filled molds in the freezer for approximately 4-5 hours or overnight until completely frozen.
- Once frozen, keep the fudgesicles in molds for up to one week, or wrap each one in plastic wrap for longer storage in a freezer bag for up to four weeks.
- For a creamier texture, increase the cream-to-milk ratio or consider adding some condensed milk.