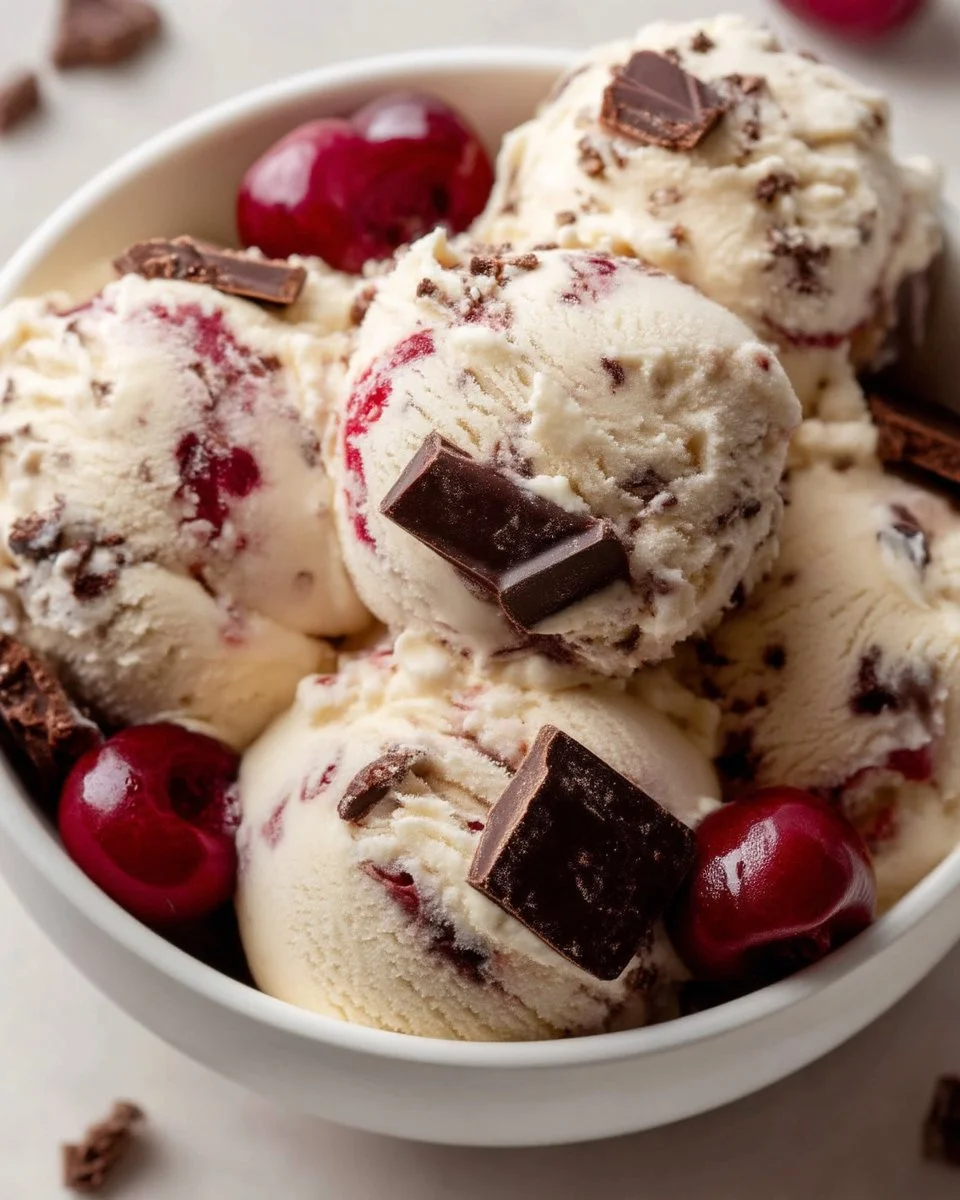
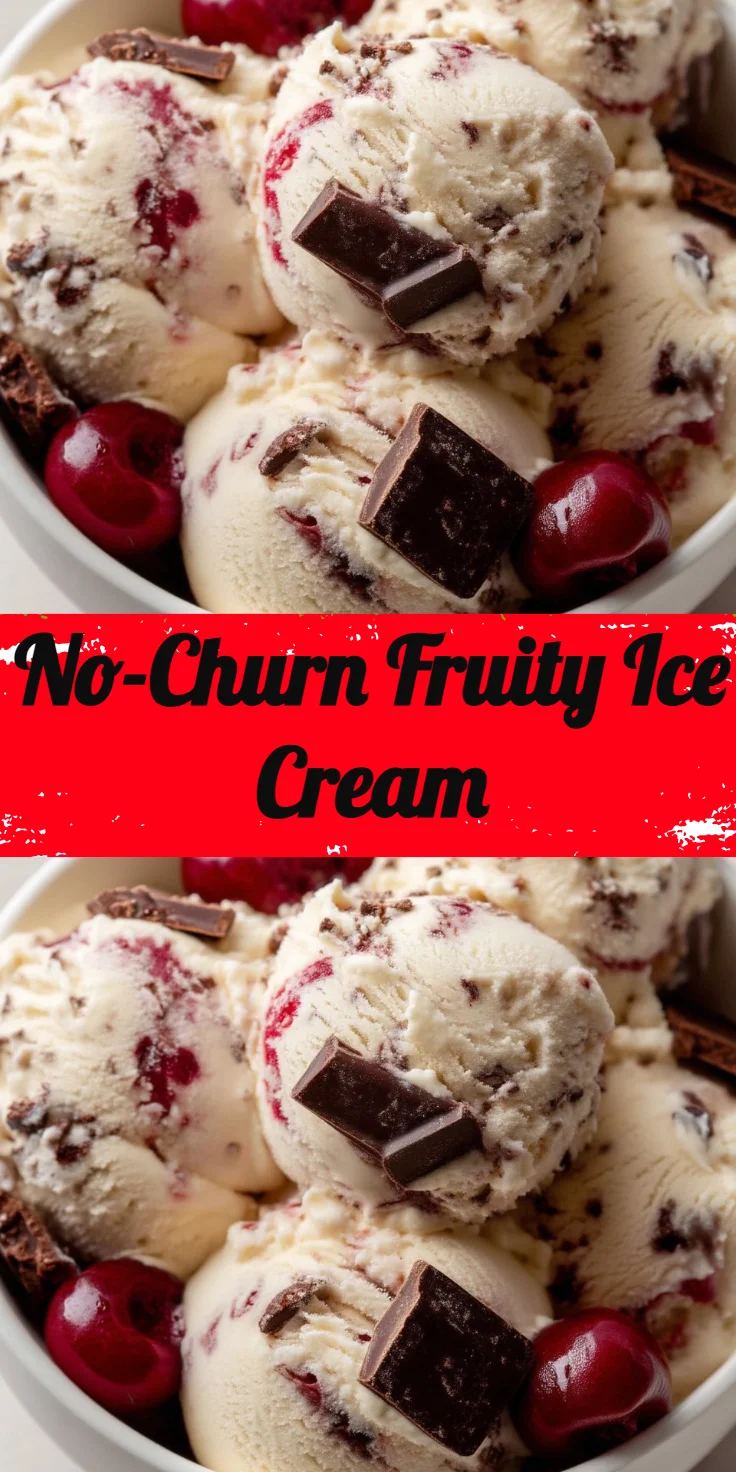
No-Churn Fruity Ice Cream Recipe
Indulging in a delightful creamy treat during warm sunny days has never been easier with this No-Churn Fruity Ice Cream recipe. This delicious frozen dessert offers a vibrant mix of fruity flavors combined with a smooth texture that melts in your mouth. Perfect for busy families who cherish moments together, it not only satisfies sweet cravings but also supports a healthy lifestyle. Crafted without the need for an ice cream maker, this treat is a true game-changer for those looking to keep their meal prep simple yet rewarding. Whether it’s for a weekend gathering or a weekday dessert, this recipe ensures you can whip up a refreshing treat that the whole family will love. With just a few wholesome ingredients, you can create a nutritious and protein-packed dessert that matches your nutrition goals. Light, airy, and oh-so-fruity, this no-churn ice cream is bound to be a new family favorite.
Why You’ll Love No-Churn Fruity Ice Cream
No-Churn Fruity Ice Cream is a perfect blend of convenience and flavor. This easy-to-make recipe skips the need for an ice cream machine while delivering a creamy and satisfying dessert. The taste is vibrant, with a wonderful medley of fruity bursts, perfect for enjoying any day of the week.
- Quick prep time—ideal for busy families.
- Kid-friendly, making it a great way to sneak in healthy fruits.
- No required special equipment—just a bowl and freezer!
- Customizable flavors for a unique twist each time.
- Great for meal prepping and portioning out for snacks.
- A perfect celebration of the fruity season.
Ingredients for No-Churn Fruity Ice Cream
- Heavy Whipping Cream – provides a rich, creamy base.
- Condensed Milk – adds sweetness and smoothness.
- Mixed Berries – enhances flavor with a burst of freshness.
- Banana – offers natural sweetness and creaminess.
- Vanilla Extract – elevates the overall taste.
Ready to cook? See the recipe card for exact measurements below.
How to Make No-Churn Fruity Ice Cream
Phase 1 – Prep
- In a large mixing bowl, whip the heavy cream until stiff peaks form.
- In another bowl, combine the condensed milk, mixed berries, banana, and vanilla extract.
- Gently fold the whipped cream into the berry mixture until well combined.
Phase 2 – Cook
- Transfer the mixture into an airtight container.
- Spread the mixture evenly and smooth the top with a spatula.
- Cover the container with a lid or plastic wrap.
Phase 3 – Serve
- Freeze the ice cream for at least 4-6 hours, or until solid.
- When ready to serve, let it sit at room temperature for about 5 minutes for easier scooping.
- Scoop into bowls or cones and enjoy with your favorite toppings!
Pro Tips for the Best Results
- Ensure the mixing bowl and beaters are chilled for faster whipping.
- Consider using a variety of fruits for a colorful presentation.
- Store in a shallow, wide container to aid quicker freezing and easier scooping.
- Try adding a couple of tablespoons of yogurt for extra creaminess.
- For a fun twist, mix in your choice of nuts or chocolate chips before freezing.
- Keep the ice cream covered to prevent freezer burn.
Common Mistakes to Avoid
One common mistake is over-whipping the cream, which can lead to a grainy texture. It’s easy to lose track of time, so pay close attention to reach stiff peaks without turning the cream into butter. Another issue may stem from not folding the ingredients gently, resulting in a dense ice cream that lacks airy texture. Always use a spatula and folding technique to keep the mixture light. Lastly, forgetting to cover the ice cream properly can lead to freezer burn and affect the flavor. Use an airtight container to seal in freshness and quality.
Recipe Variations
- Add chocolate chips or chunks for an extra bit of indulgence.
- Replace mixed berries with mango or peach for a tropical twist.
- Stir in a sprinkle of cinnamon for a unique flavor profile.
- Incorporate nut butters for an added protein boost.
- Add a splash of lemon juice for a zesty kick.
How to Serve No-Churn Fruity Ice Cream
- Pairings: Serve with fresh fruit or a drizzle of honey.
- Garnishes: Top with whipped cream or chopped nuts.
- Serving ideas: Use as a filling for crepes or between cookies.
Make Ahead & Storage
Can I Meal Prep This?
Yes! This no-churn ice cream is perfect for meal prep. Make it ahead of time and keep it stored in the freezer for a quick and healthy dessert option.
Storing Leftovers
This no-churn fruity ice cream can be stored in the freezer in an airtight container for up to two weeks. For best results, consume within the first week for optimal flavor and texture.
Freezing
For extended storage, you can freeze this ice cream for up to three months. However, remember that its texture may become icier over time, so try to enjoy it sooner rather than later.
Reheating
Reheating is not necessary for ice cream. Simply let it sit at room temperature for a few minutes before scooping. If desired, you can microwave in short bursts (10-15 seconds) for a softer texture, but avoid melting.

FAQs
Can I use other fruits in this recipe?
Absolutely! Feel free to experiment with your favorite fruits or those that are in season for a unique flavor.
How long does it take to freeze?
It typically takes about 4-6 hours for the ice cream to freeze completely, though overnight is best for ideal consistency.
Can I substitute the condensed milk?
Yes, you can use a dairy-free sweetened condensed milk alternative for a vegan-friendly version.
Is this recipe kid-friendly?
Definitely! This fruity ice cream is a fun and healthy dessert that kids will love, making it perfect for family gatherings.
If you’re looking for a refreshing and healthy dessert option, the No-Churn Fruity Ice Cream recipe is just what you need! Perfect for weekends or special occasions, get ready to enjoy a delightful treat that matches your healthy lifestyle. We hope you enjoy making this recipe! Please leave a comment and let us know how it goes!

No-Churn Fruity Ice Cream
Ingredients
Method
- In a large mixing bowl, whip the heavy cream until stiff peaks form.
- In another bowl, combine the condensed milk, mixed berries, banana, and vanilla extract.
- Gently fold the whipped cream into the berry mixture until well combined.
- Transfer the mixture into an airtight container.
- Spread the mixture evenly and smooth the top with a spatula.
- Cover the container with a lid or plastic wrap.
- Freeze the ice cream for at least 4-6 hours, or until solid.
- When ready to serve, let it sit at room temperature for about 5 minutes for easier scooping.
- Scoop into bowls or cones and enjoy with your favorite toppings!