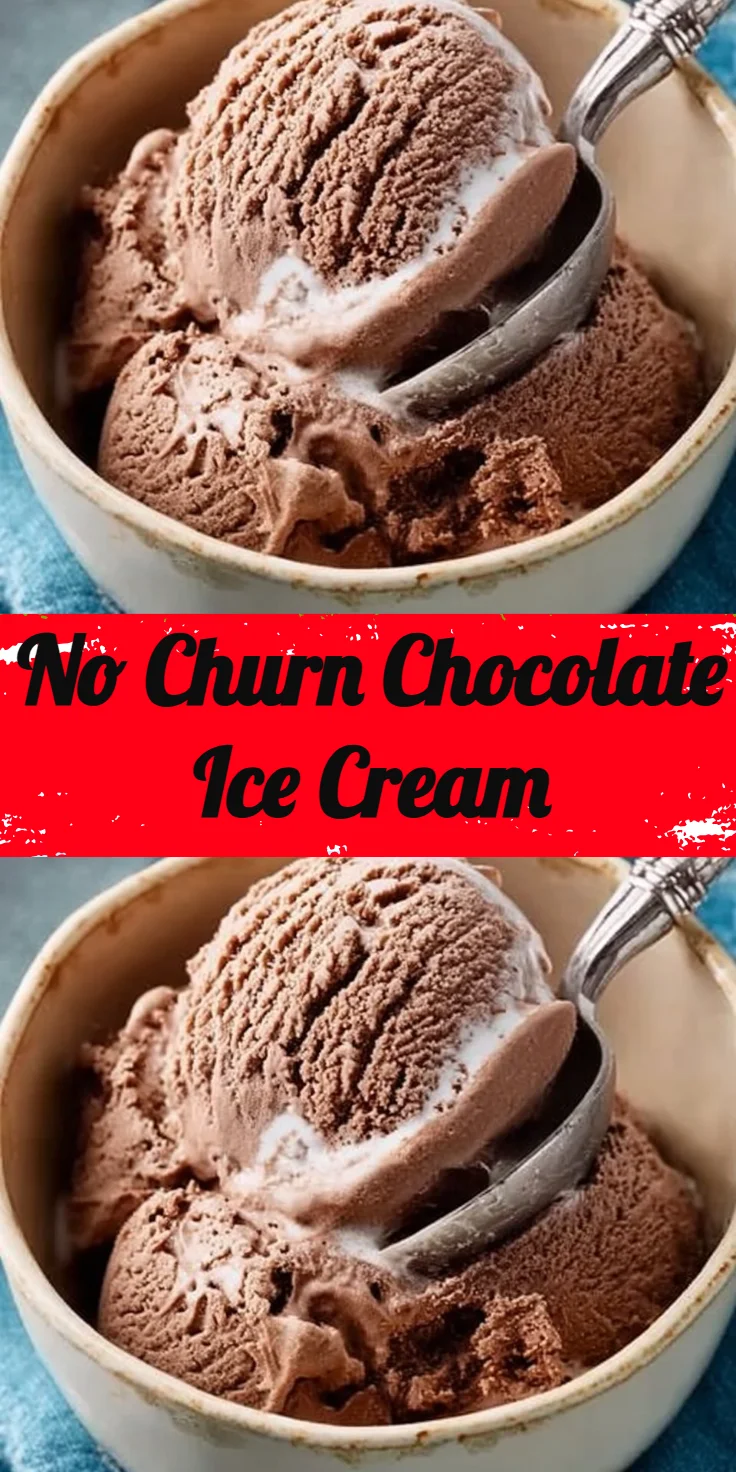
No Churn Chocolate Ice Cream
Creating sweet treats at home can feel overwhelming at times, especially when you’re trying to balance time, taste, and health. The struggle to find a dessert that’s both satisfying and simple is real. Enter this No Churn Chocolate Ice Cream, which not only satisfies your chocolate cravings but also fits seamlessly into your calorie-conscious meal plan. With just a handful of ingredients and no fancy equipment required, this recipe provides a comforting solution to cooking fatigue while delivering a rich, creamy dessert that your family will adore.
Kitchen Frustration That Makes This Recipe a Lifesaver
We’ve all been there: standing in front of the freezer, staring forlornly at tubs of overpriced ice cream that never quite measure up. You want something indulgent, yet worry about ingredients and costs. The beauty of this No Churn Chocolate Ice Cream lies in its ease, allowing you to create a family favorite without the fuss.
Not only does it accommodate your nutrition goals, but it also respects your budget and time limitations. Imagine gathering your loved ones around for a movie night, only to serve them a homemade treat made with wholesome ingredients. This no-fuss recipe can be whipped up in minutes, requiring just a few simple steps. For those moments when you crave something sweet yet are pressed for time, remember: this recipe is your go-to solution.
Why This No Churn Chocolate Ice Cream Works So Well
Quick Answer: This No Churn Chocolate Ice Cream combines heavy cream, sweetened condensed milk, cocoa powder, vanilla extract, and a pinch of salt to create a rich, creamy dessert that requires no baking and minimal effort.
This dessert is the ultimate answer for those busy nights when you want something indulgent without all the work. The combination of heavy cream and sweetened condensed milk results in an incredibly velvety texture that feels nothing short of luxurious. The unsweetened cocoa powder brings deep chocolate flavor while allowing you to maintain your nutrition goals.
Plus, being freezer-friendly and no-churn means you can make this ahead of time. Imagine the sighs of joy as you scoop into this rich and delightful treat after a long day. Whether you’re feeding a crowd or indulging in some solo self-care, this No Churn Chocolate Ice Cream is always a hit.
Ingredients, Substitutions & Foolproof Tips
- 2 cups heavy cream: Essential for achieving that rich texture.
- 1 cup sweetened condensed milk: Adds the perfect sweetness and creaminess.
- 1/2 cup unsweetened cocoa powder: Get the darkest chocolate flavor; look for high-quality brands.
- 1 teaspoon vanilla extract: Enhances and rounds out the flavors.
- Salt to taste: Just a pinch can elevate the chocolate flavor!
Feel free to customize this recipe by adding your favorite mix-ins, like chocolate chips, nuts, or a swirl of peanut butter, to truly make it your own.
Step-by-Step Directions
- Whisk Heavy Cream
- In a large bowl, whisk the heavy cream until stiff peaks form. This will give your ice cream that airy, melt-in-your-mouth texture.
- Prepare Chocolate Base
- In another bowl, combine the sweetened condensed milk, cocoa powder, vanilla extract, and a pinch of salt. Mix until smooth. This is where the magic happens—don’t rush through this step!
- Fold the Mixtures Together
- Gently fold the whipped cream into the chocolate mixture until combined. Be careful here; you want to keep that fluffy texture!
- Transfer to Container
- Pour the mixture into a loaf pan or an airtight container. This will keep your ice cream from getting freezer burn, ensuring it stays fresh.
- Freeze
- Freeze for at least 6 hours or until solid. This is the hardest part—waiting!
- Serve
- Serve and enjoy your rich, creamy chocolate ice cream! Watch as smiles light up around the table.
Common Mistakes to Avoid & Pro Tips
- Mistake: Whipping the cream too long.
- Fix: Stop once stiff peaks form to avoid turning it into butter.
- Mistake: Not mixing cocoa thoroughly.
- Fix: Ensure there are no lumps for a smooth texture.
- Mistake: Not letting it freeze long enough.
- Fix: Be patient! Give it at least 6 hours to set properly.
Pro Tips:
- Let the ice cream sit out for a few minutes before scooping for easier serving.
- Try adding crushed Oreos or shredded coconut for a delicious twist.
- If you prefer a sweeter ice cream, consider adding an extra tablespoon of sweetened condensed milk.
Serving, Storage & Freezer Guide
How to Serve No Churn Chocolate Ice Cream
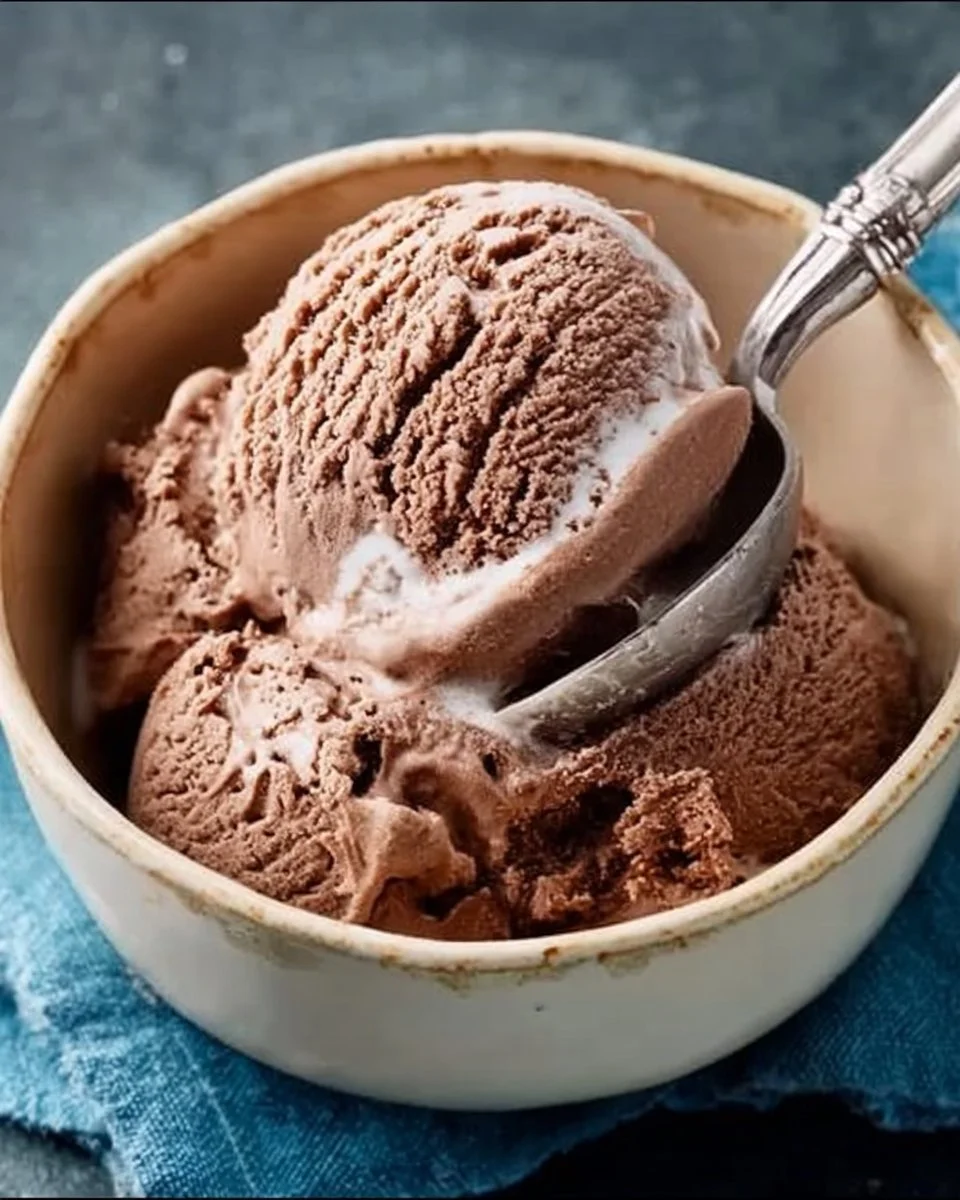
Serving this delectable treat is almost as enjoyable as making it. Scoop generous portions into bowls or waffle cones, and enjoy it as is, or dress it up with toppings like whipped cream, fresh fruit, or a drizzle of chocolate syrup. It’s a family-friendly dessert that works perfectly for kids’ parties or casual movie nights.
How to Store No Churn Chocolate Ice Cream
To keep your No Churn Chocolate Ice Cream fresh, store it in an airtight container in the freezer. For optimal freshness, press a piece of parchment paper directly against the surface of the ice cream before sealing the lid. This will help prevent ice crystals from forming.
Can You Freeze No Churn Chocolate Ice Cream?
Yes, absolutely! This ice cream is designed for freezing. It can last in the freezer for up to two months, though it’s unlikely to last that long once the word gets out. Just make sure to let it sit at room temperature for a few moments before attempting to scoop.
Frequently Asked Questions
What can I use instead of heavy cream?
You can substitute with full-fat coconut milk for a dairy-free option, but be aware of the coconut flavor.
Can I add flavors to this recipe?
Definitely! You can infuse flavors by adding peppermint extract or even use coffee instead of cocoa powder for a mocha twist.
Is it safe to make ice cream without an ice cream maker?
Yes, this recipe is specially designed to be made without an ice cream maker, making it accessible for everyone.
How can I make this recipe healthier?
You can use lighter options, such as reduced-fat cream or a sugar substitute, to align with your health-conscious goals. Just be mindful of the taste and texture changes.
Conclusion
Embrace your dessert-loving side with this No Churn Chocolate Ice Cream! Not only does it tantalize your taste buds, but it also provides a solution when you’re pressed for time or seeking to savor nostalgic family moments.
If this recipe reminds you of someone you love, share it with them. Your memories keep recipes alive.

No Churn Chocolate Ice Cream
Ingredients
Method
- In a large bowl, whisk the heavy cream until stiff peaks form to give your ice cream an airy, melt-in-your-mouth texture.
- In another bowl, combine the sweetened condensed milk, cocoa powder, vanilla extract, and a pinch of salt. Mix until smooth.
- Gently fold the whipped cream into the chocolate mixture until combined, being careful to keep that fluffy texture.
- Pour the mixture into a loaf pan or an airtight container to avoid freezer burn.
- Freeze for at least 6 hours or until solid.
- Serve and enjoy the rich, creamy chocolate ice cream! Watch as smiles light up around the table.